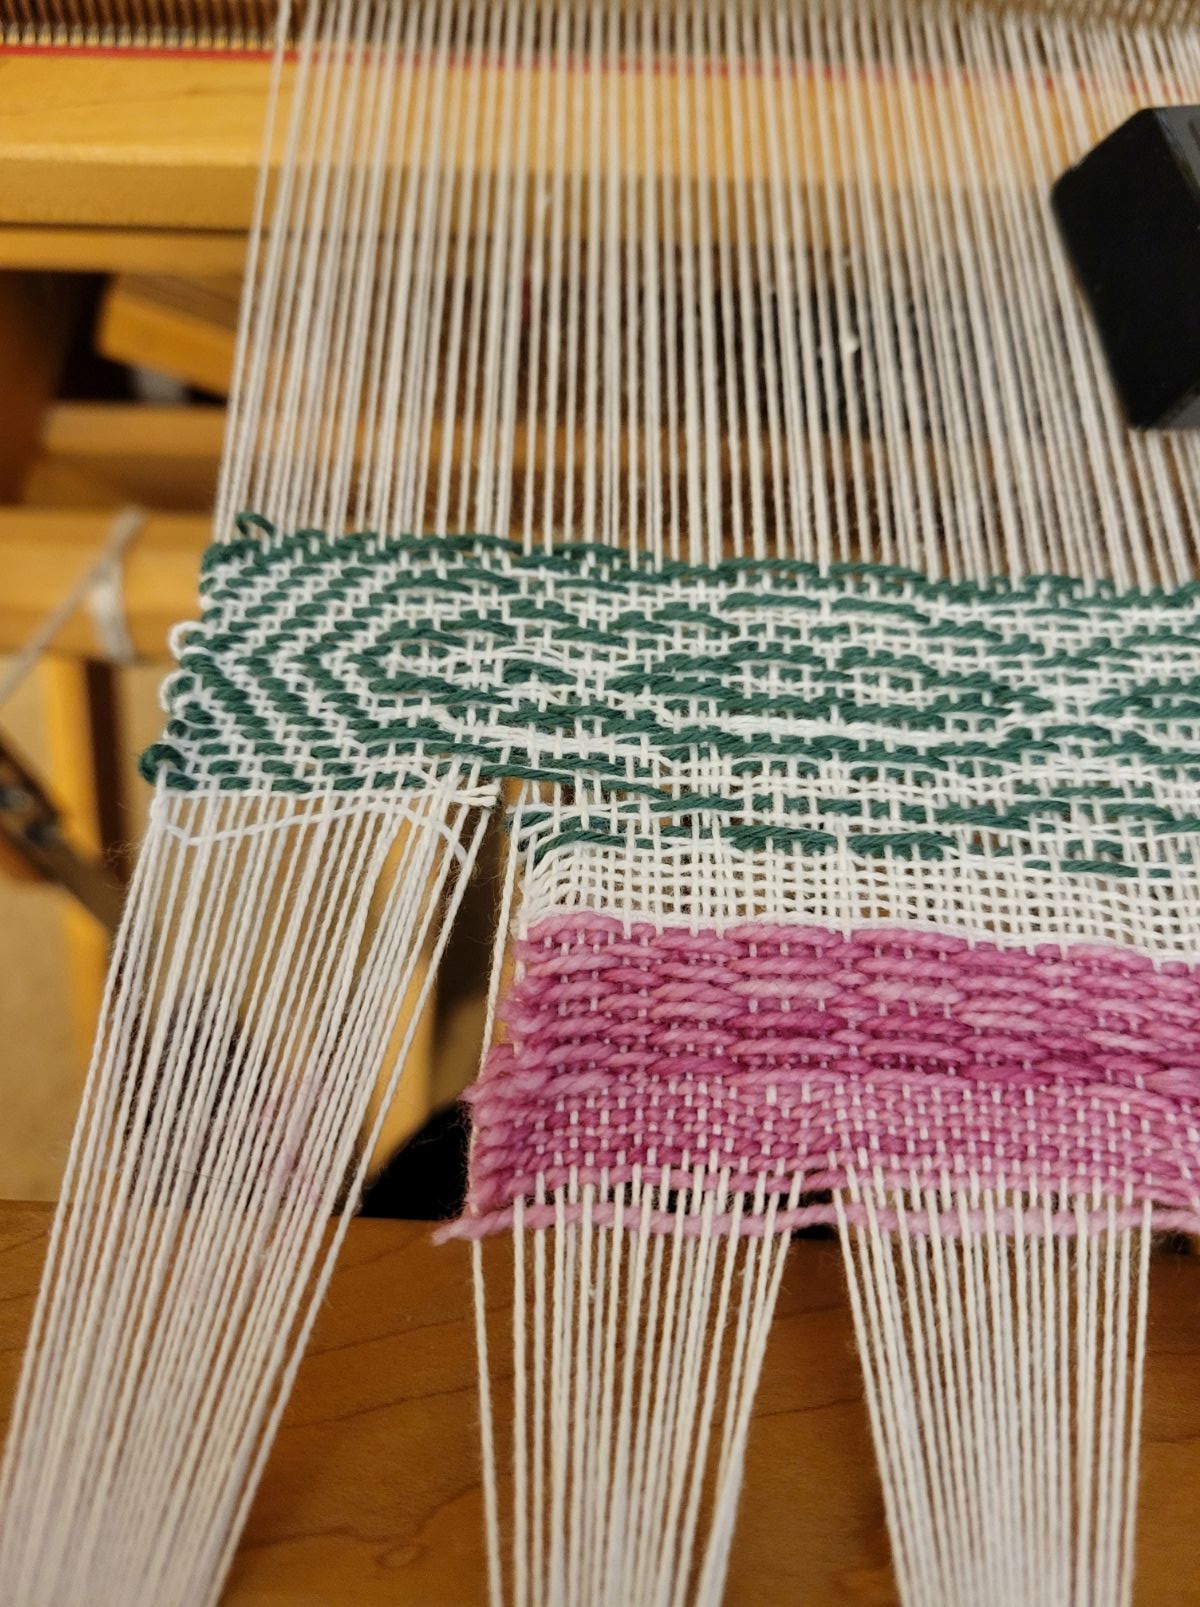
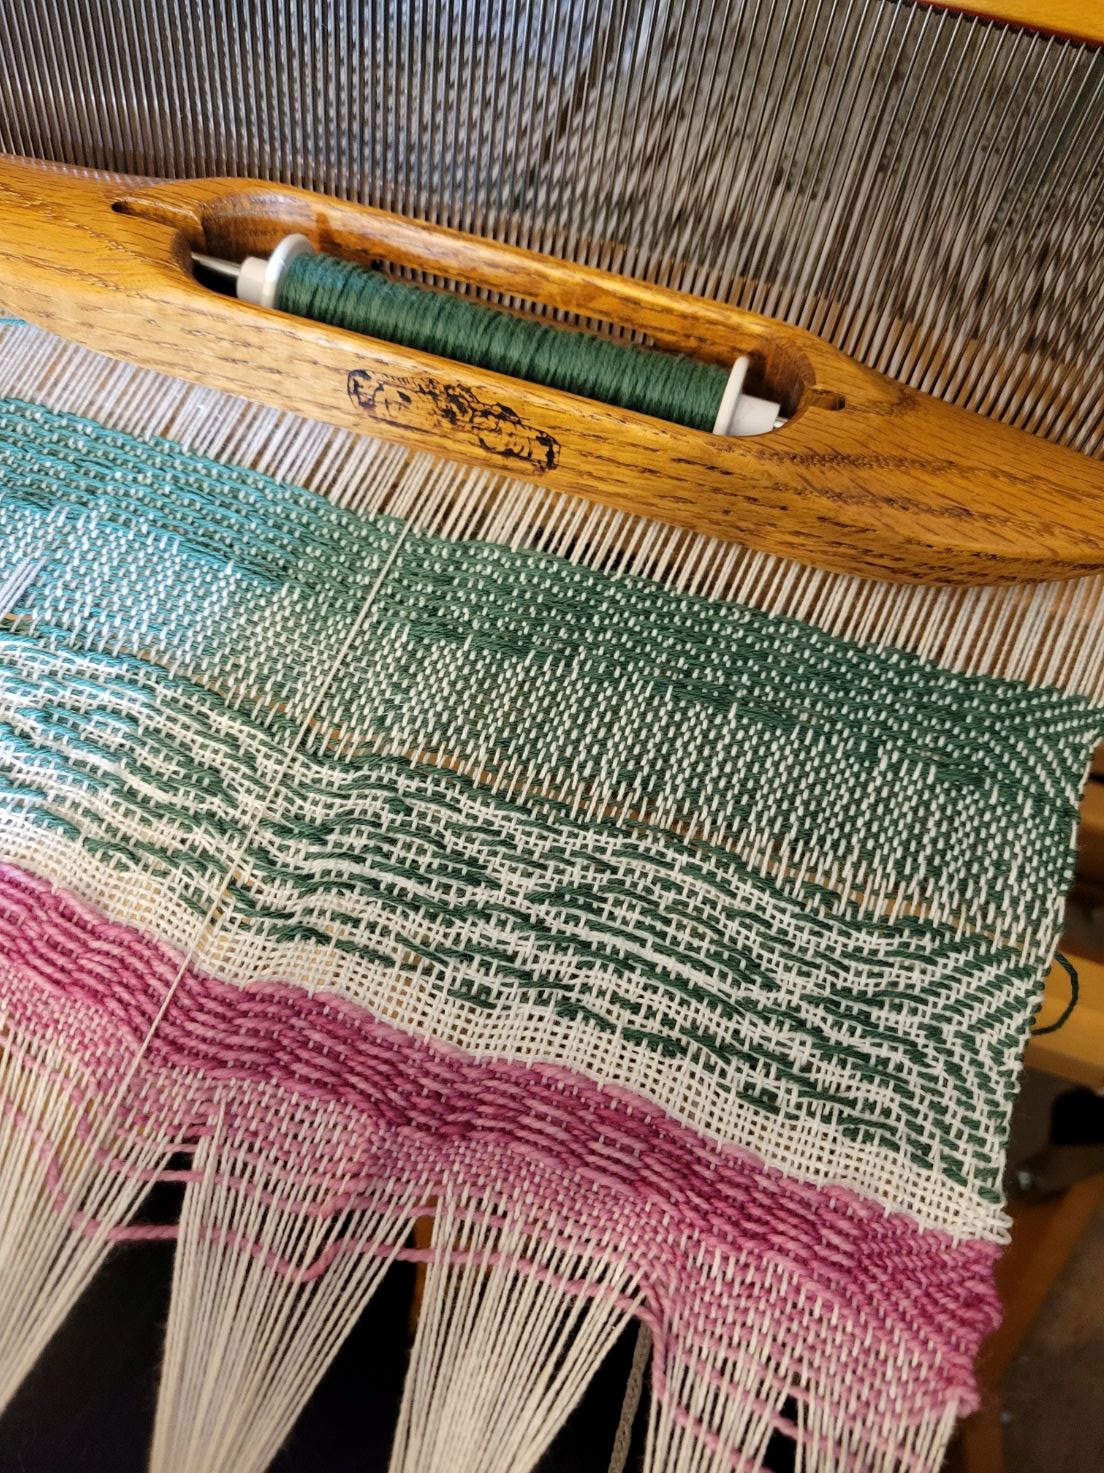
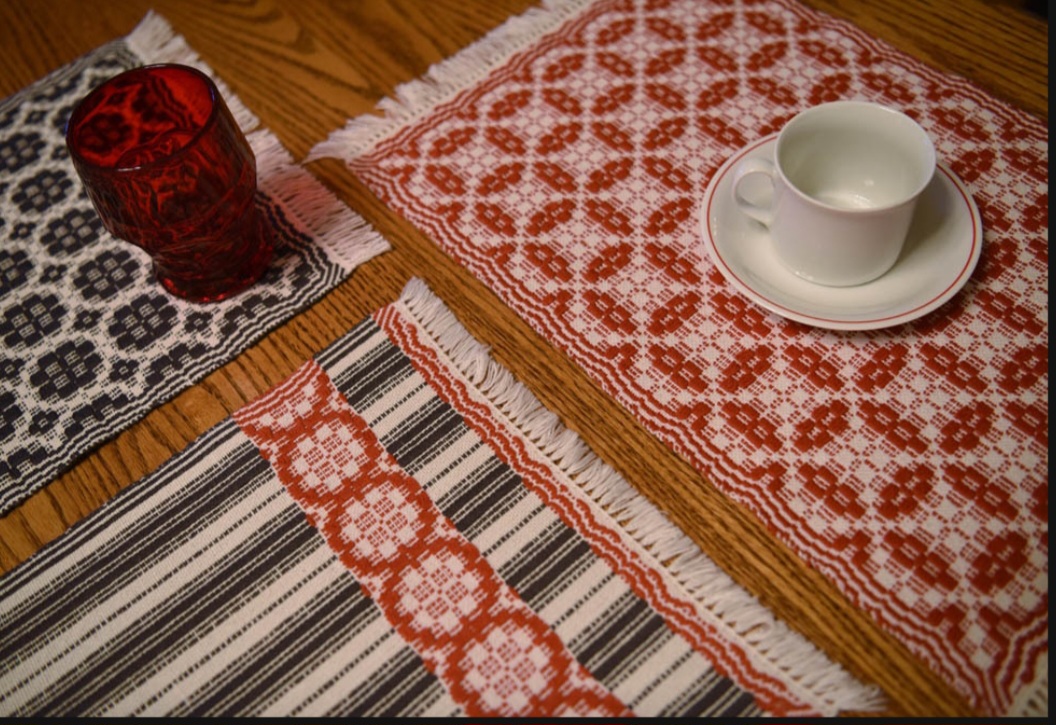
February was a good month for little ol’ scleroderma me. I was getting stuff done around the house, weaving lots of new projects, attending social events, and enjoying a sense of improvement. I’m doing pretty great, I told myself! I sailed through my routine medical appointments, had my usual heart echocardiogram done, and didn’t think about it too much. I had some cardiac symptoms last fall, but they seemed to be resolving okay.
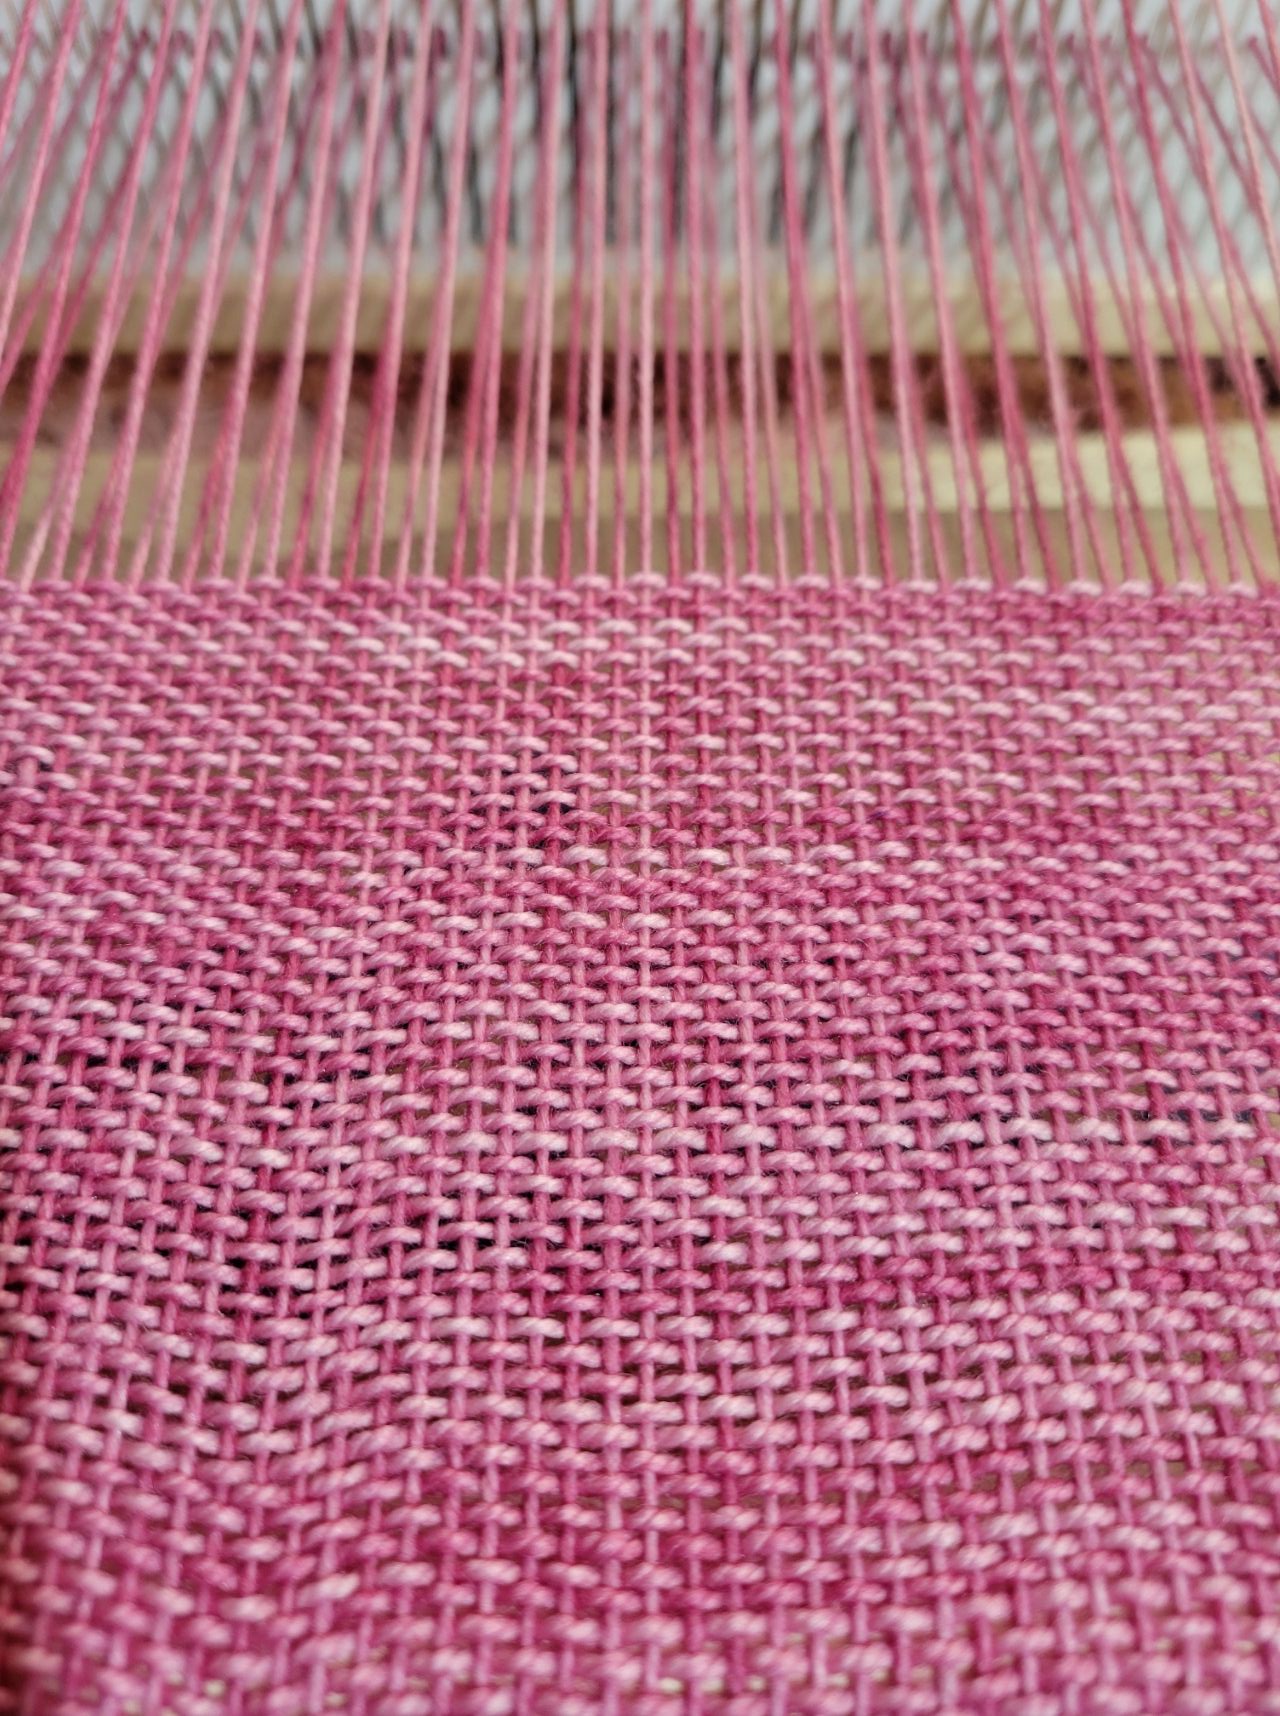
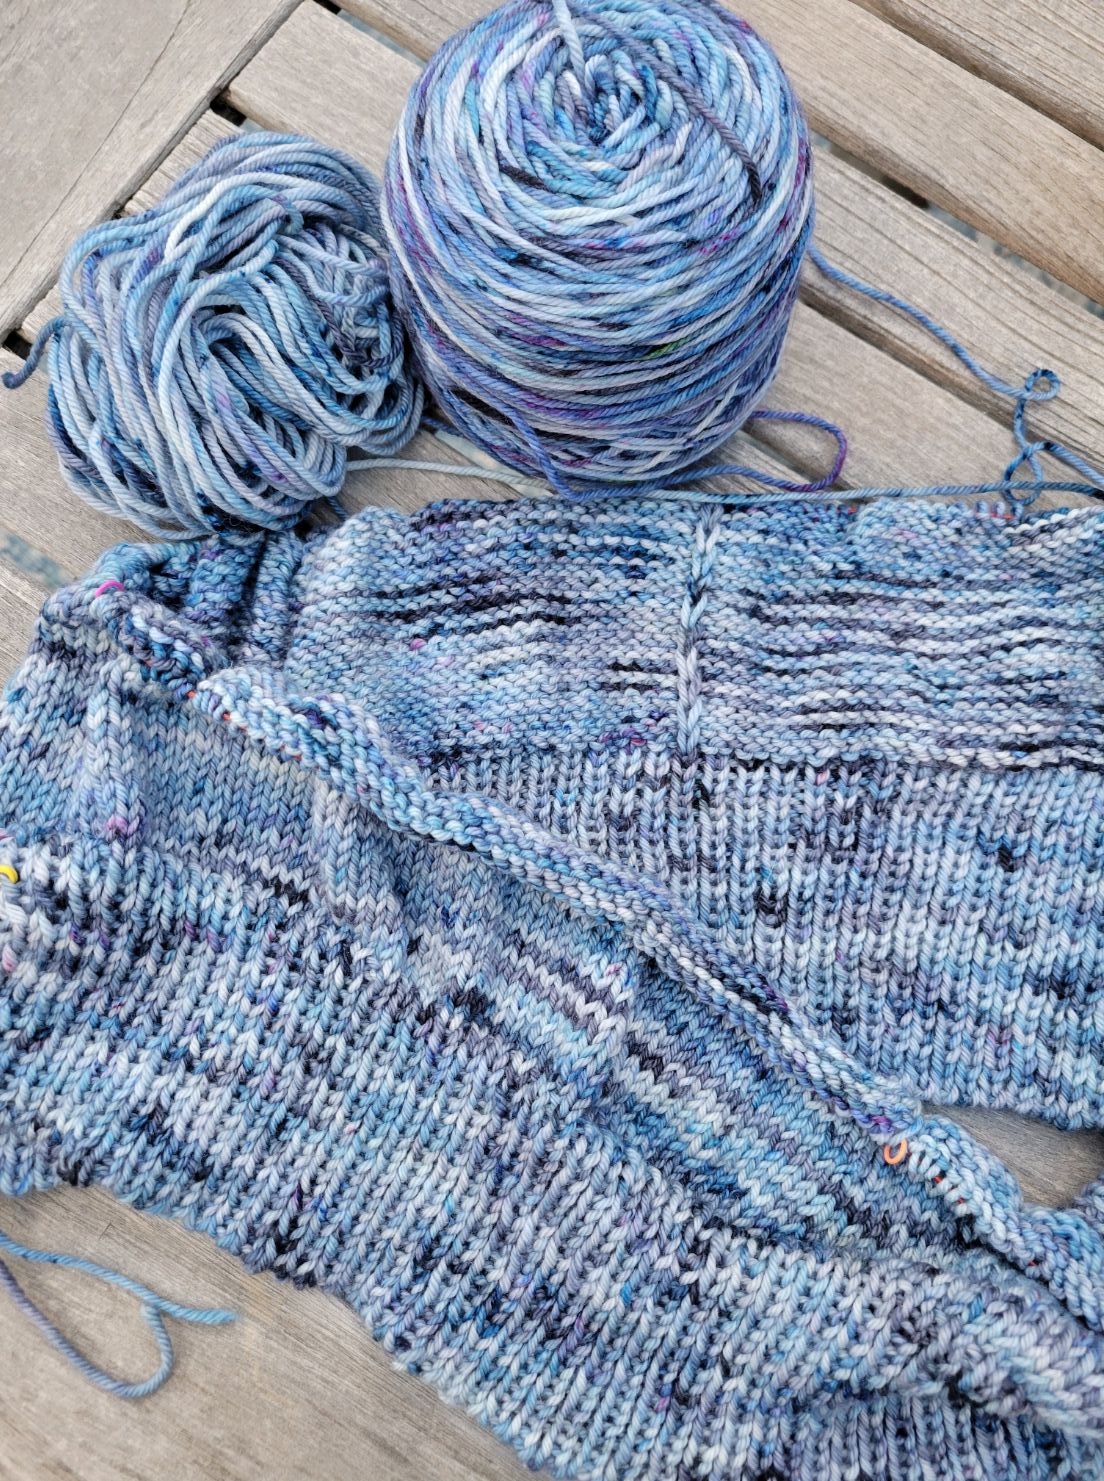
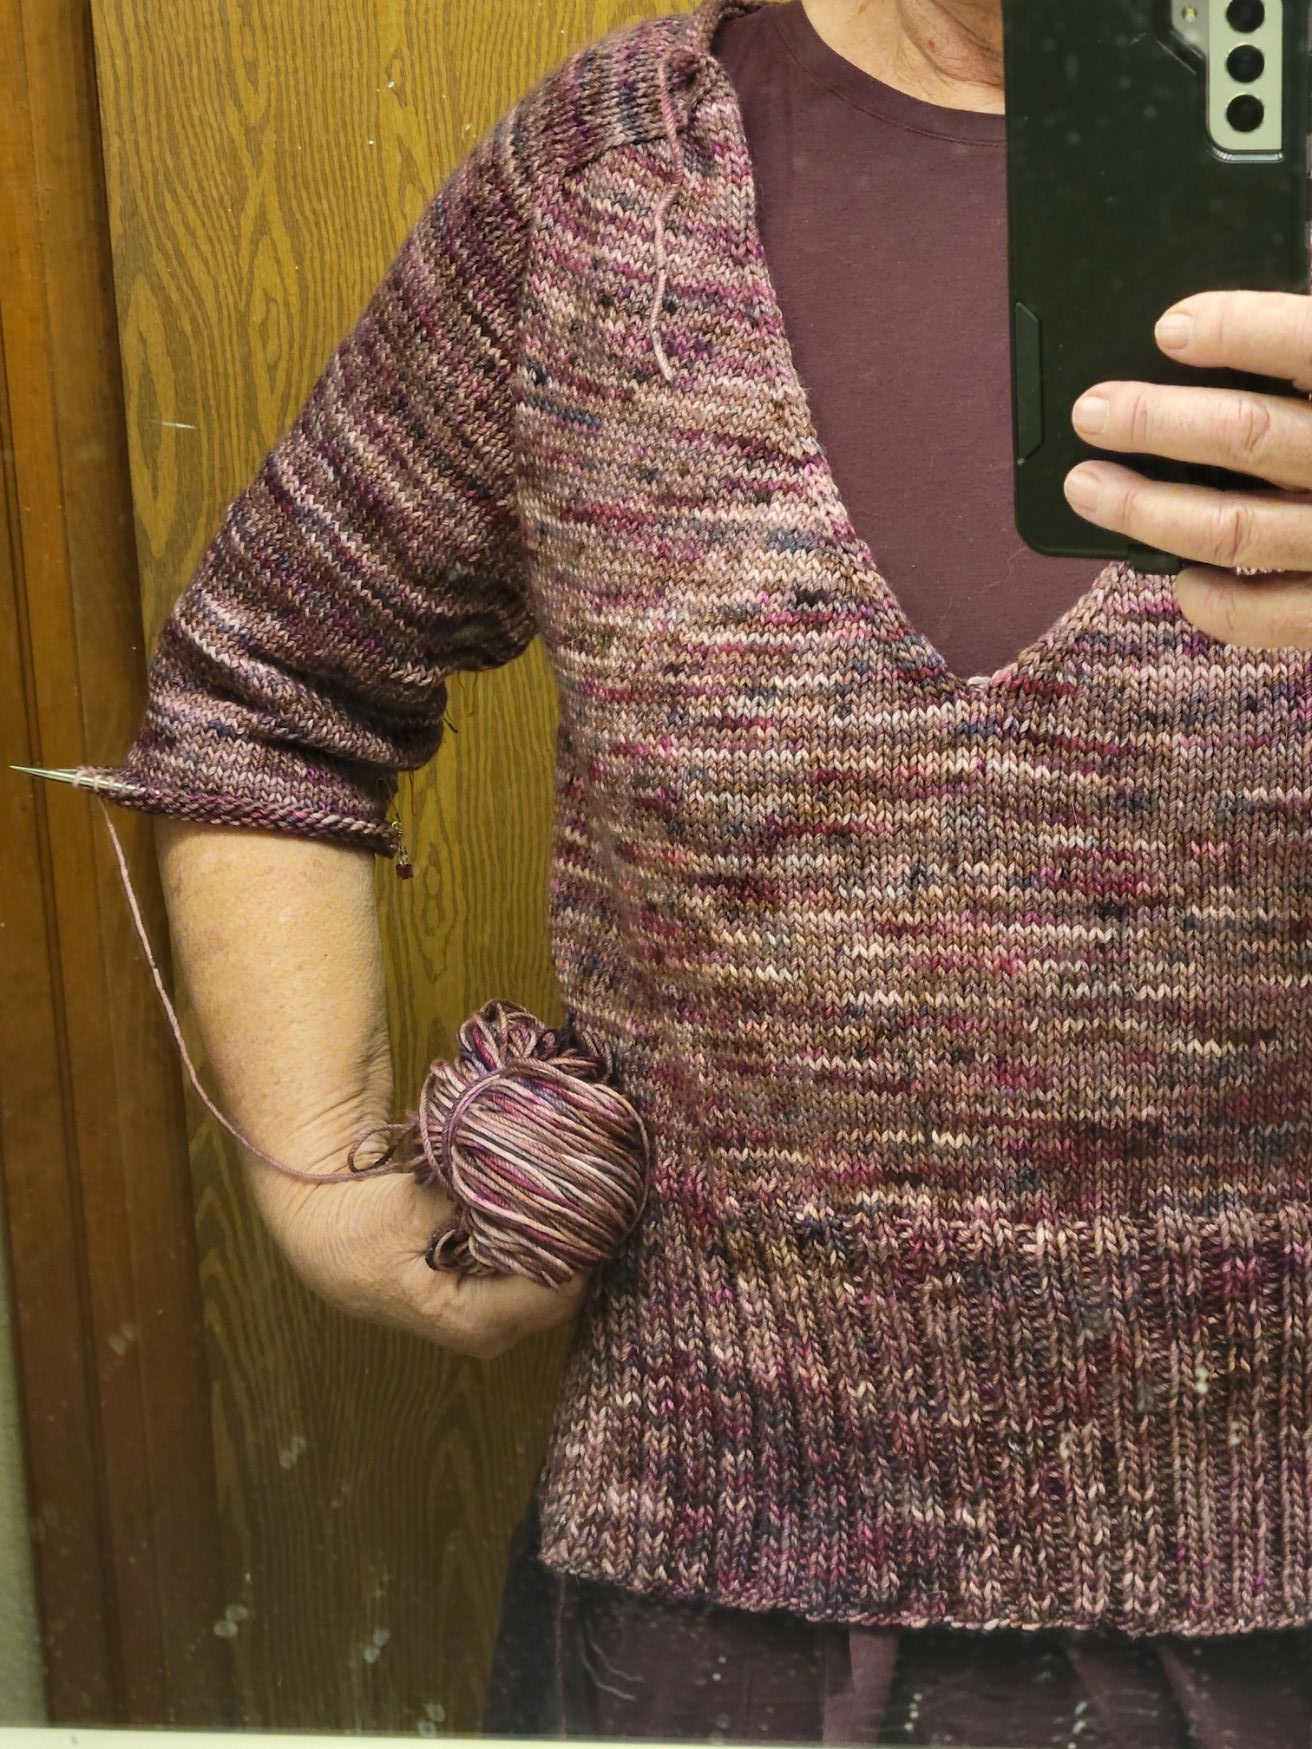
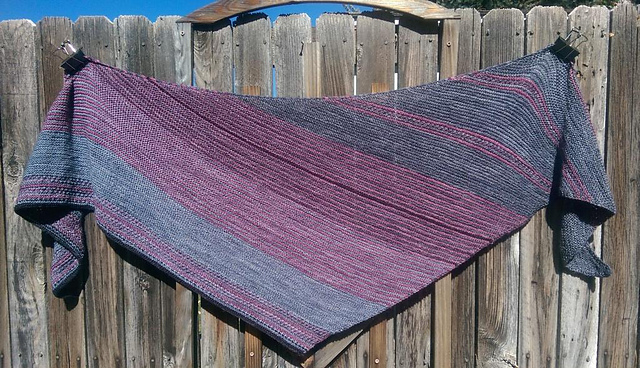
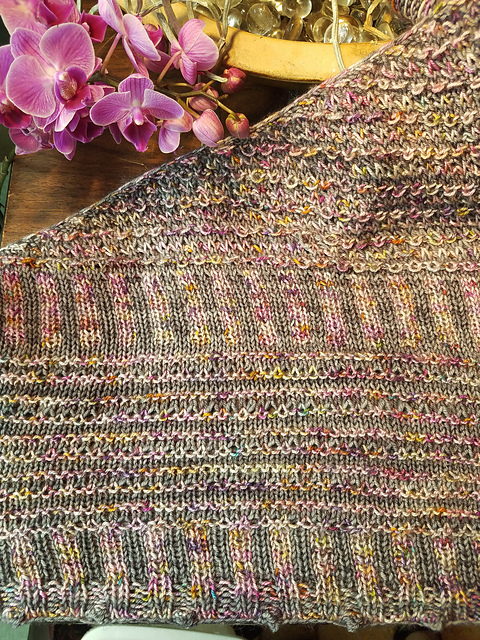
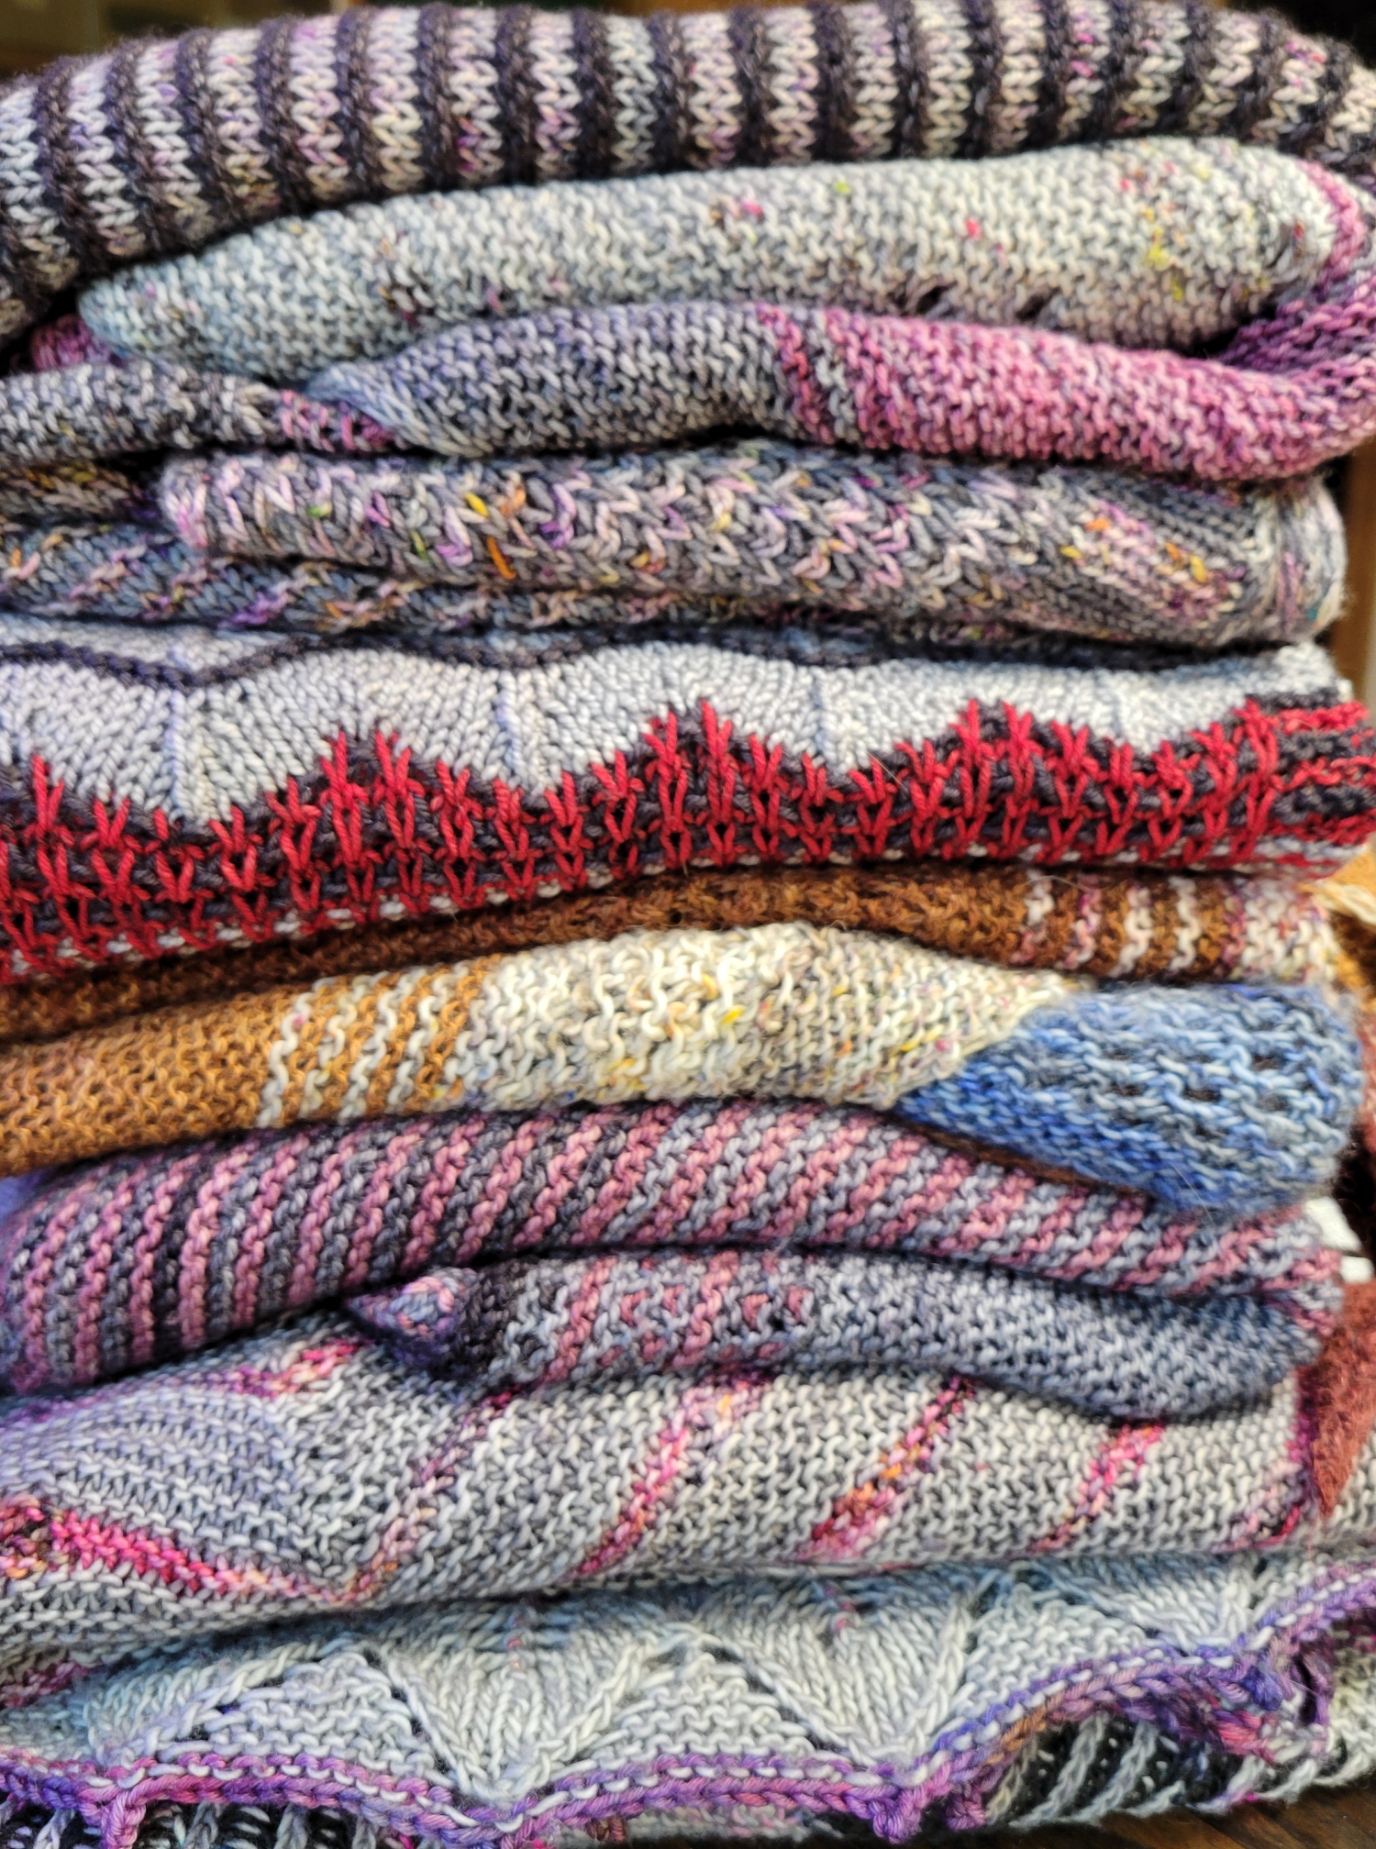
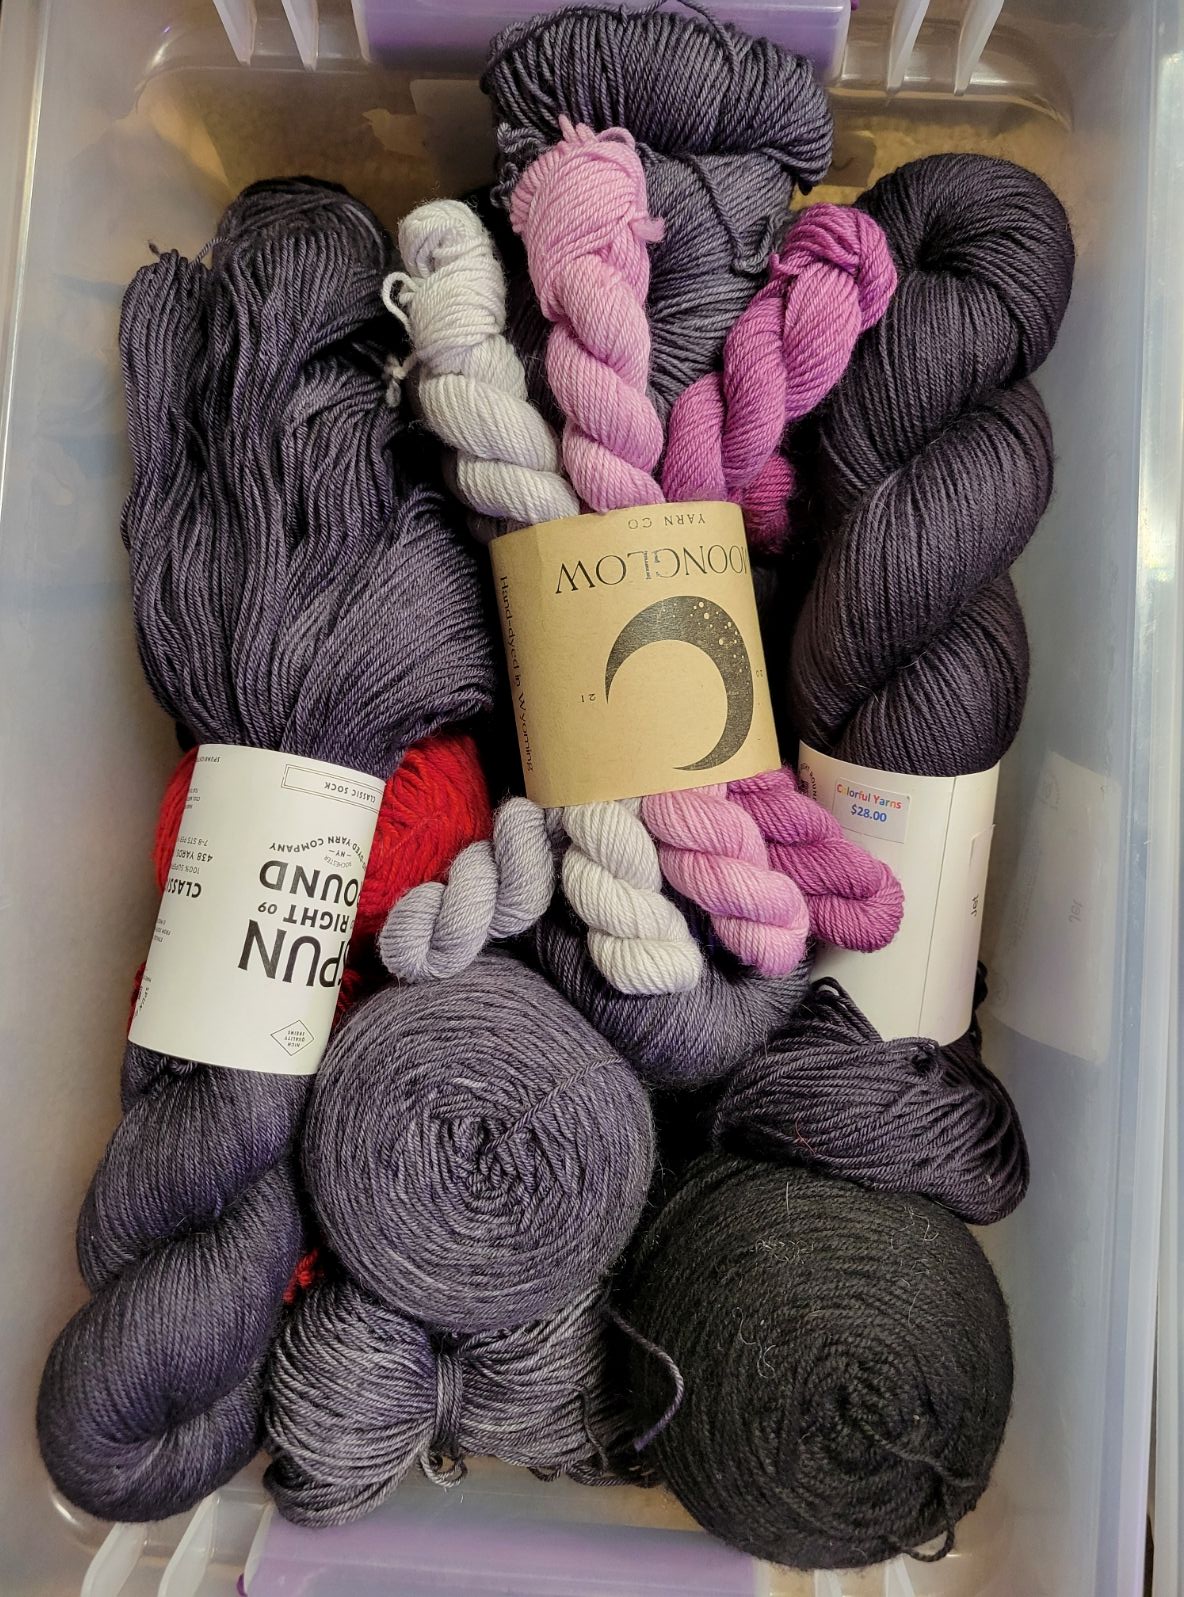
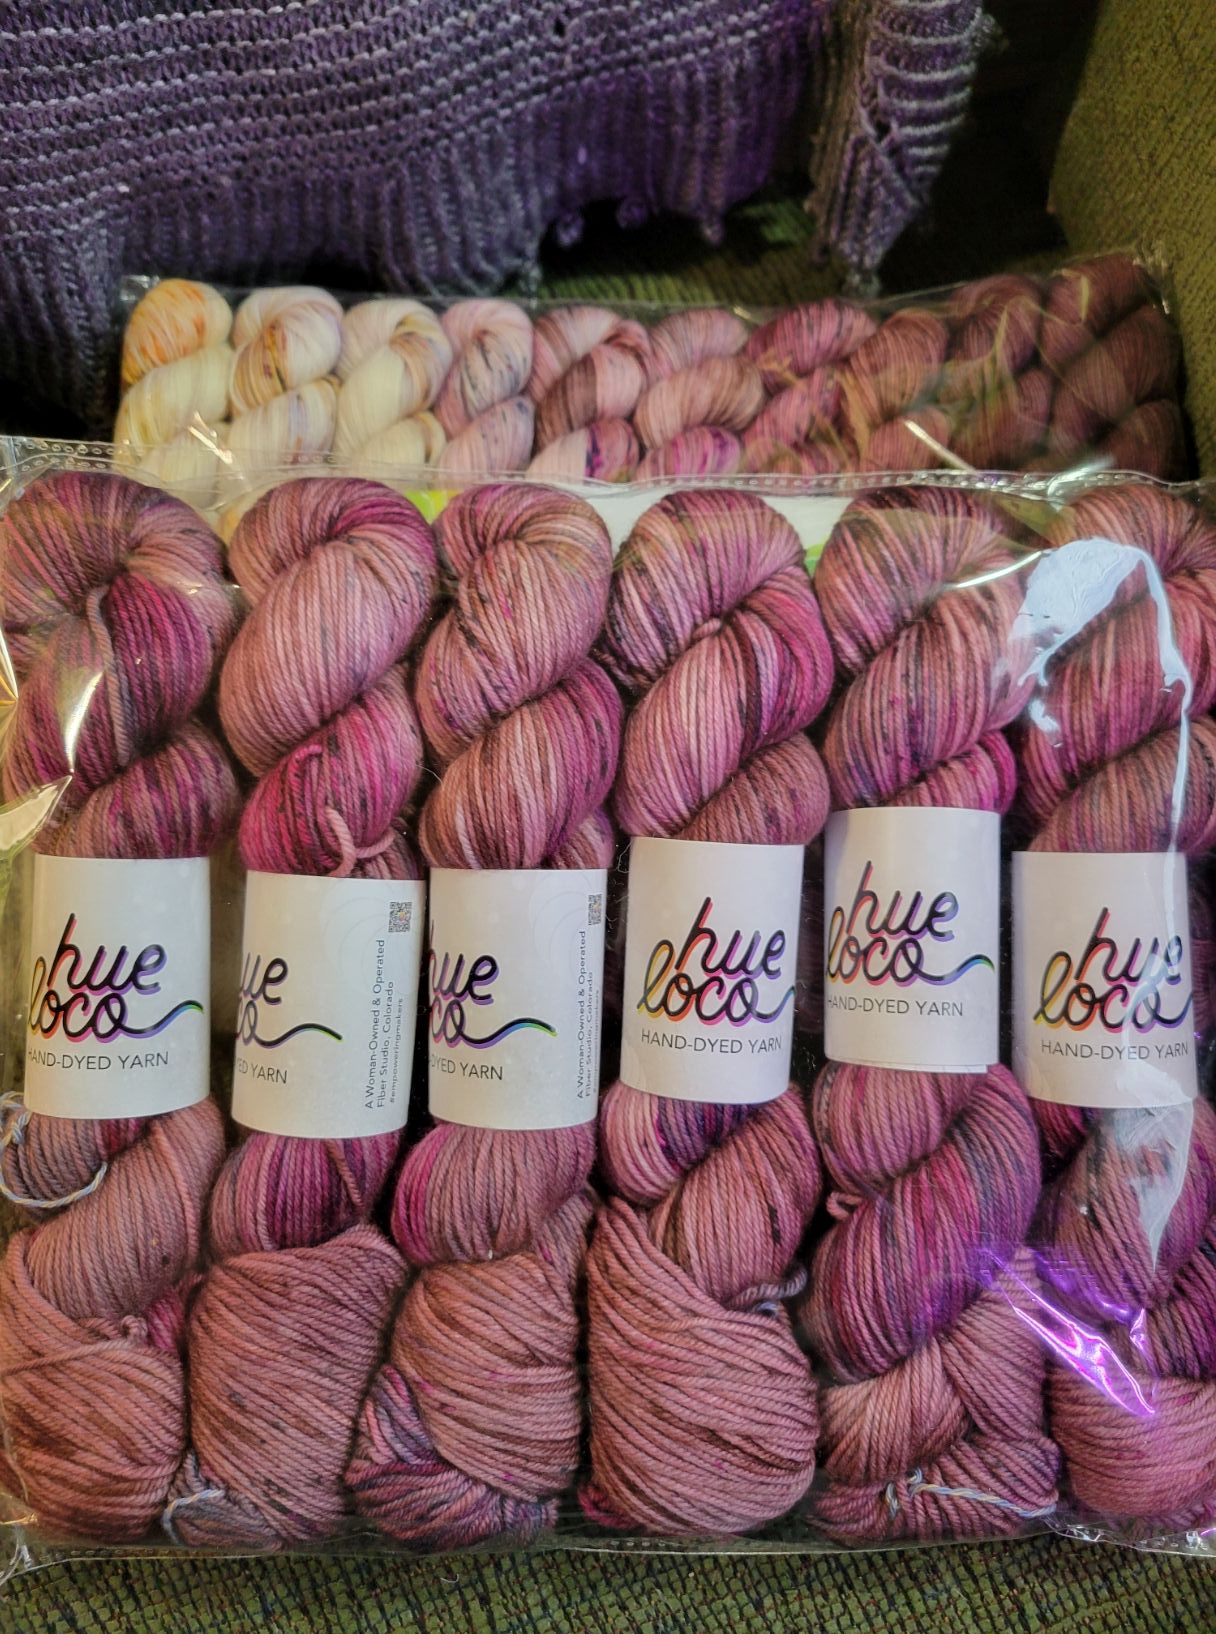
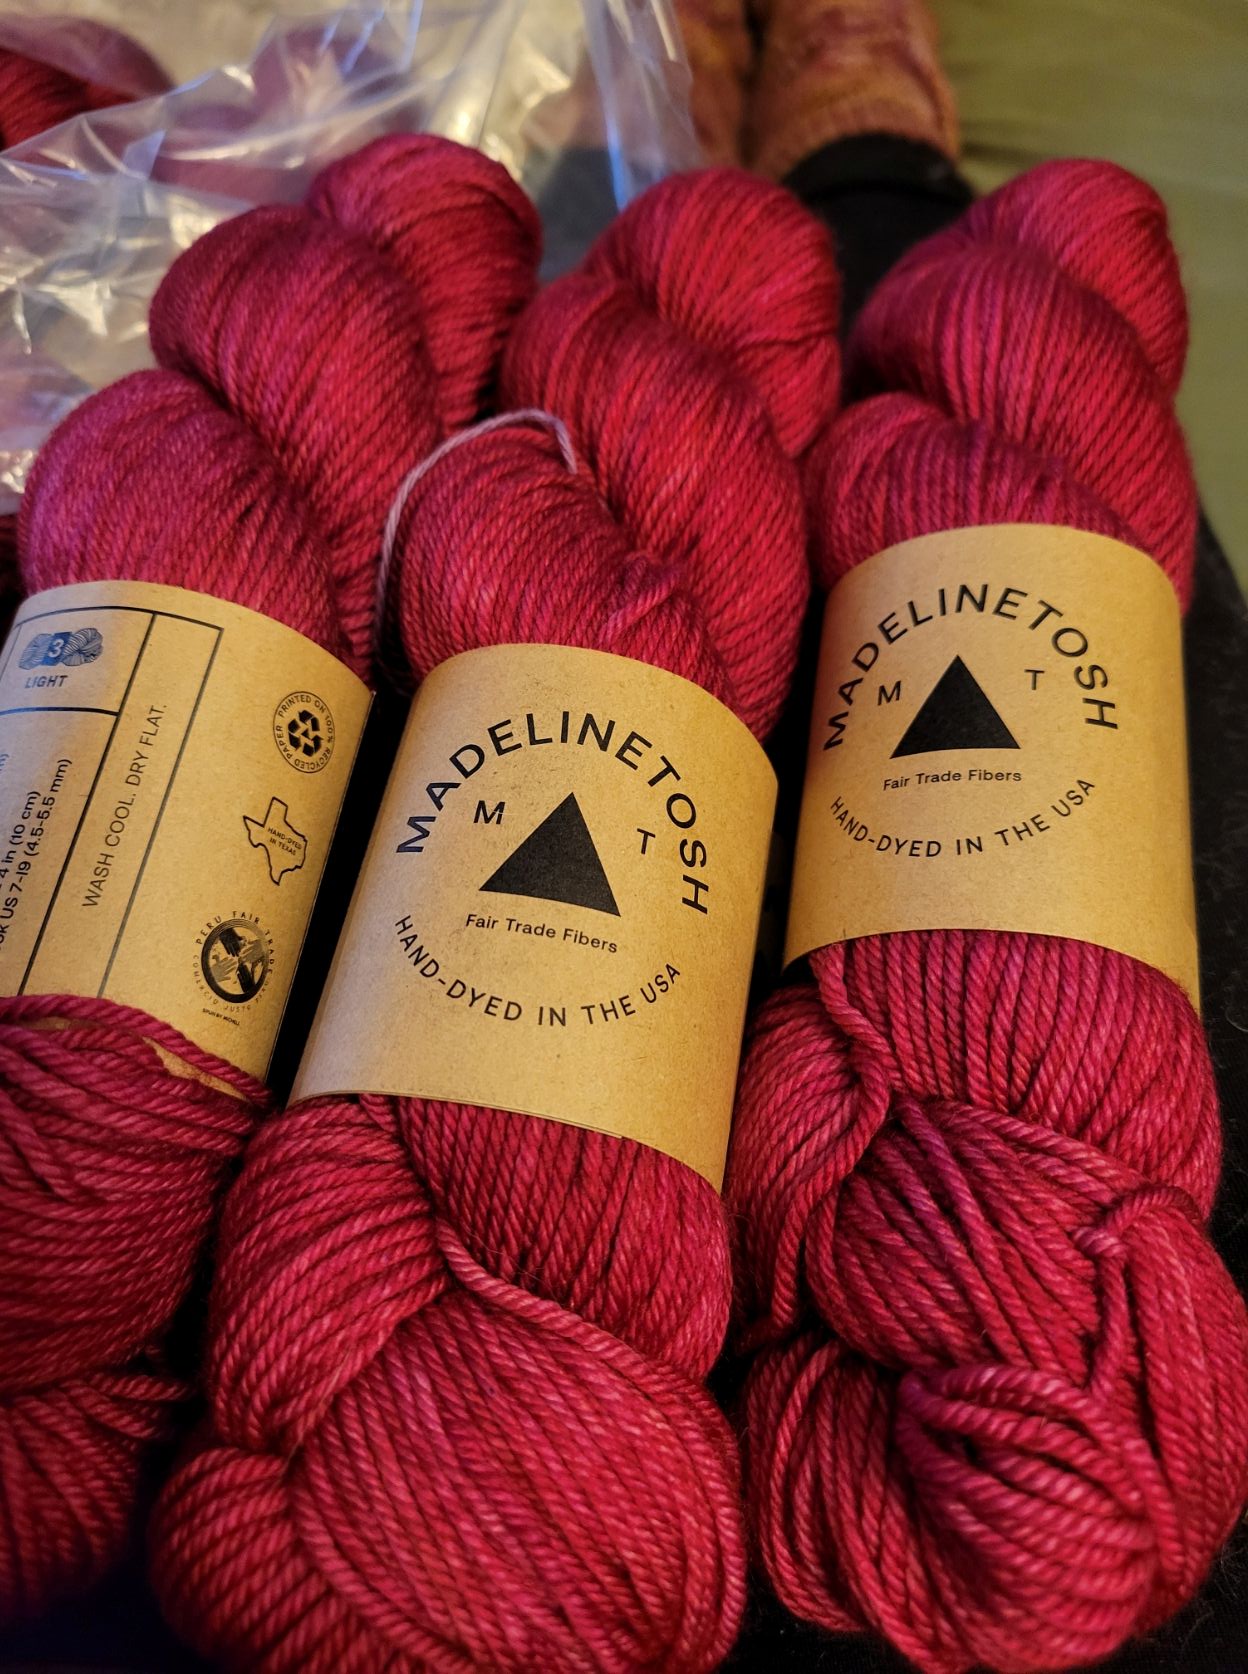
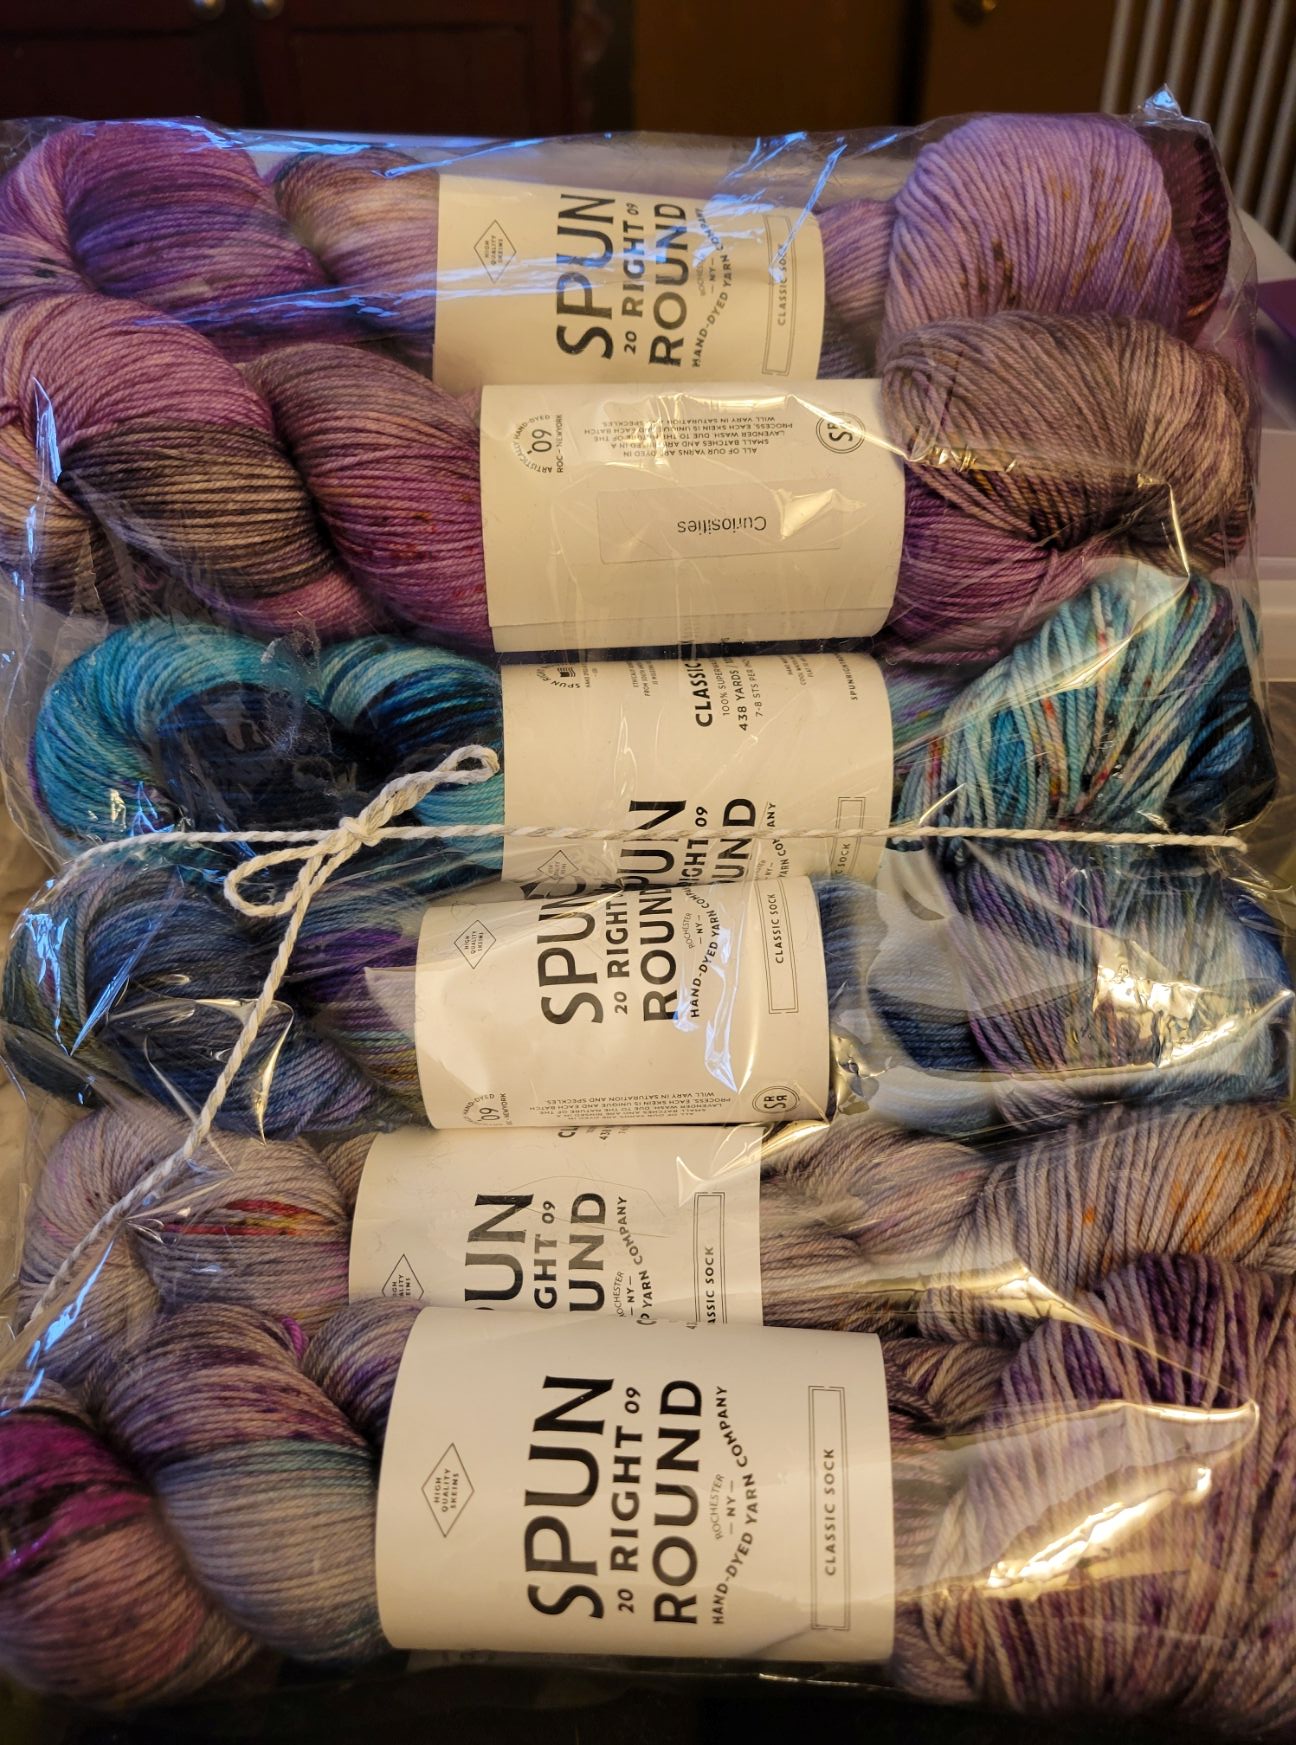
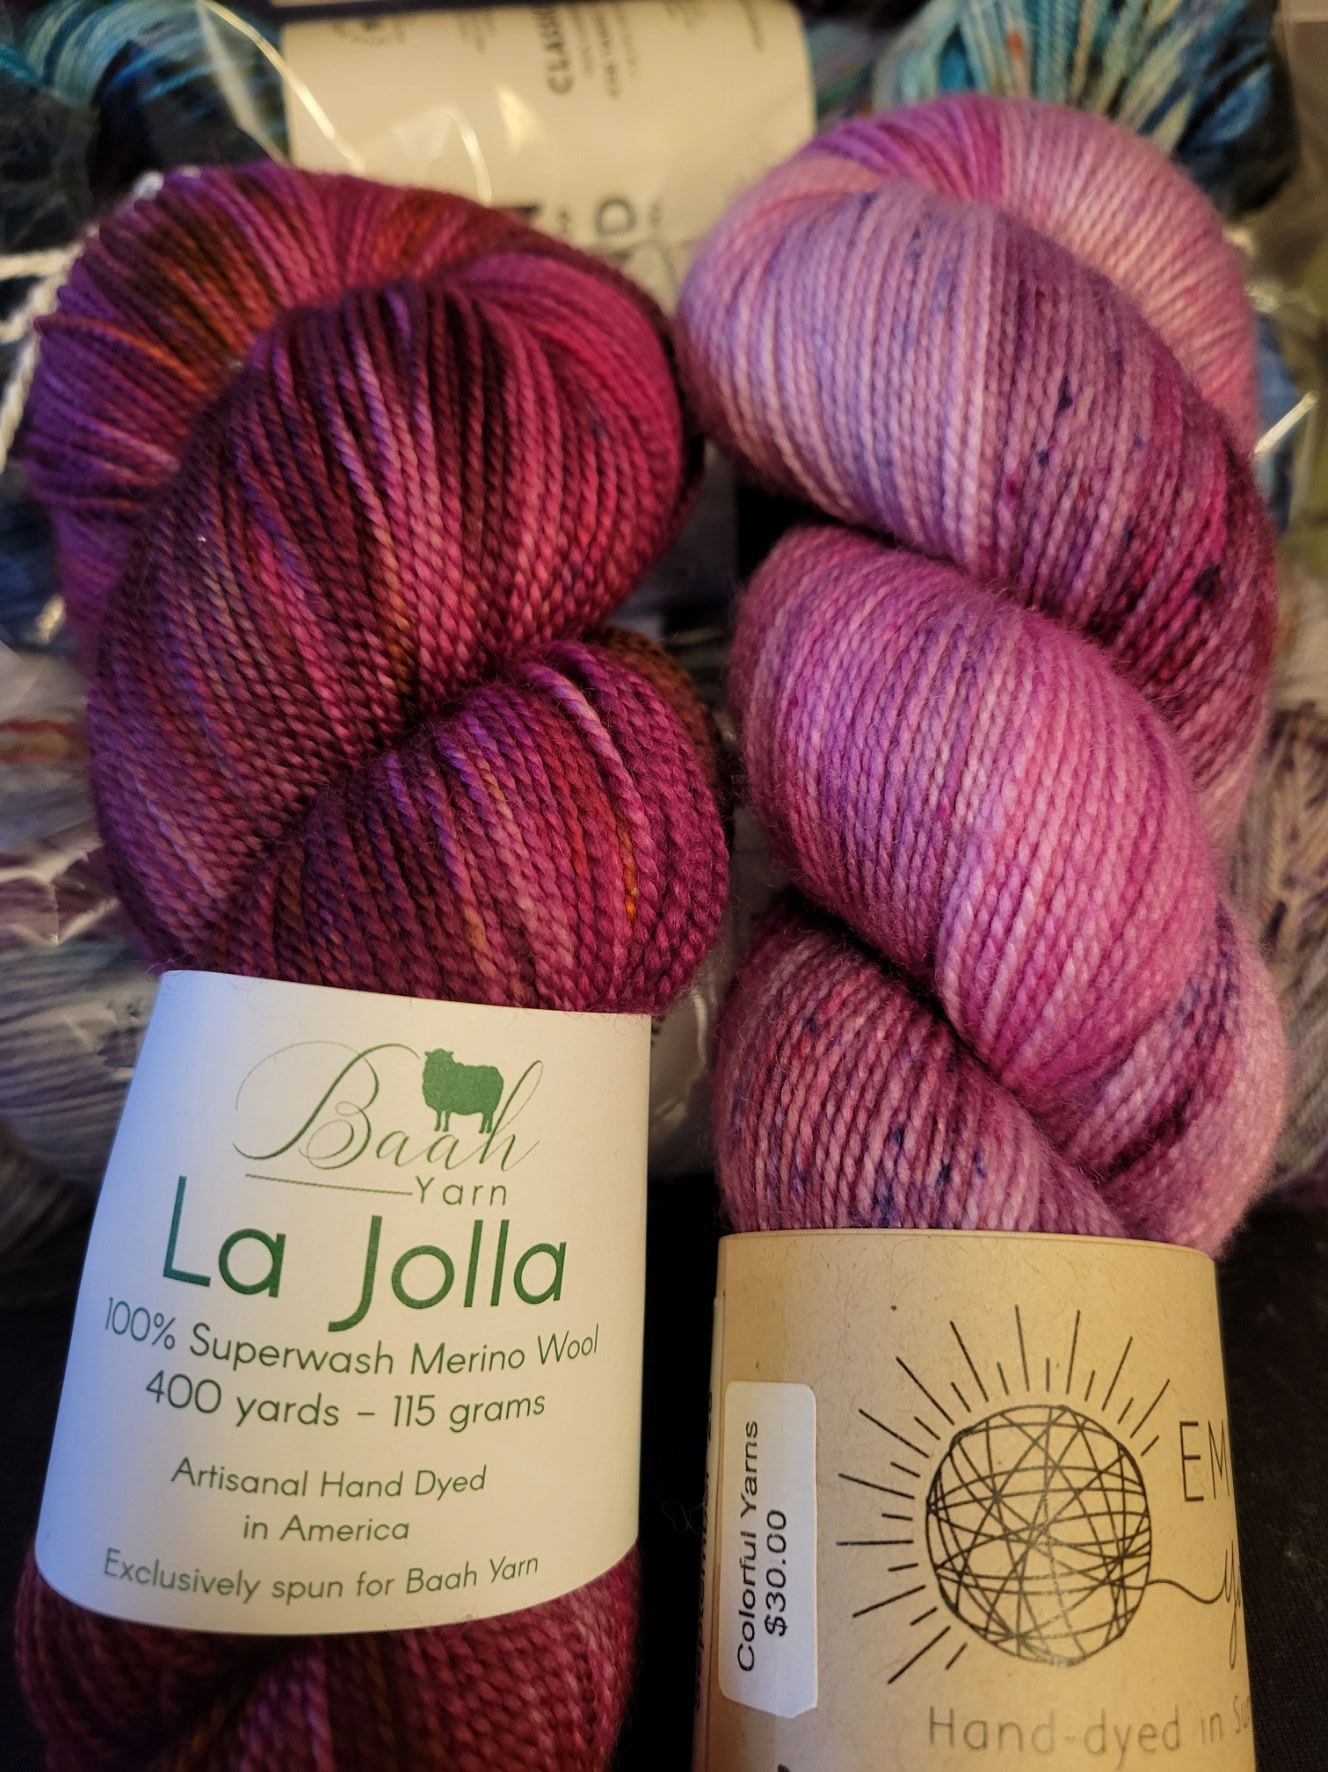
Feeling positive and joyful, I bought a lots of yarn in the gloom of winter. Look at all of that pink!!!!


Then the echocardiogram report came back. Oh, oh. I have had some fluid around my heart for several years now (a pericardial effusion) that my cardiologist has been following. It is rather common in systemic sclerosis patients, with about 25% of us having one at some point in our journey. This time the effusion has grown, completely surrounding my heart, and large enough to cause symptoms and to be a concern. Oh. That’s why I was feeling dizzy and experiencing some chest discomfort last December. My cardiologist ordered up some blood work to see if I have active inflammation and pericarditis.
Nope. My inflammation markers are normal. Kind of a bummer, as that means it won’t respond to anti-inflammatory medications, and this is something else. Scleroderma, hard at work. The possibility of broken heart syndrome has been raised. Fabulous. My cardiologist scheduled another echocardiogram for early June. I have kind of a concern that there might be some type of procedure that involves a huge needle that will be required to remove some of that fluid. I just have to be complicated, right?
Then I got sick with some nasty respiratory virus…
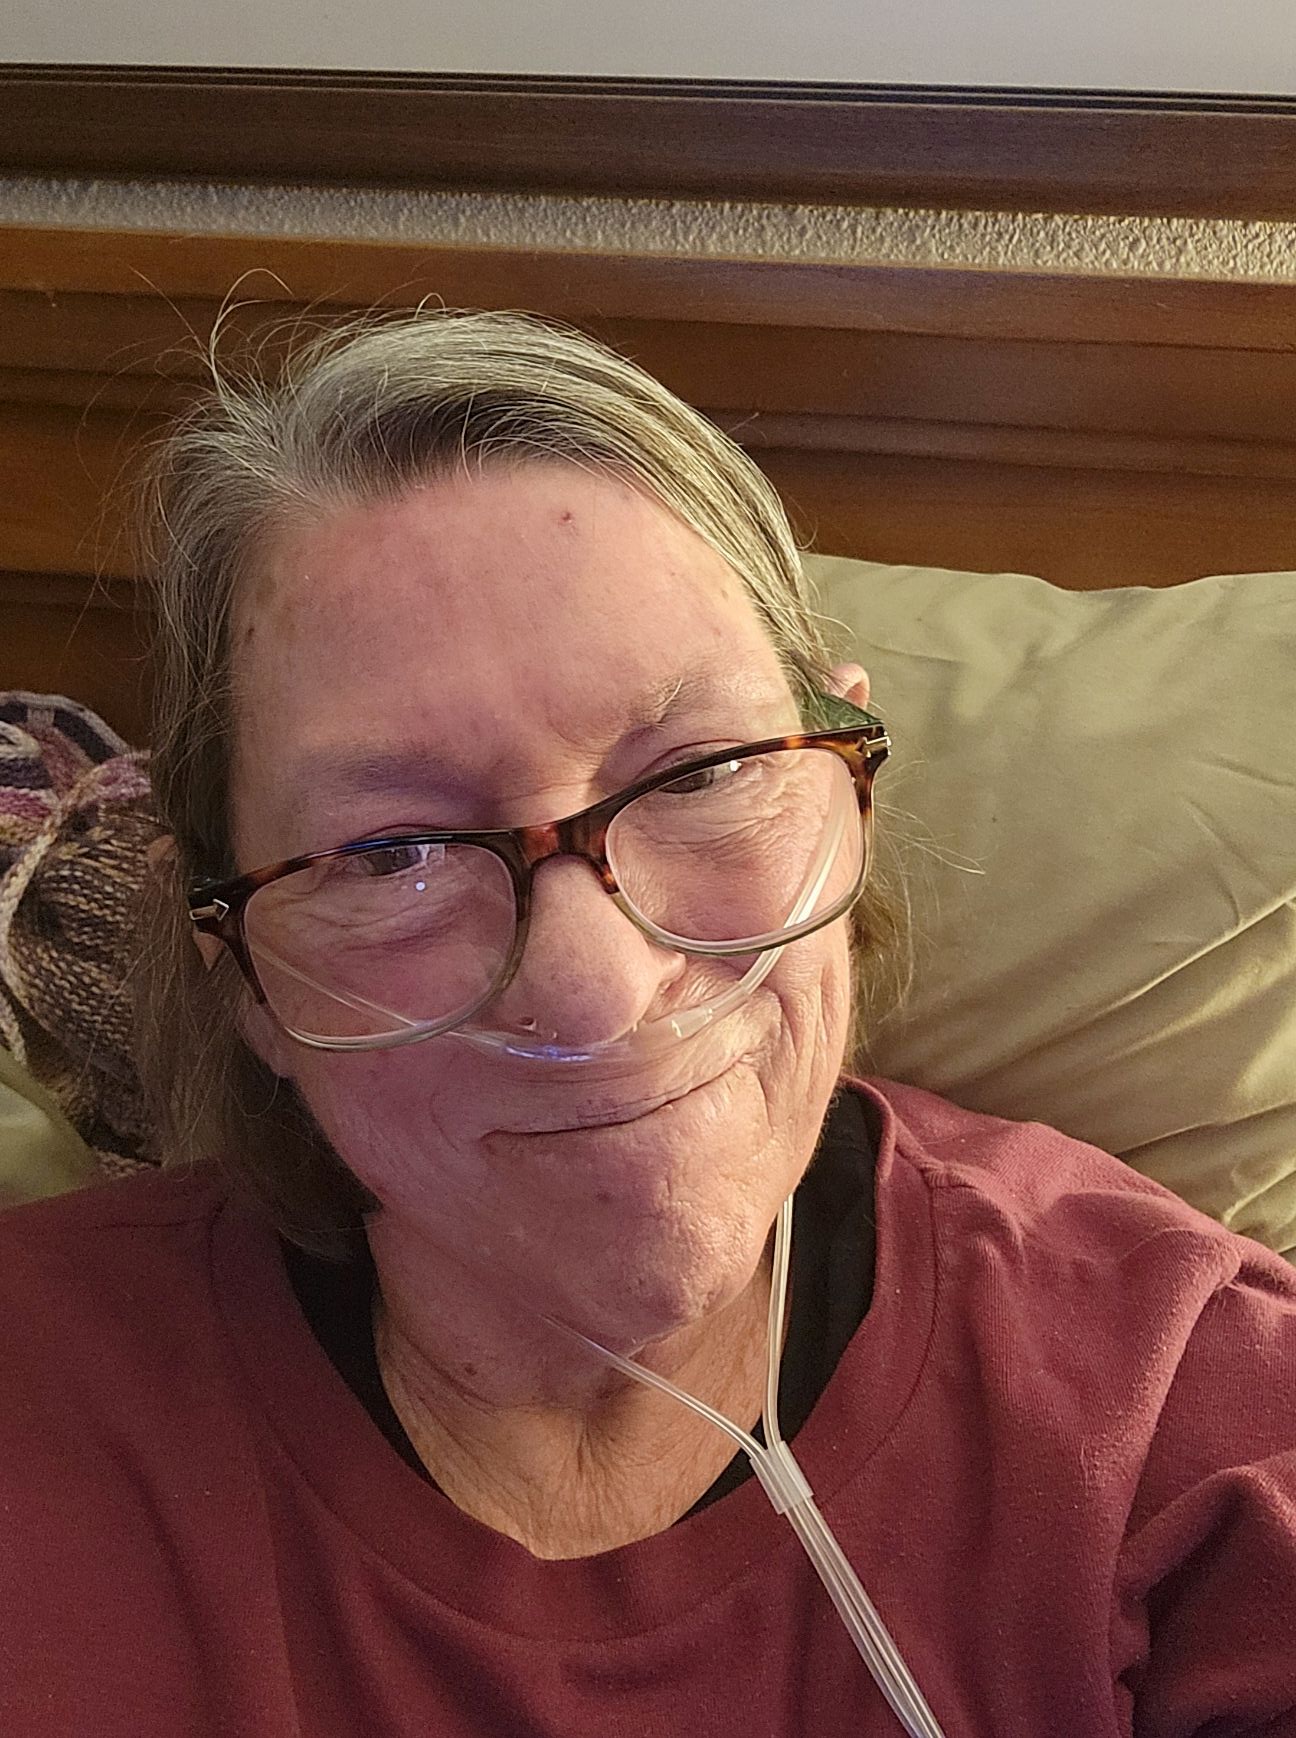
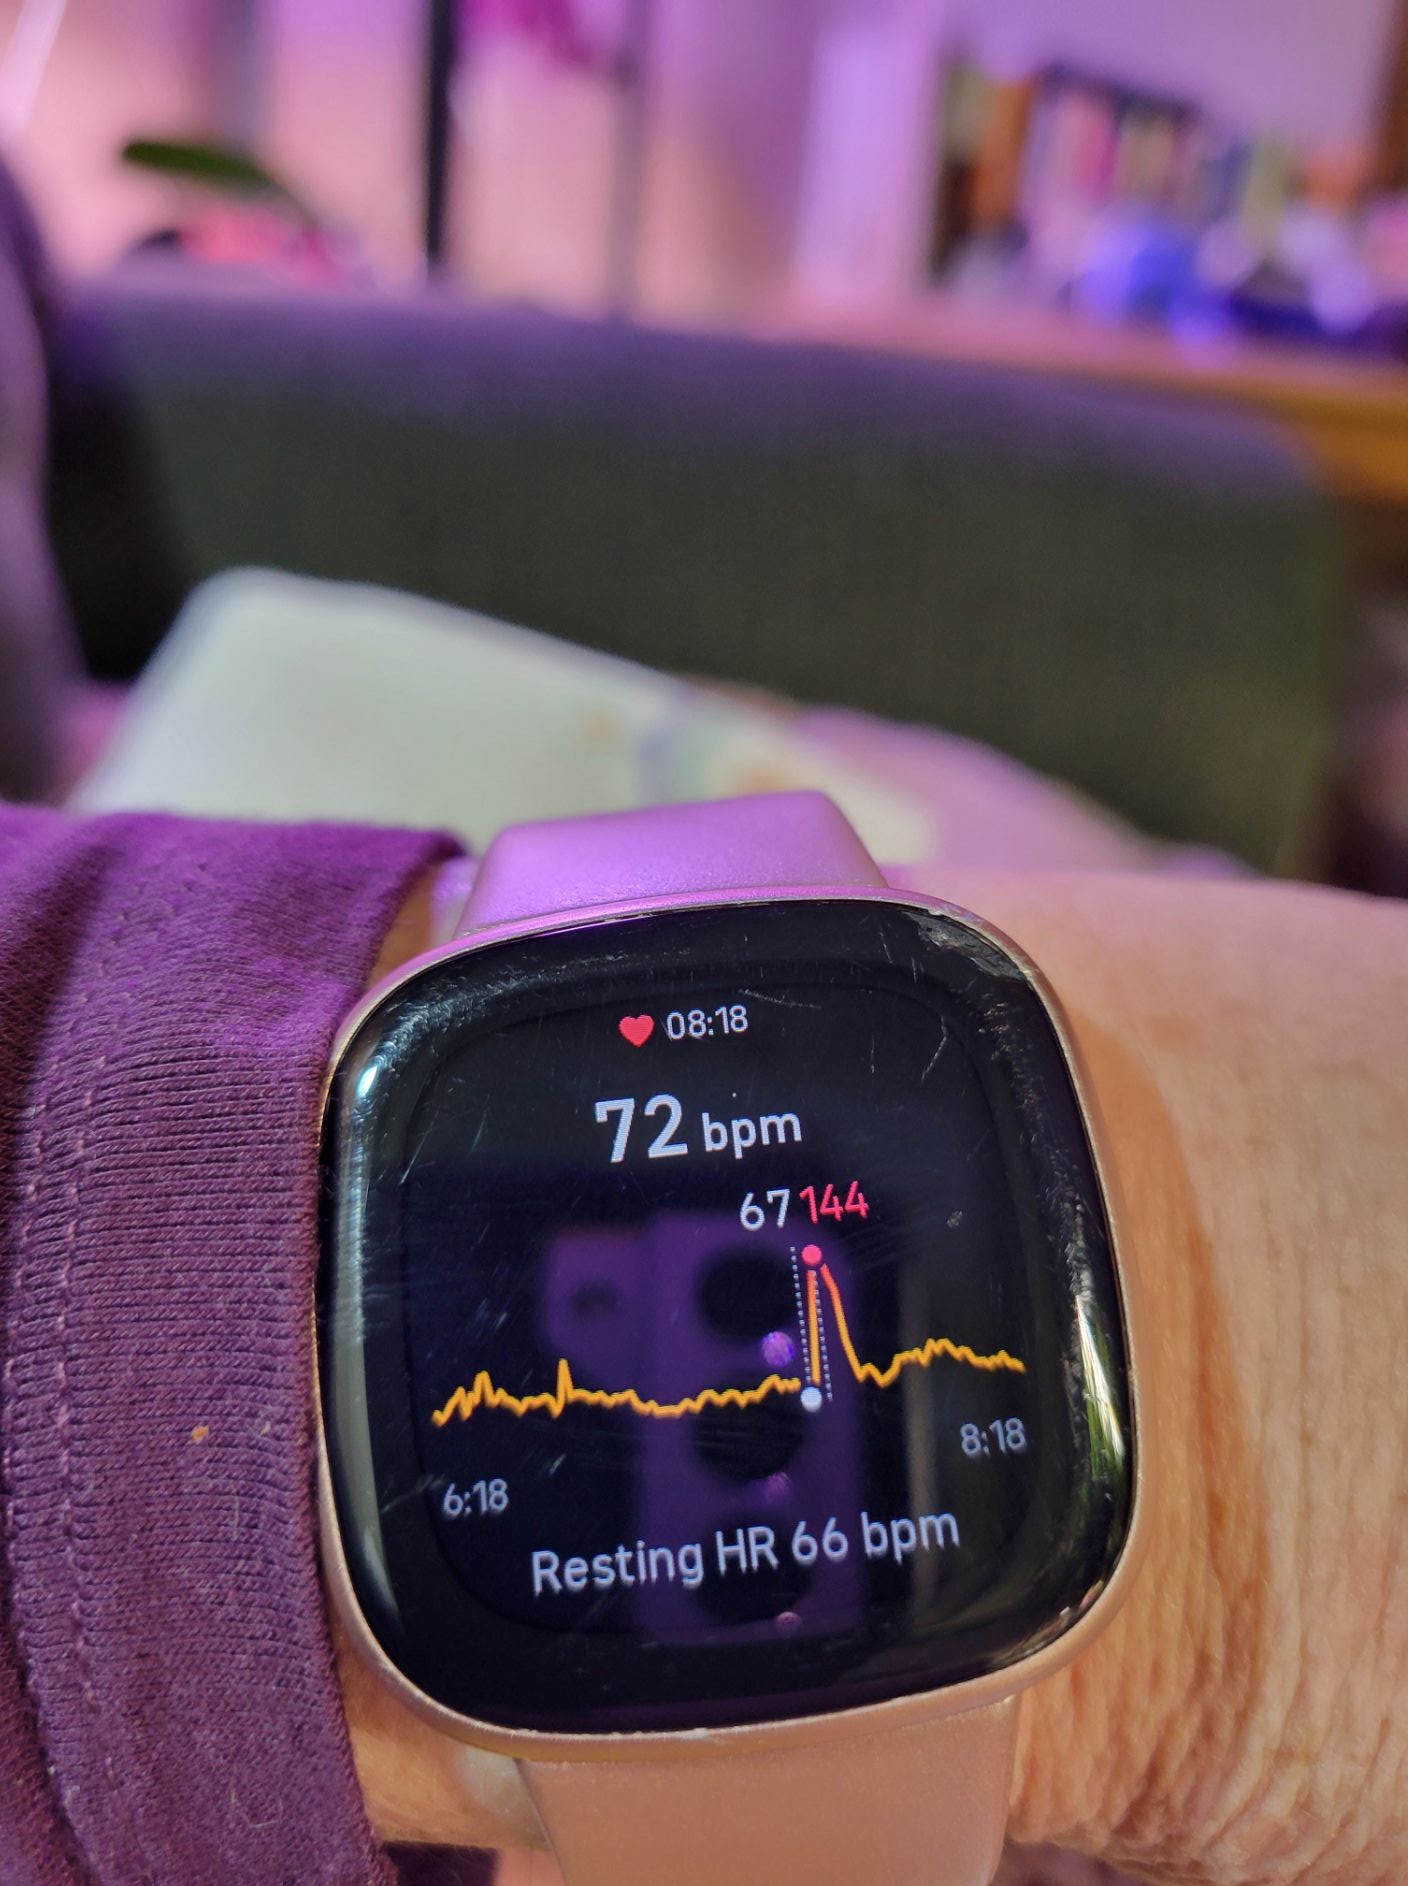
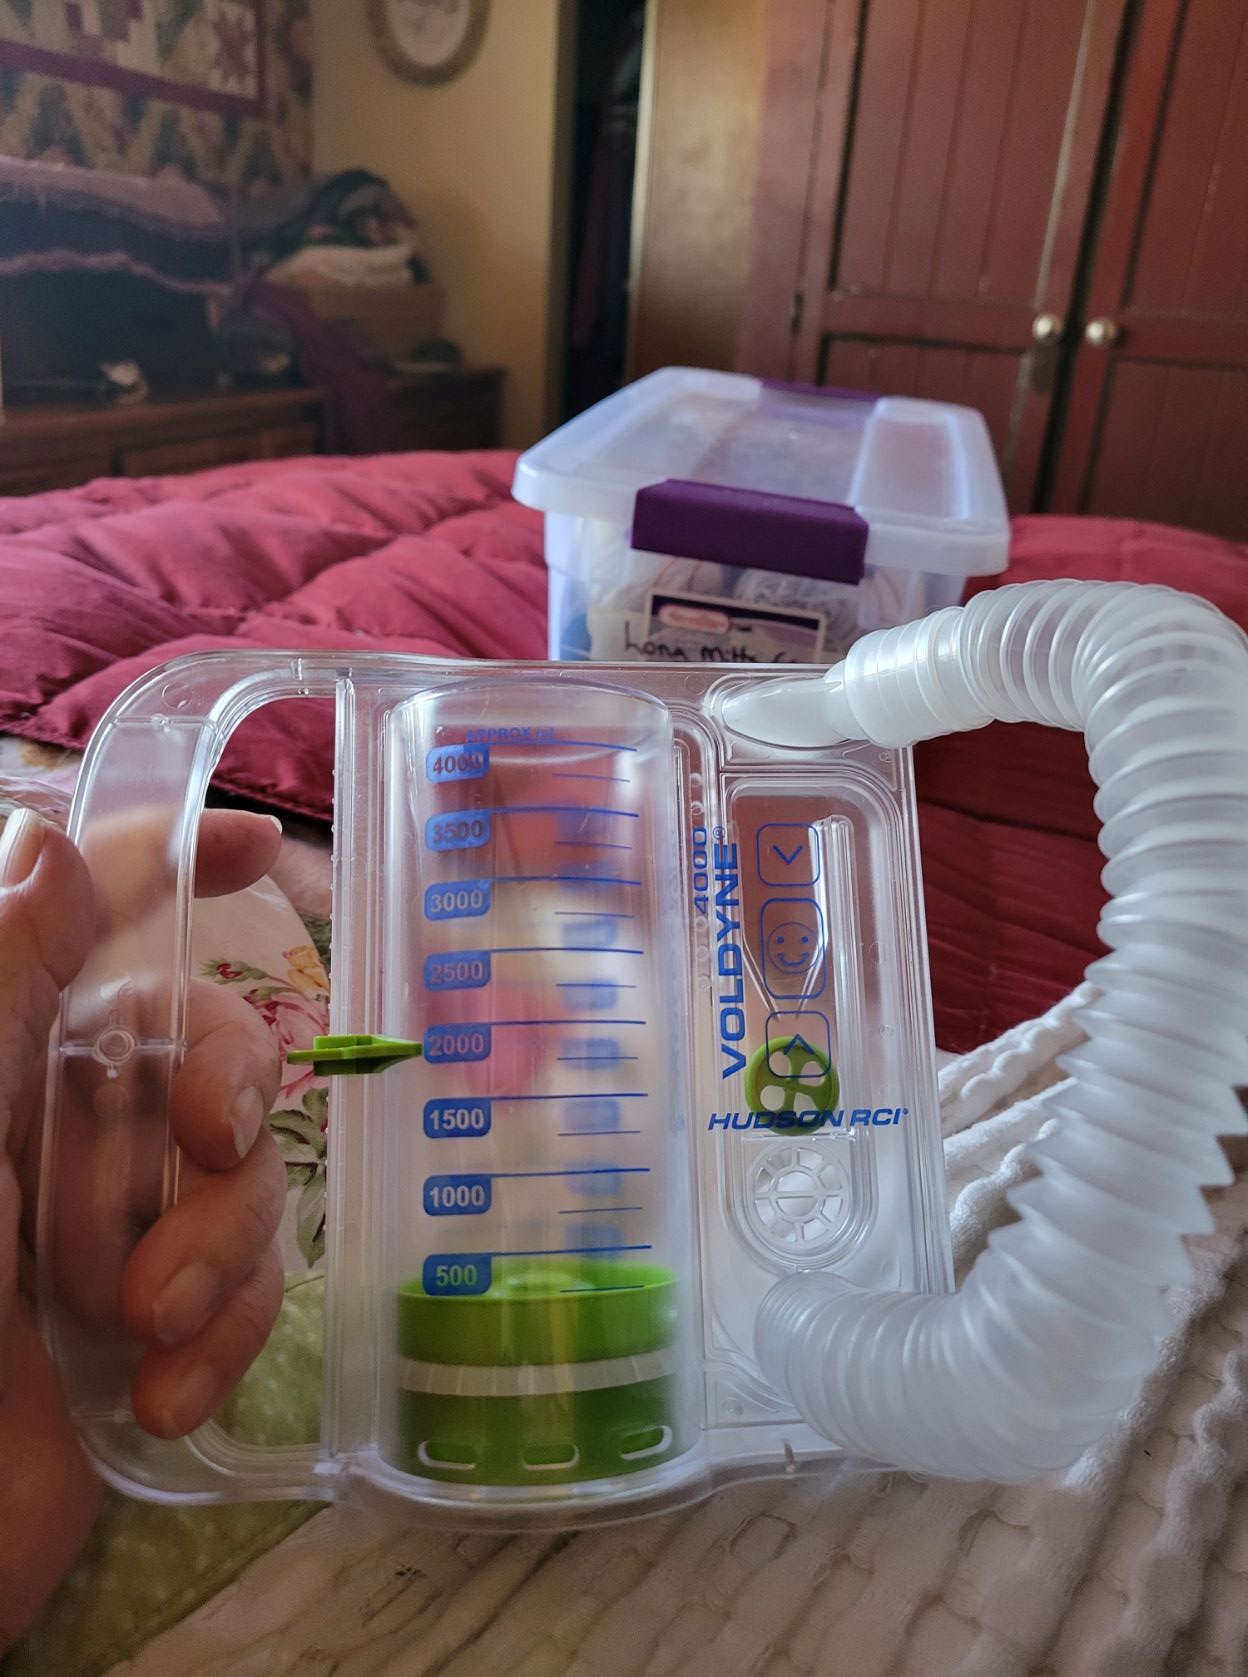
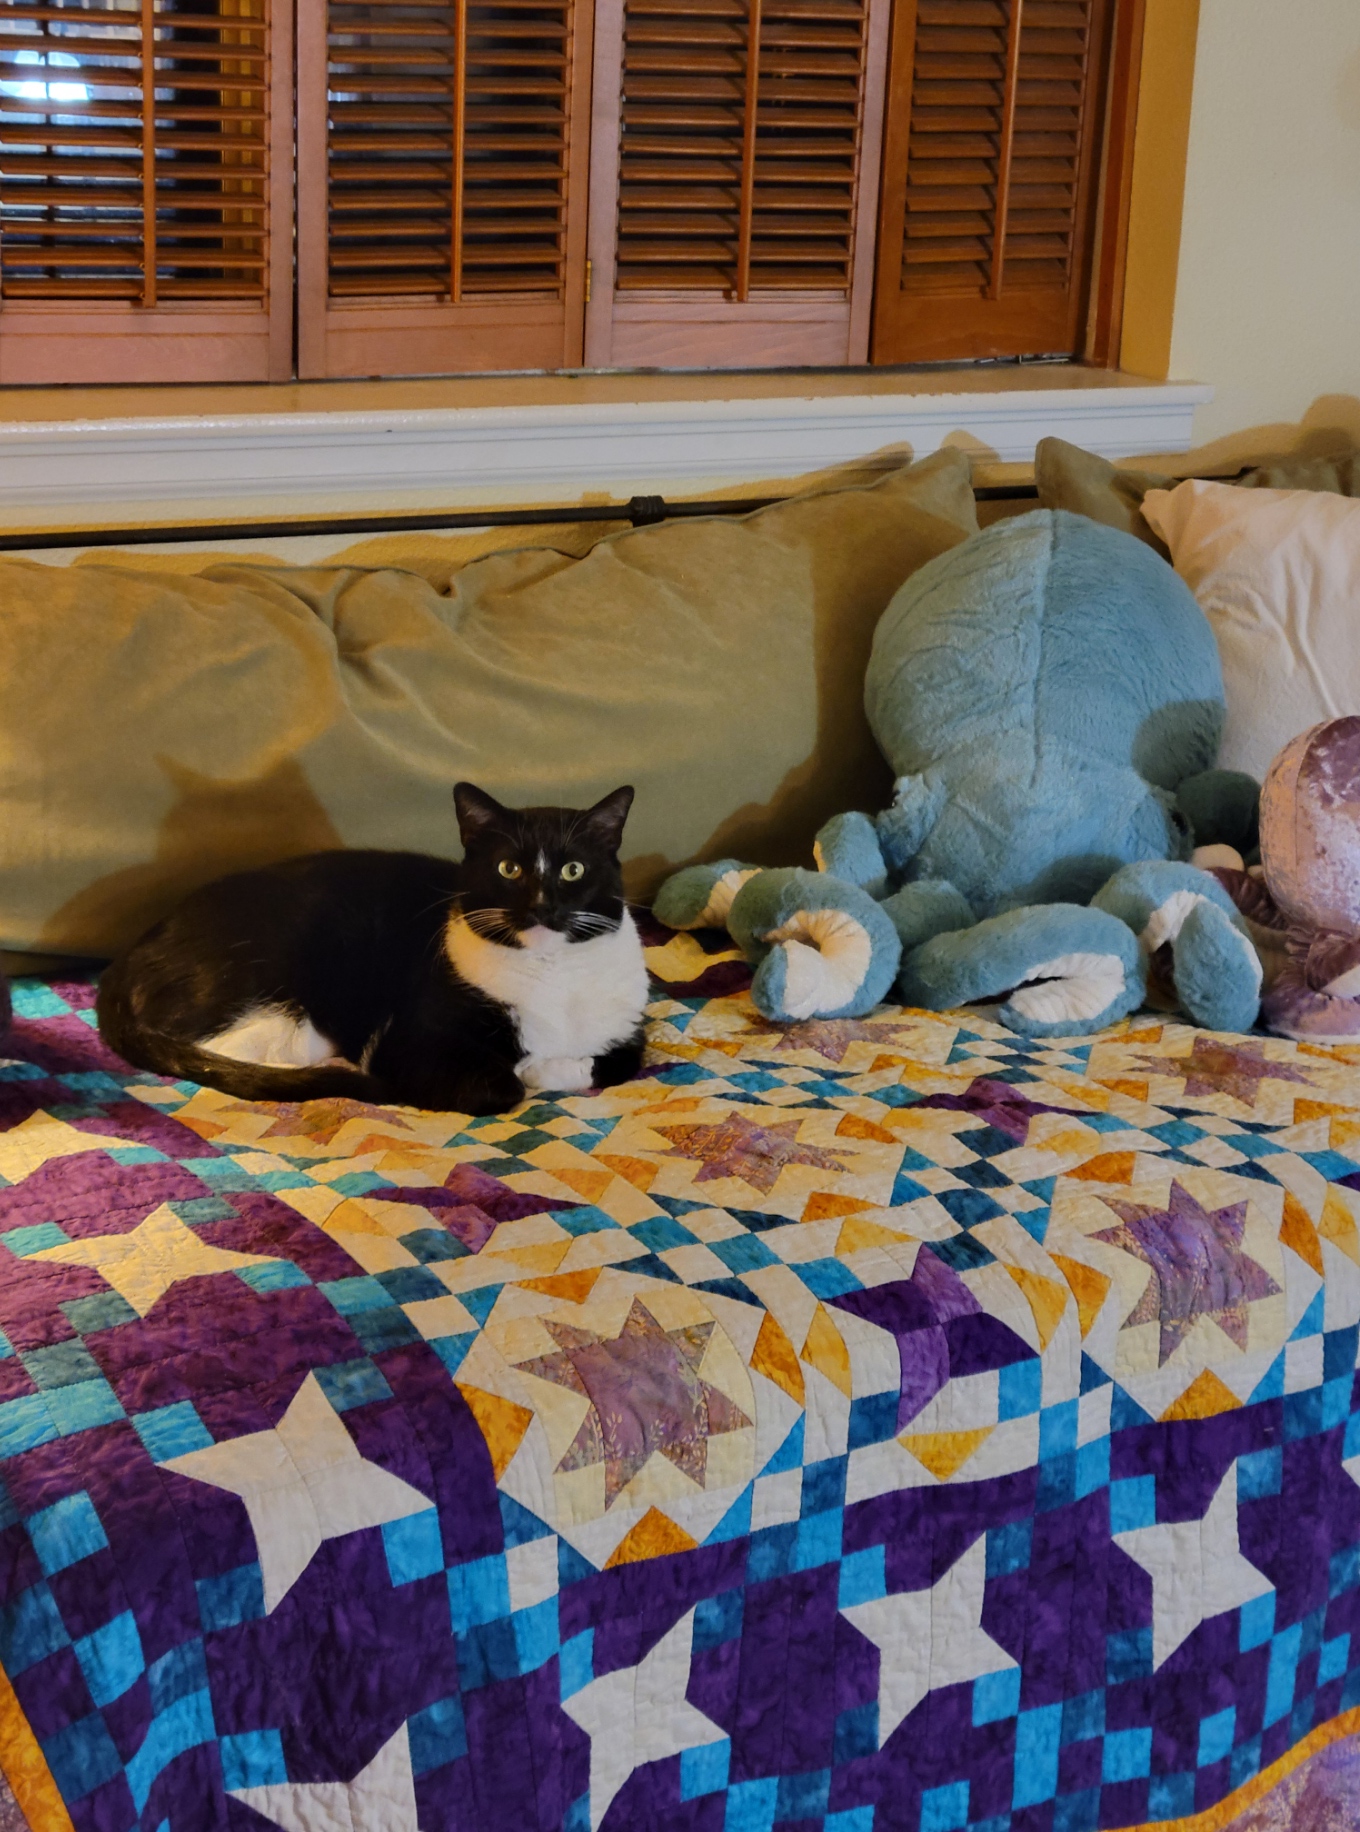
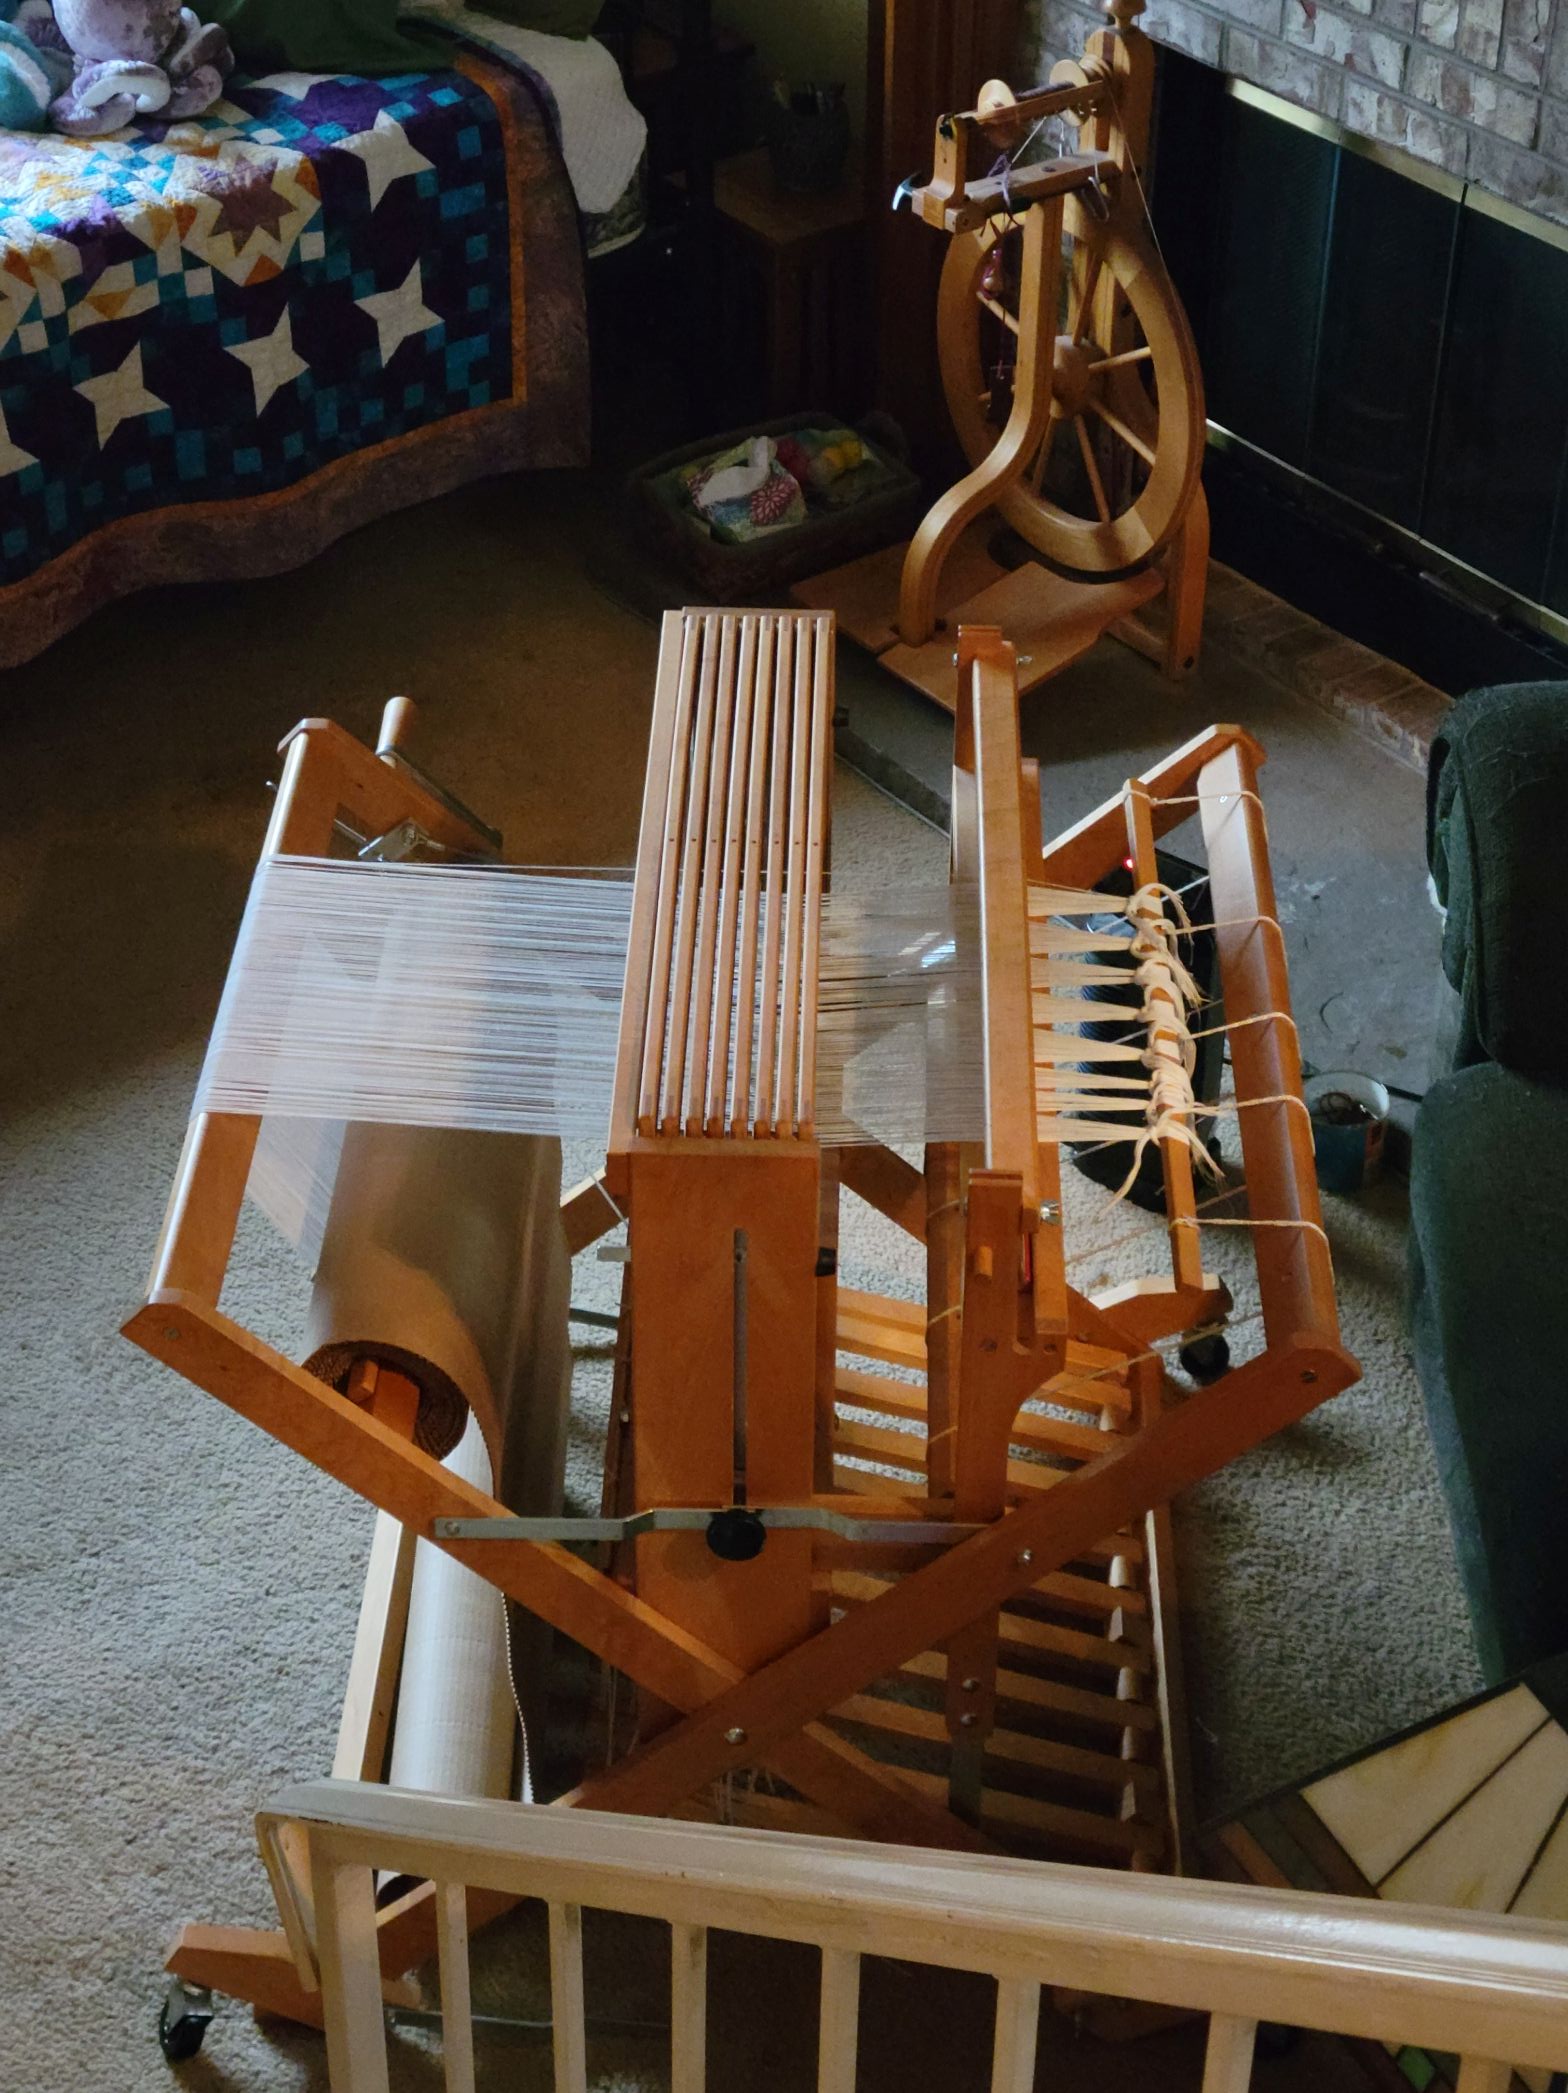
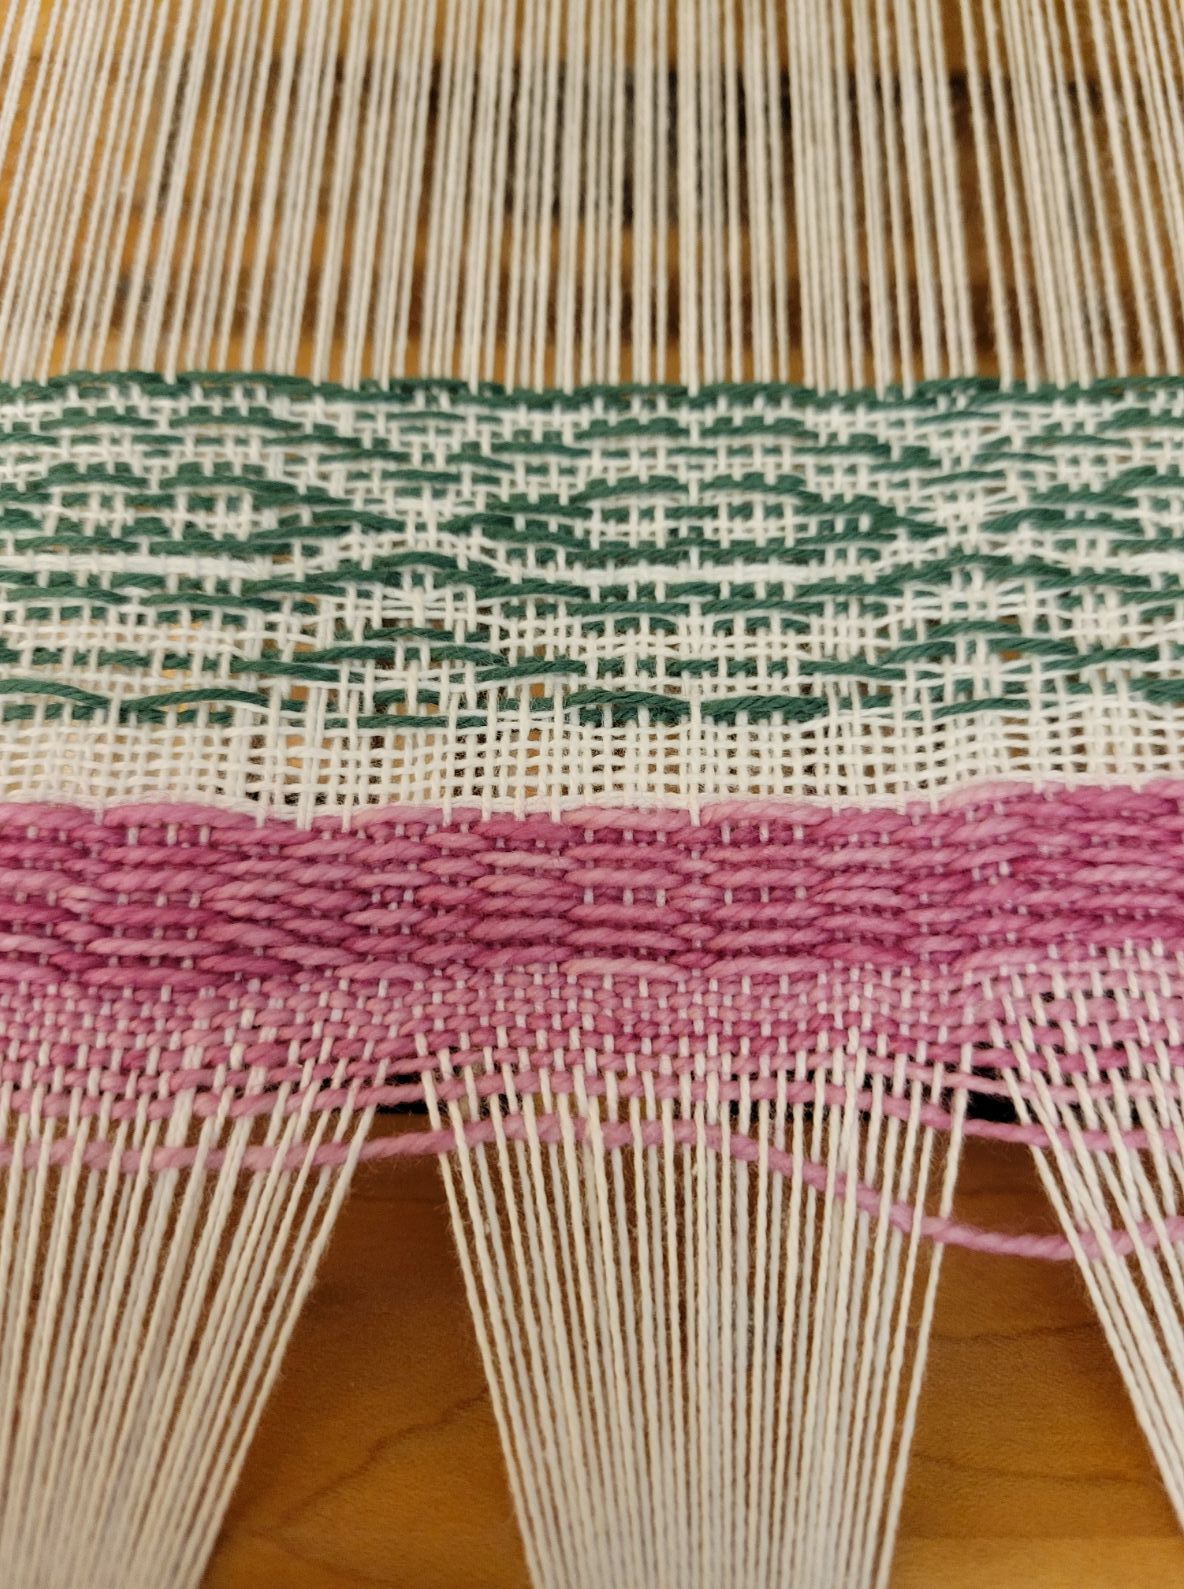
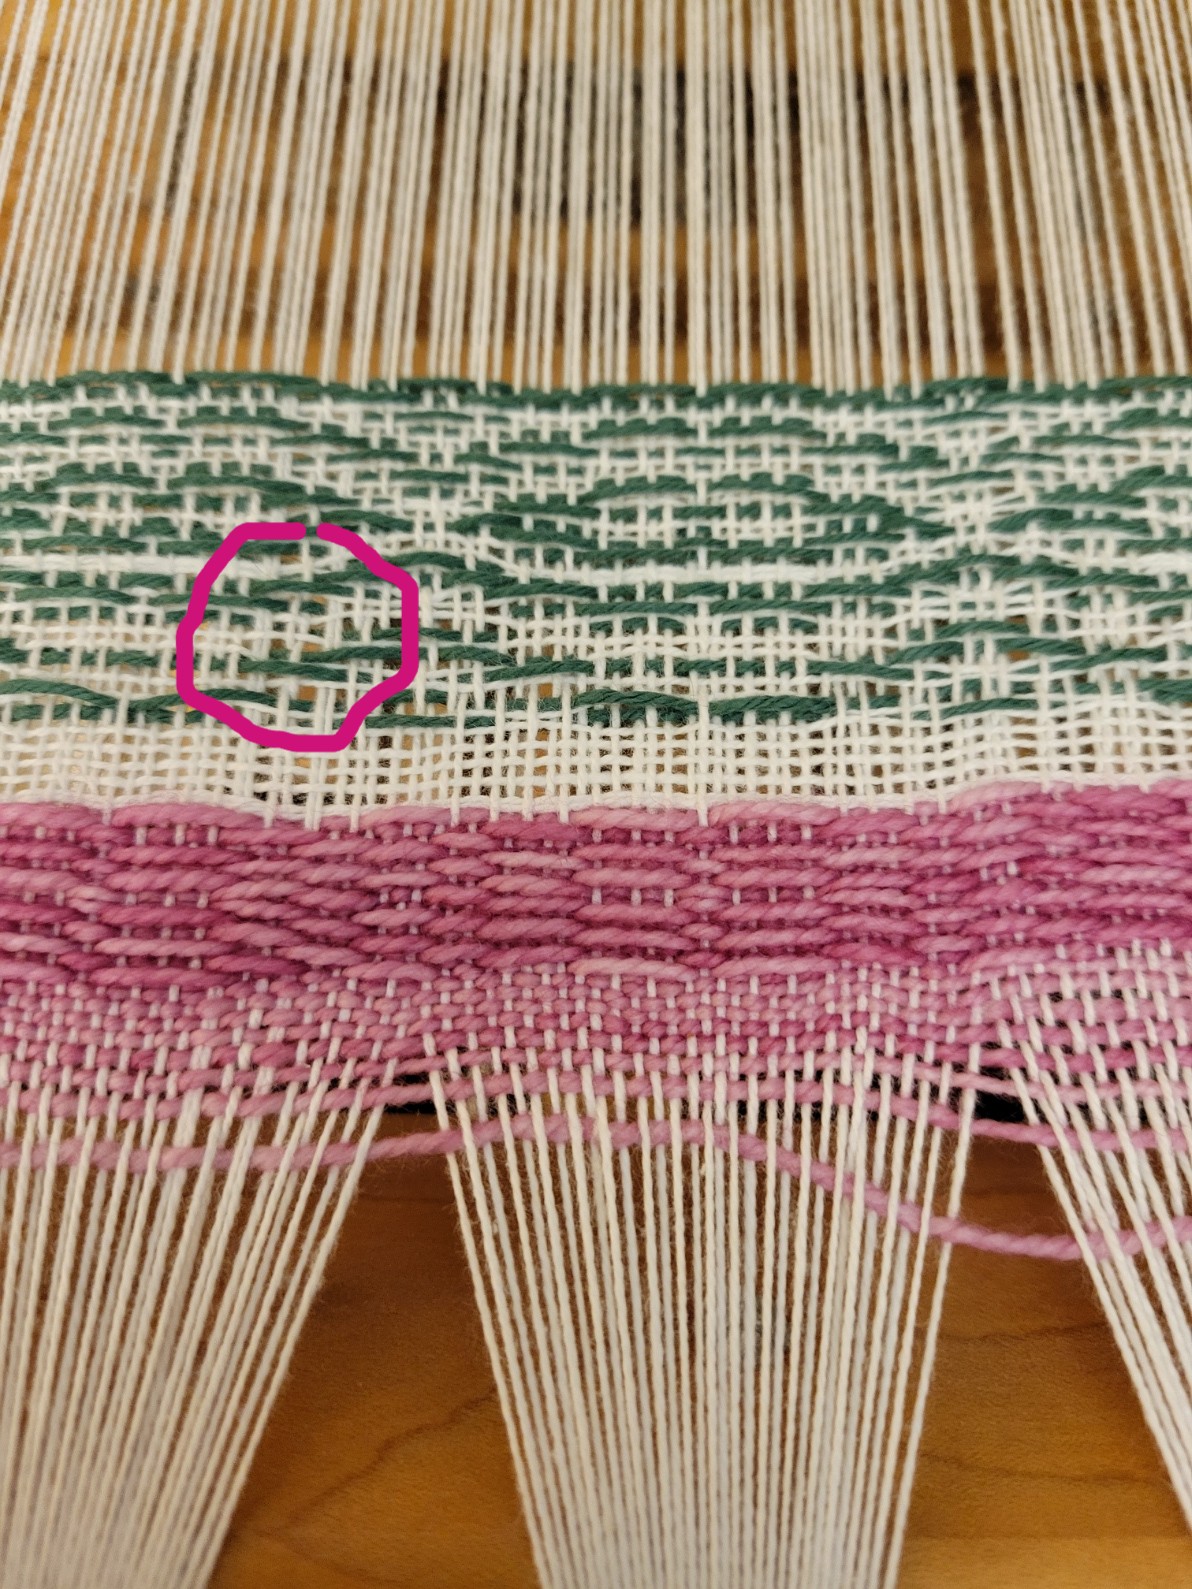
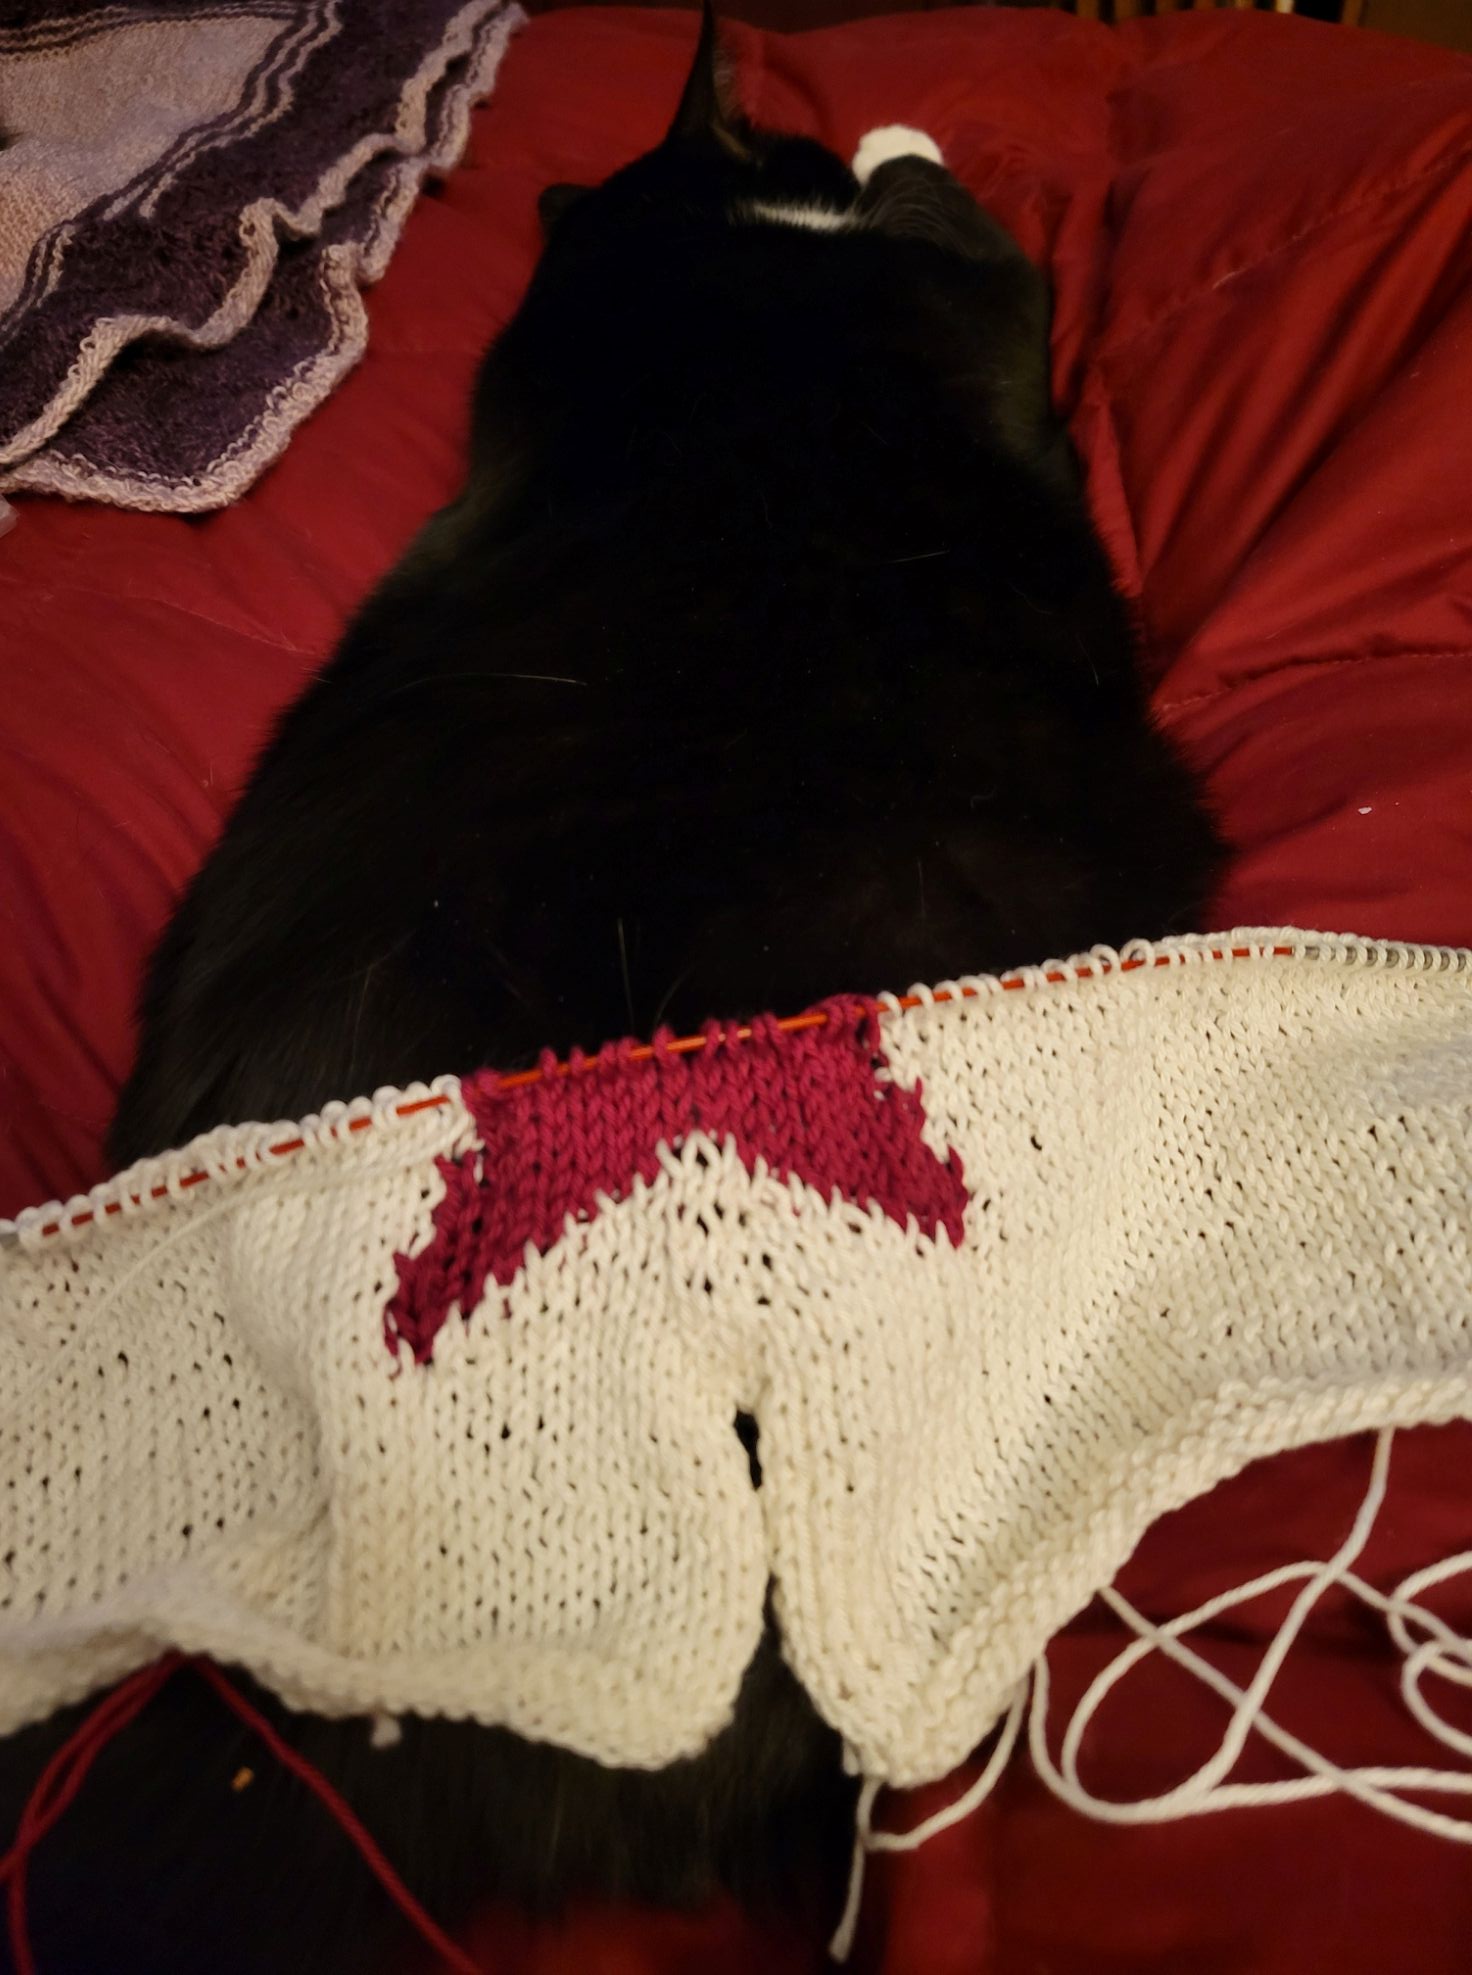
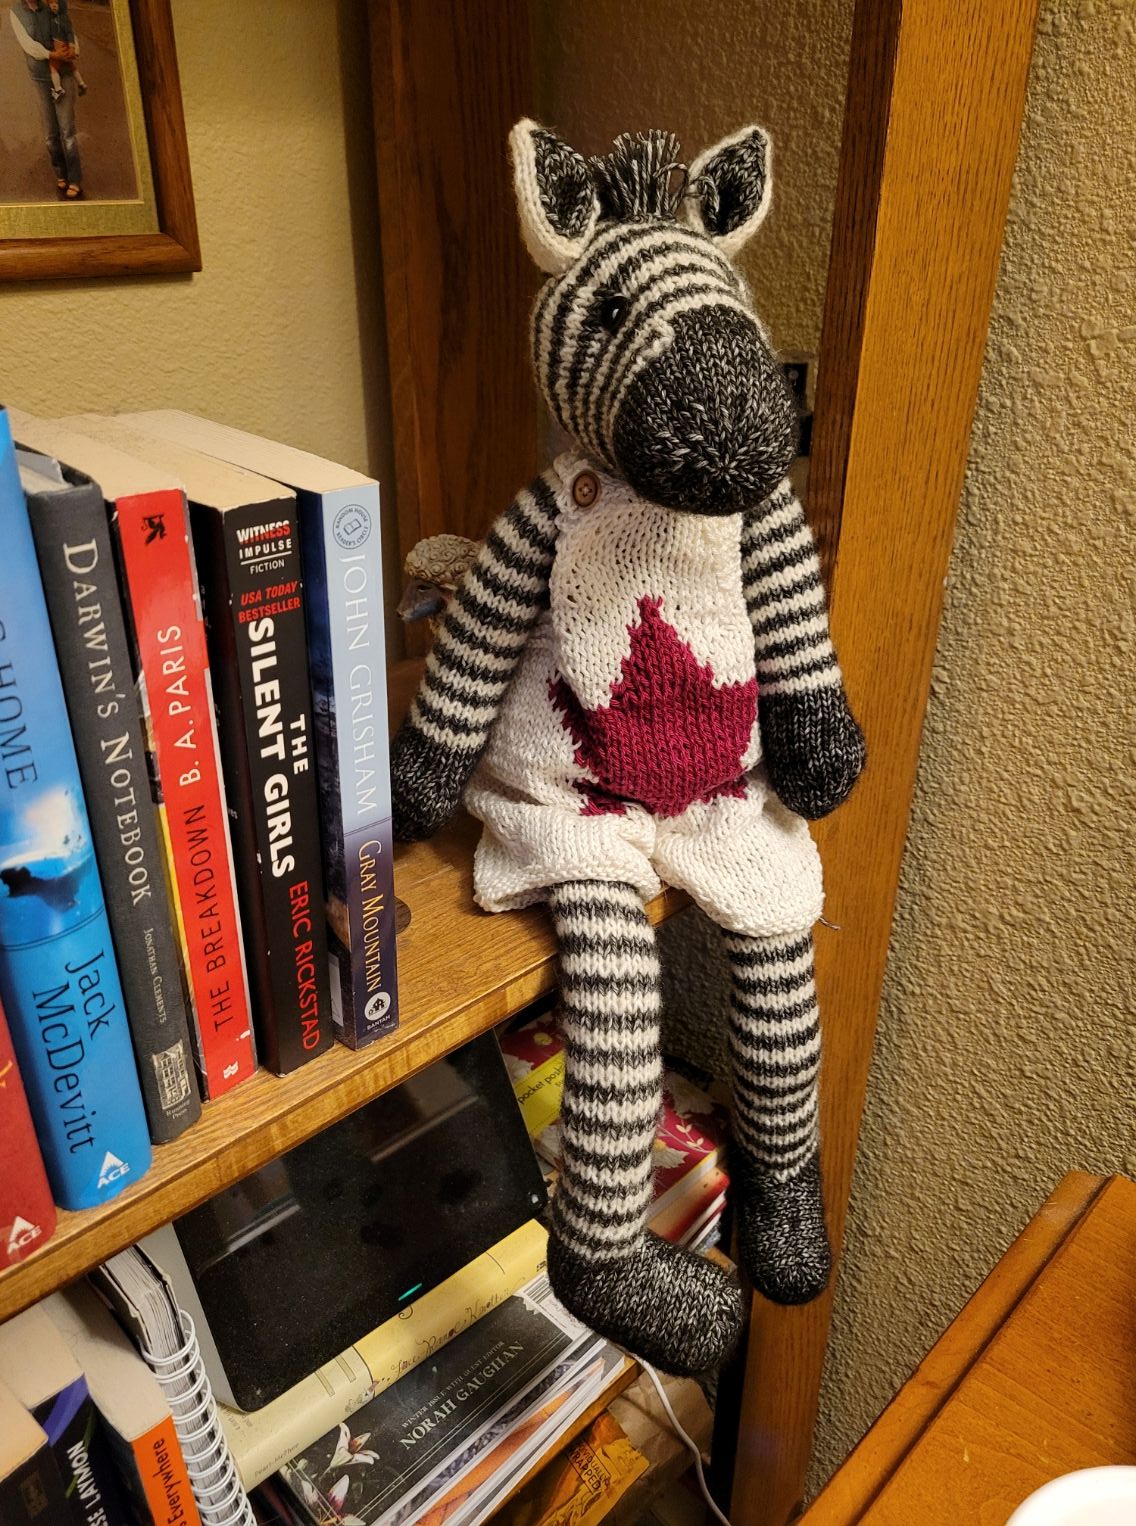
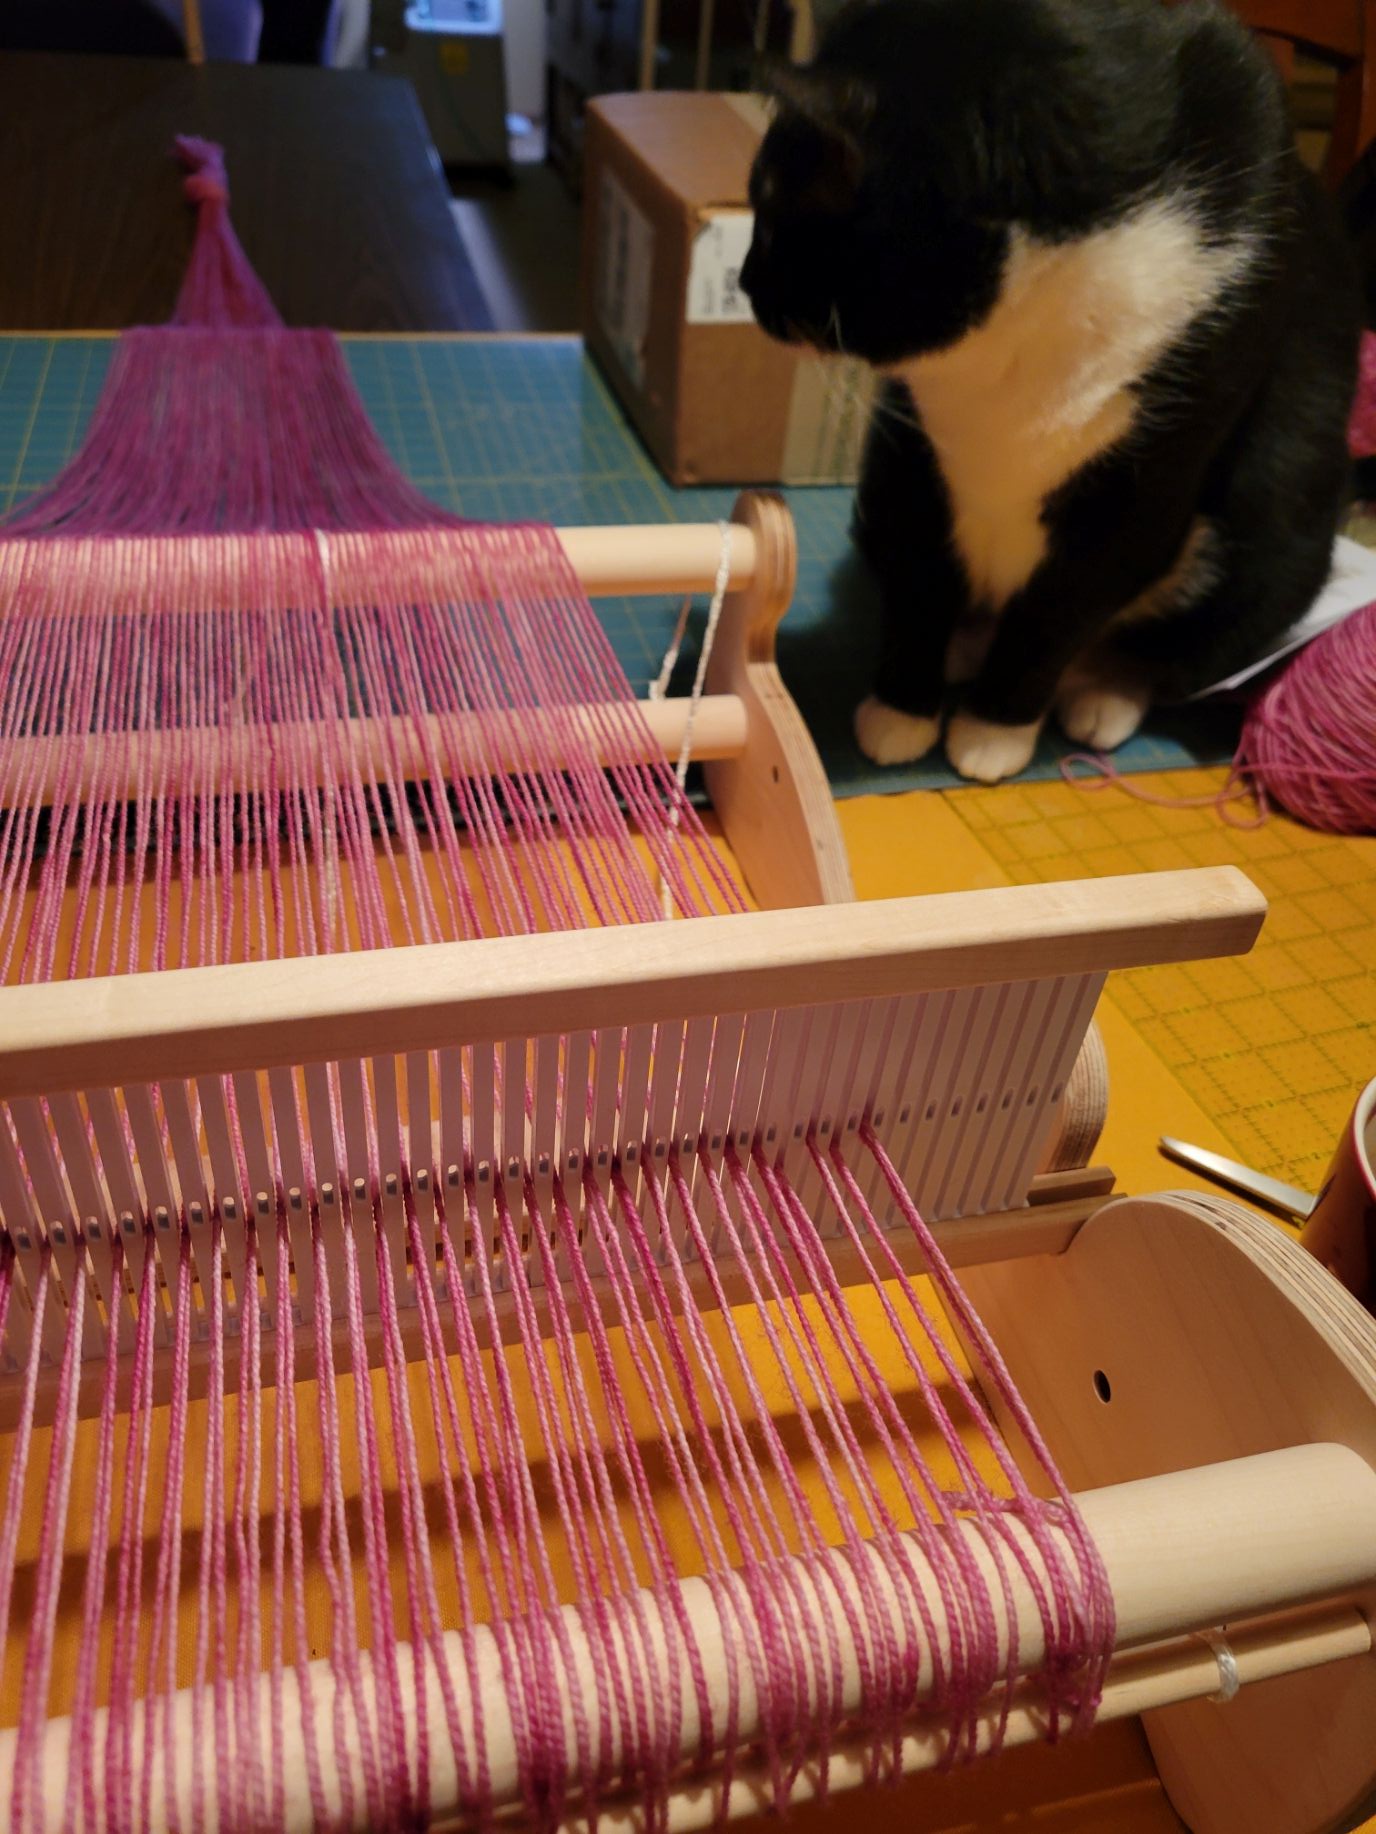
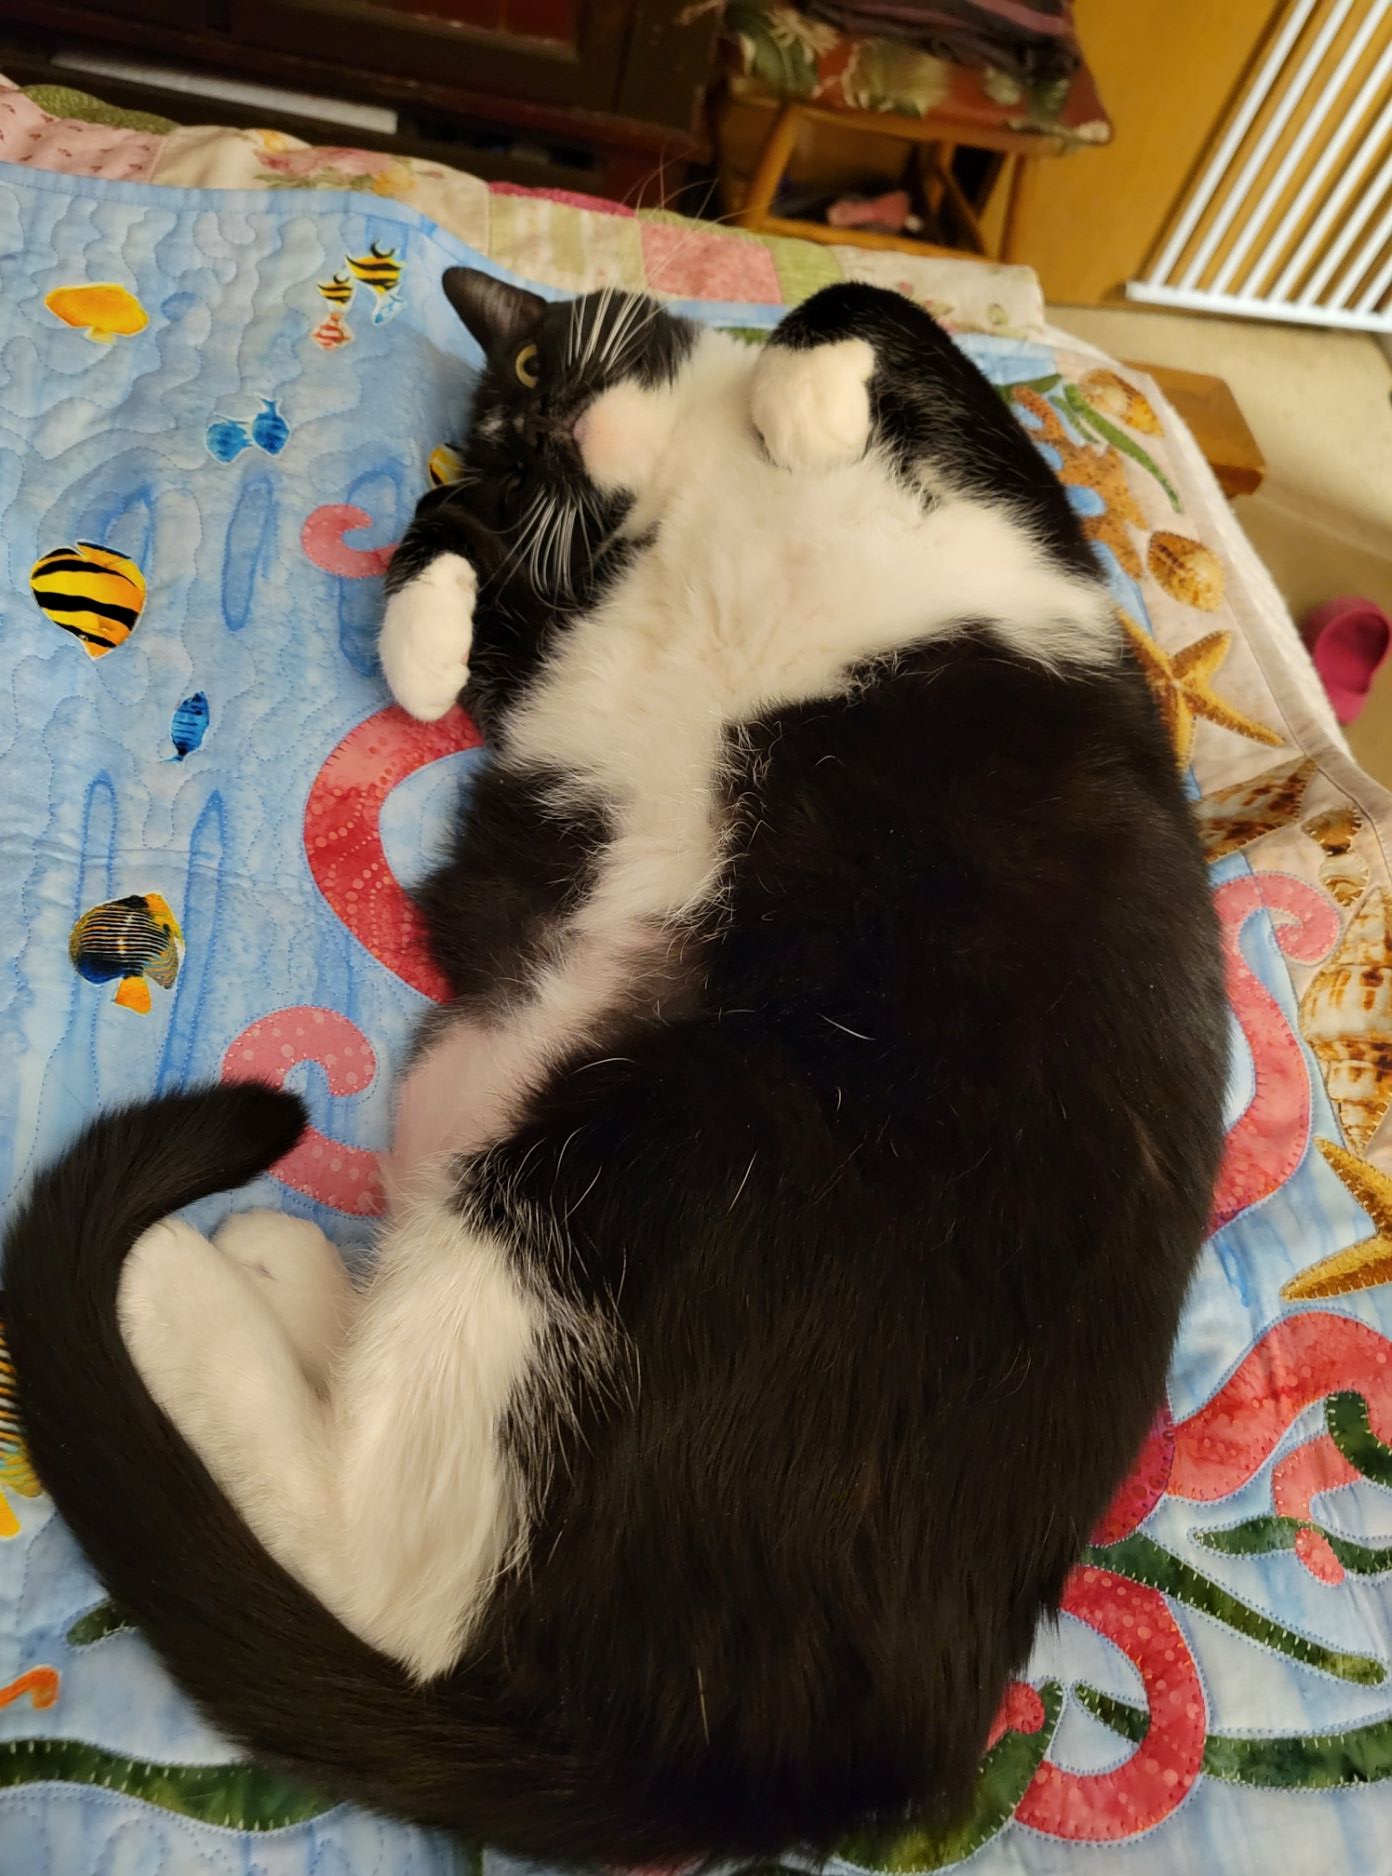
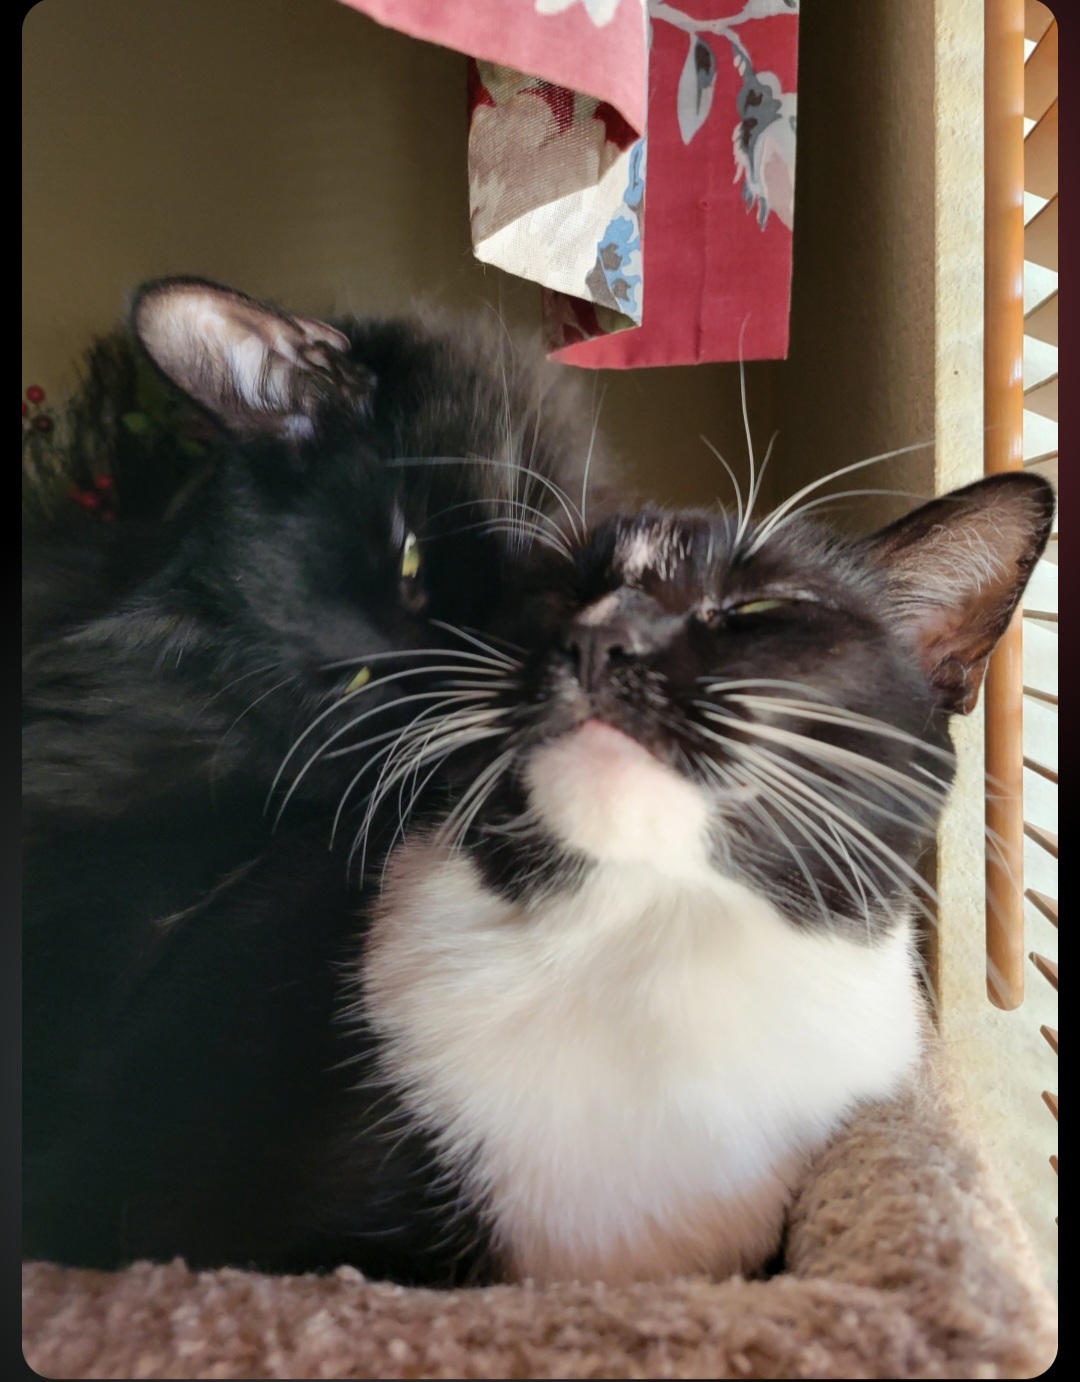
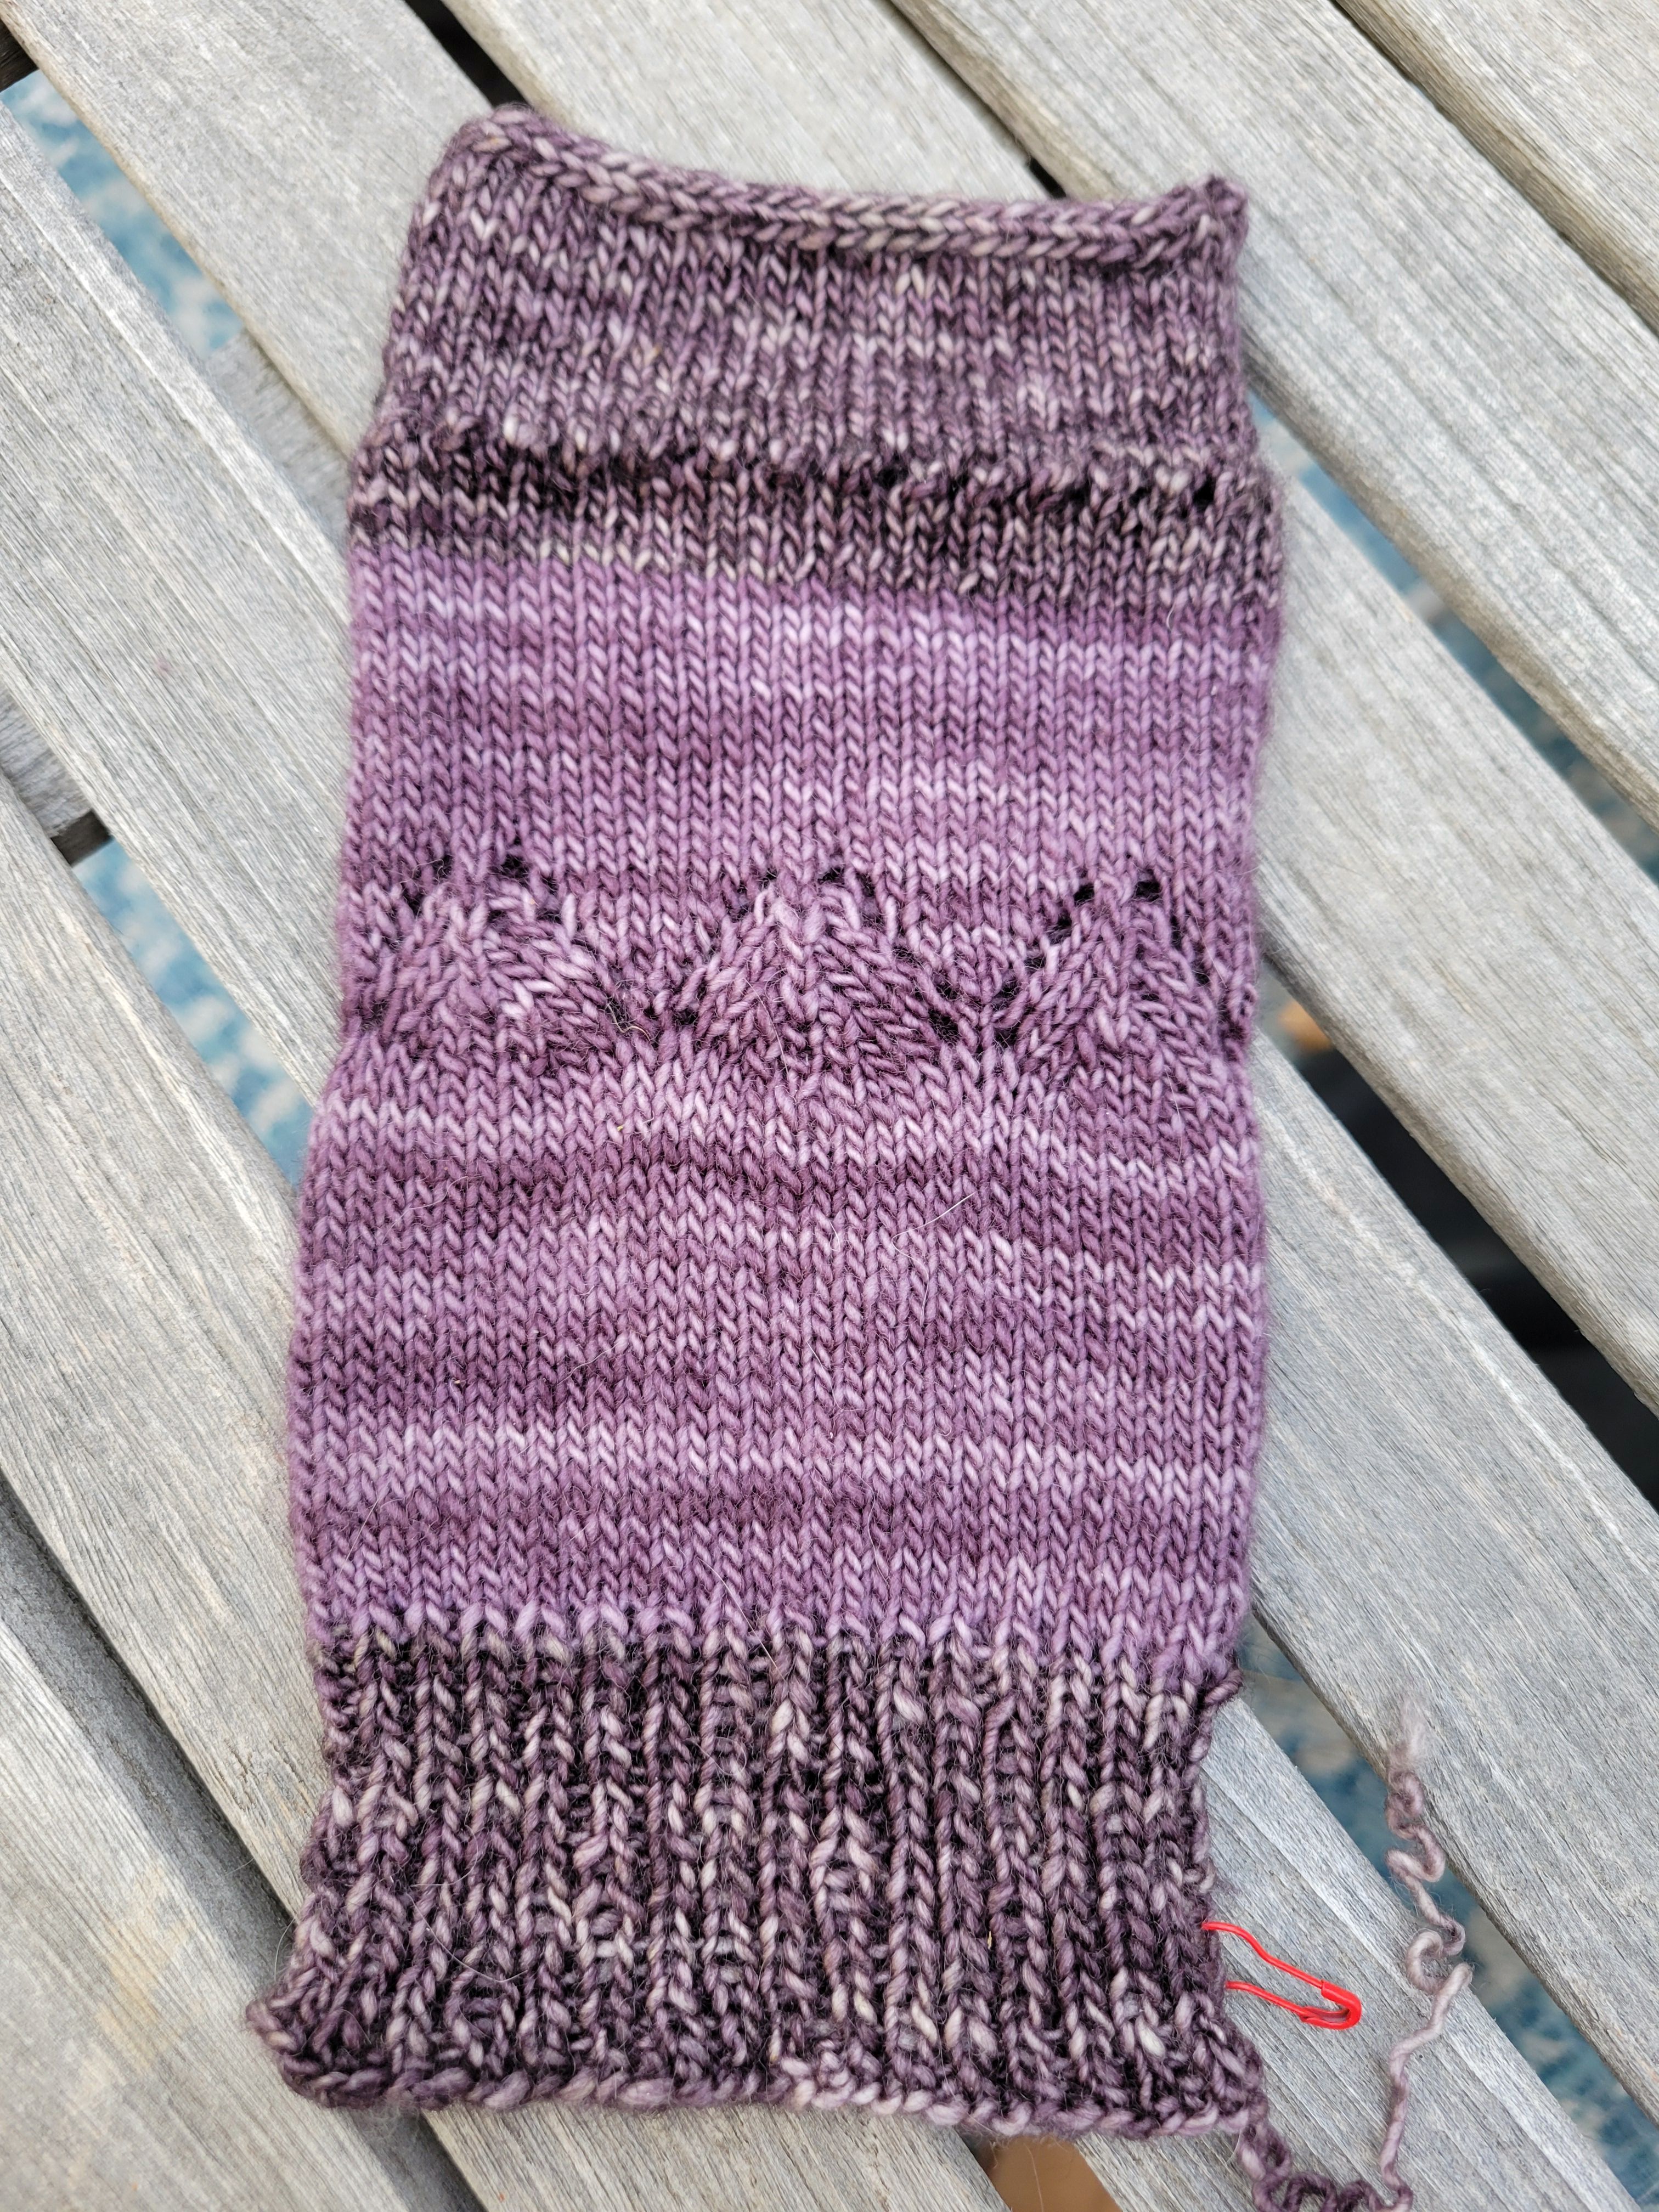
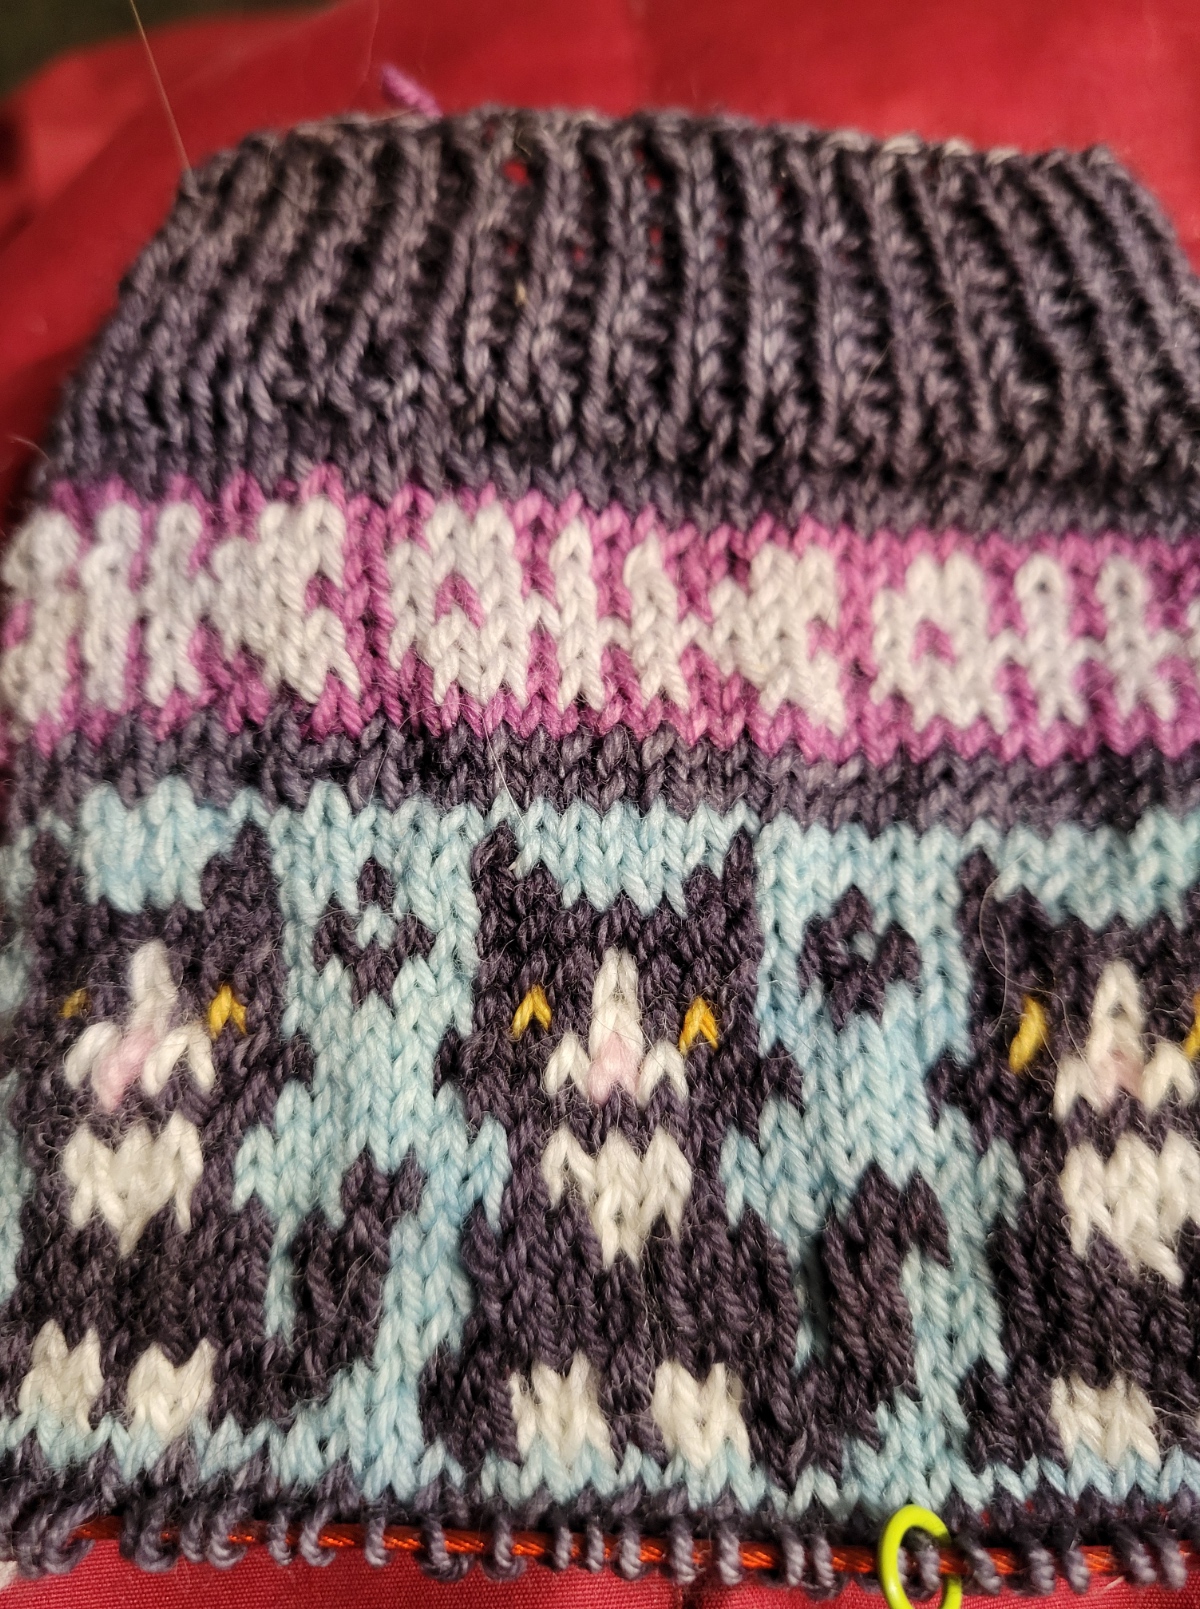
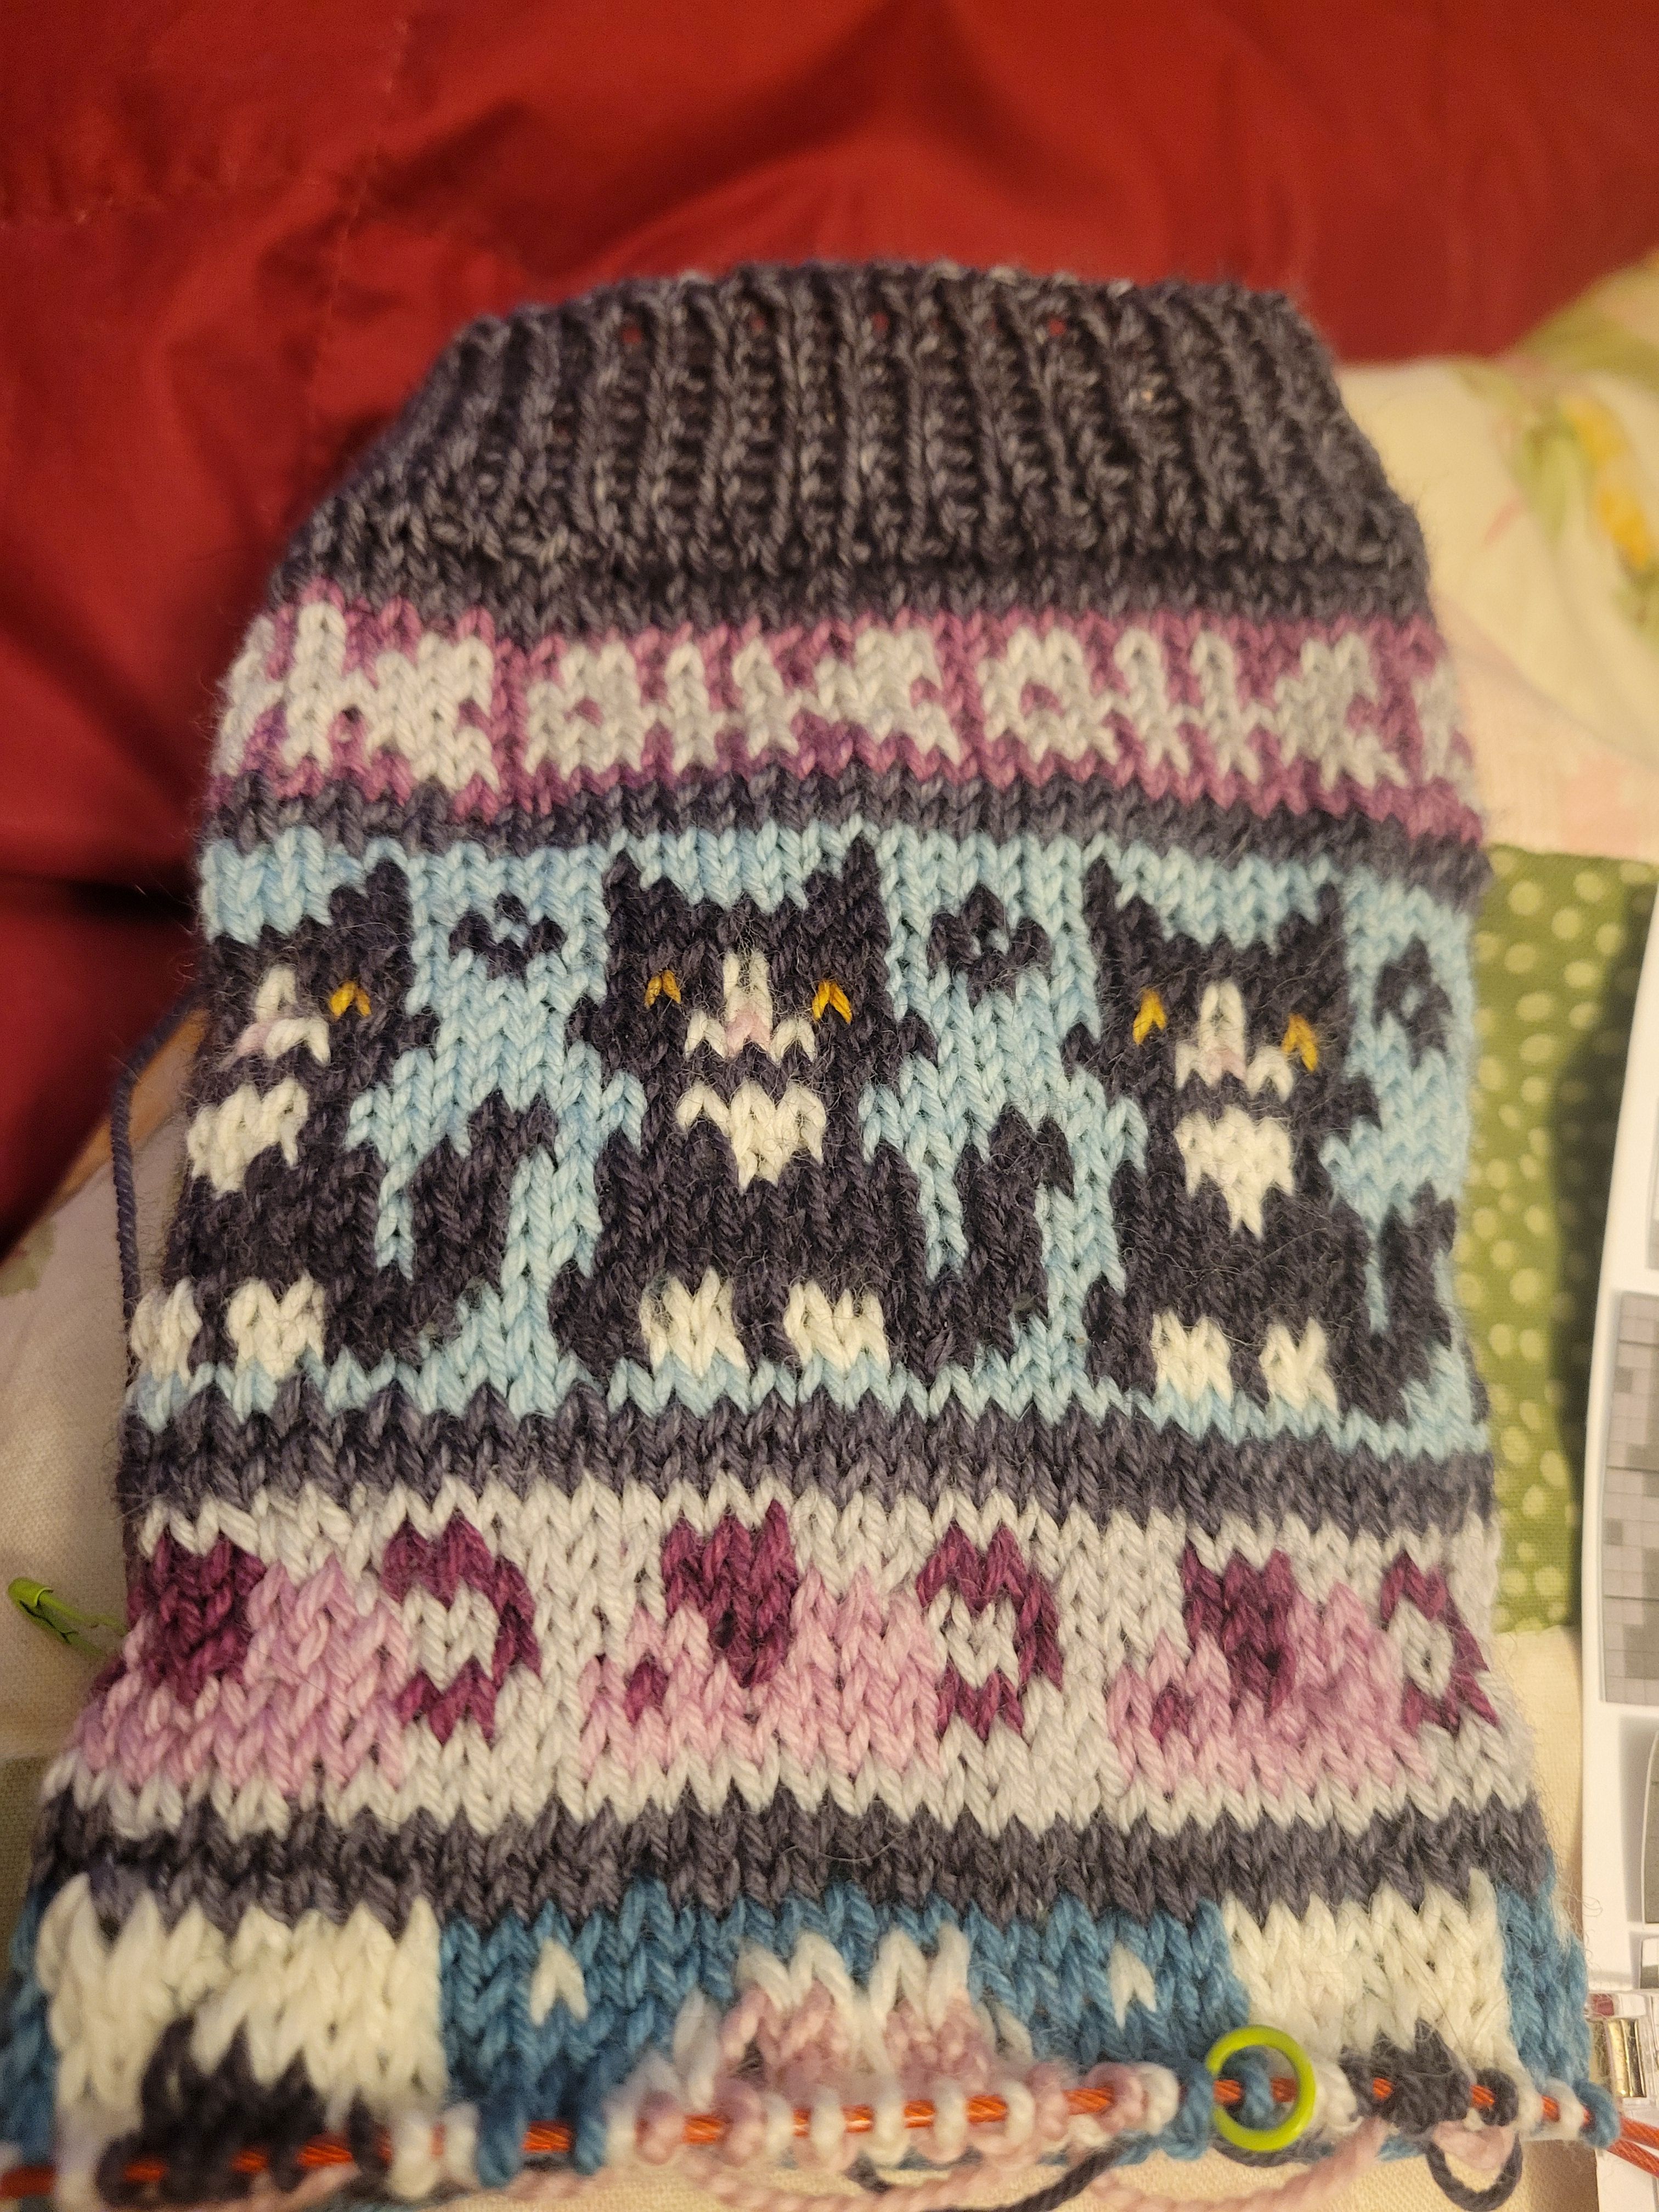
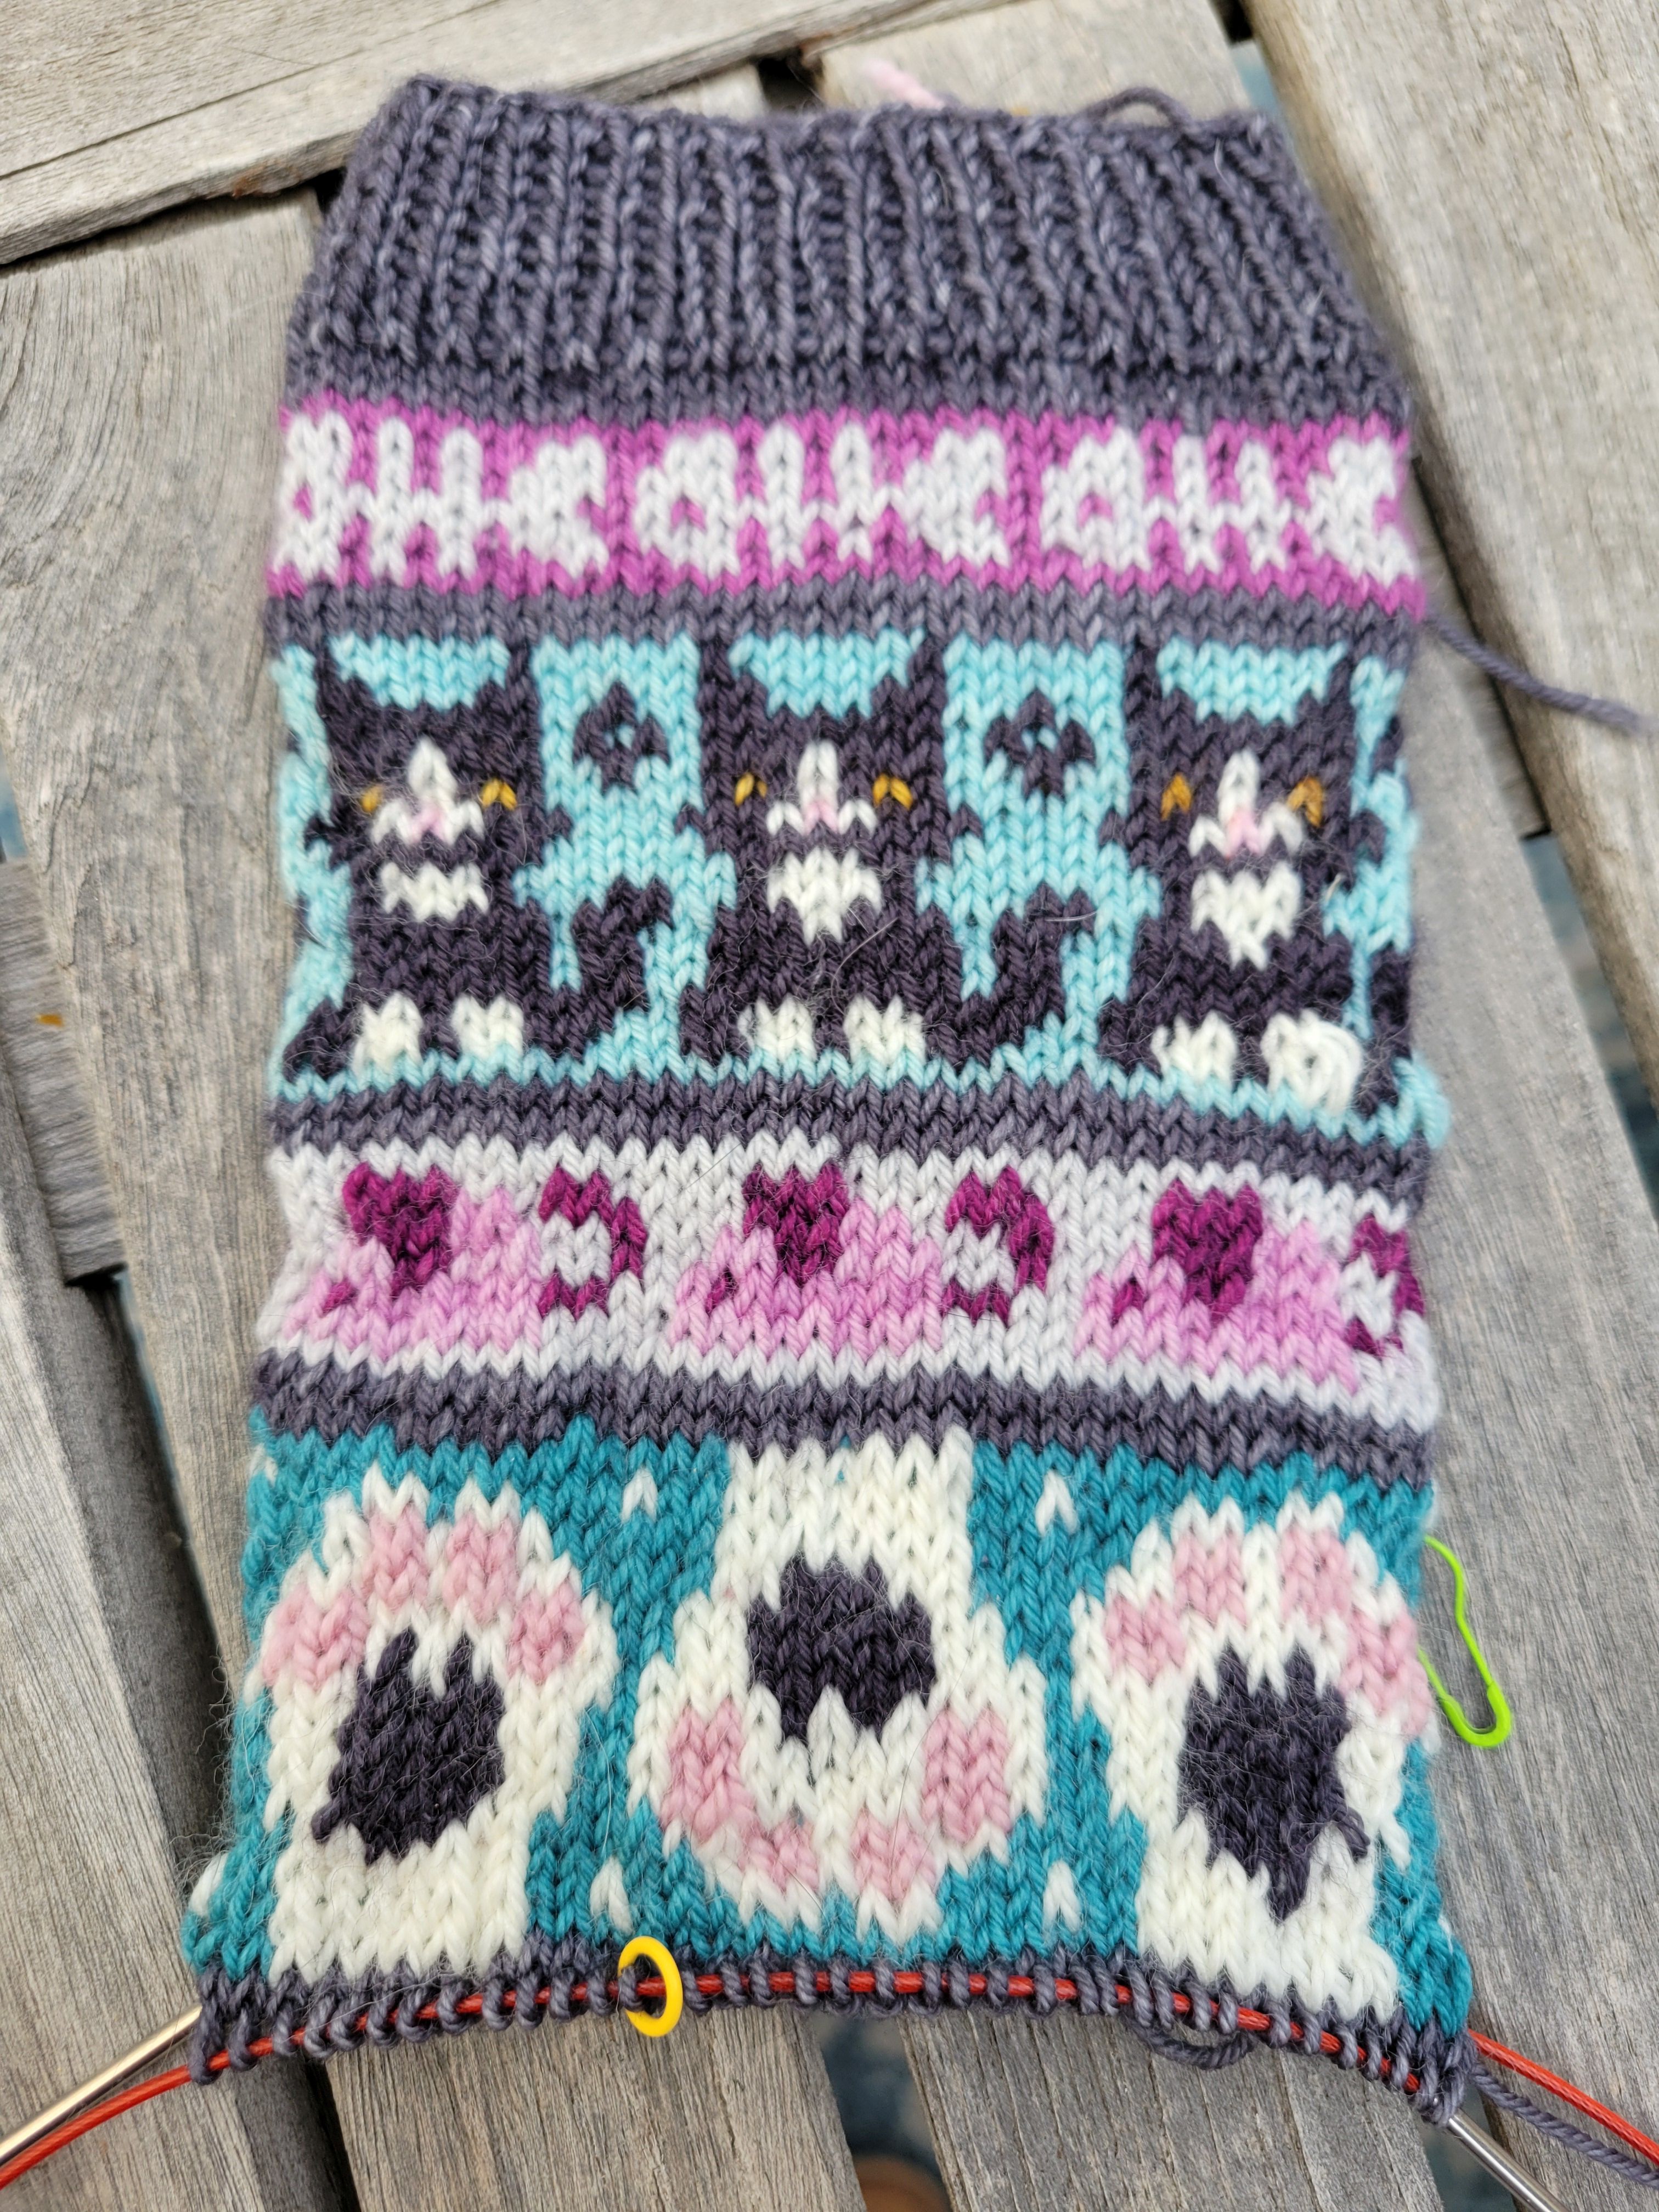
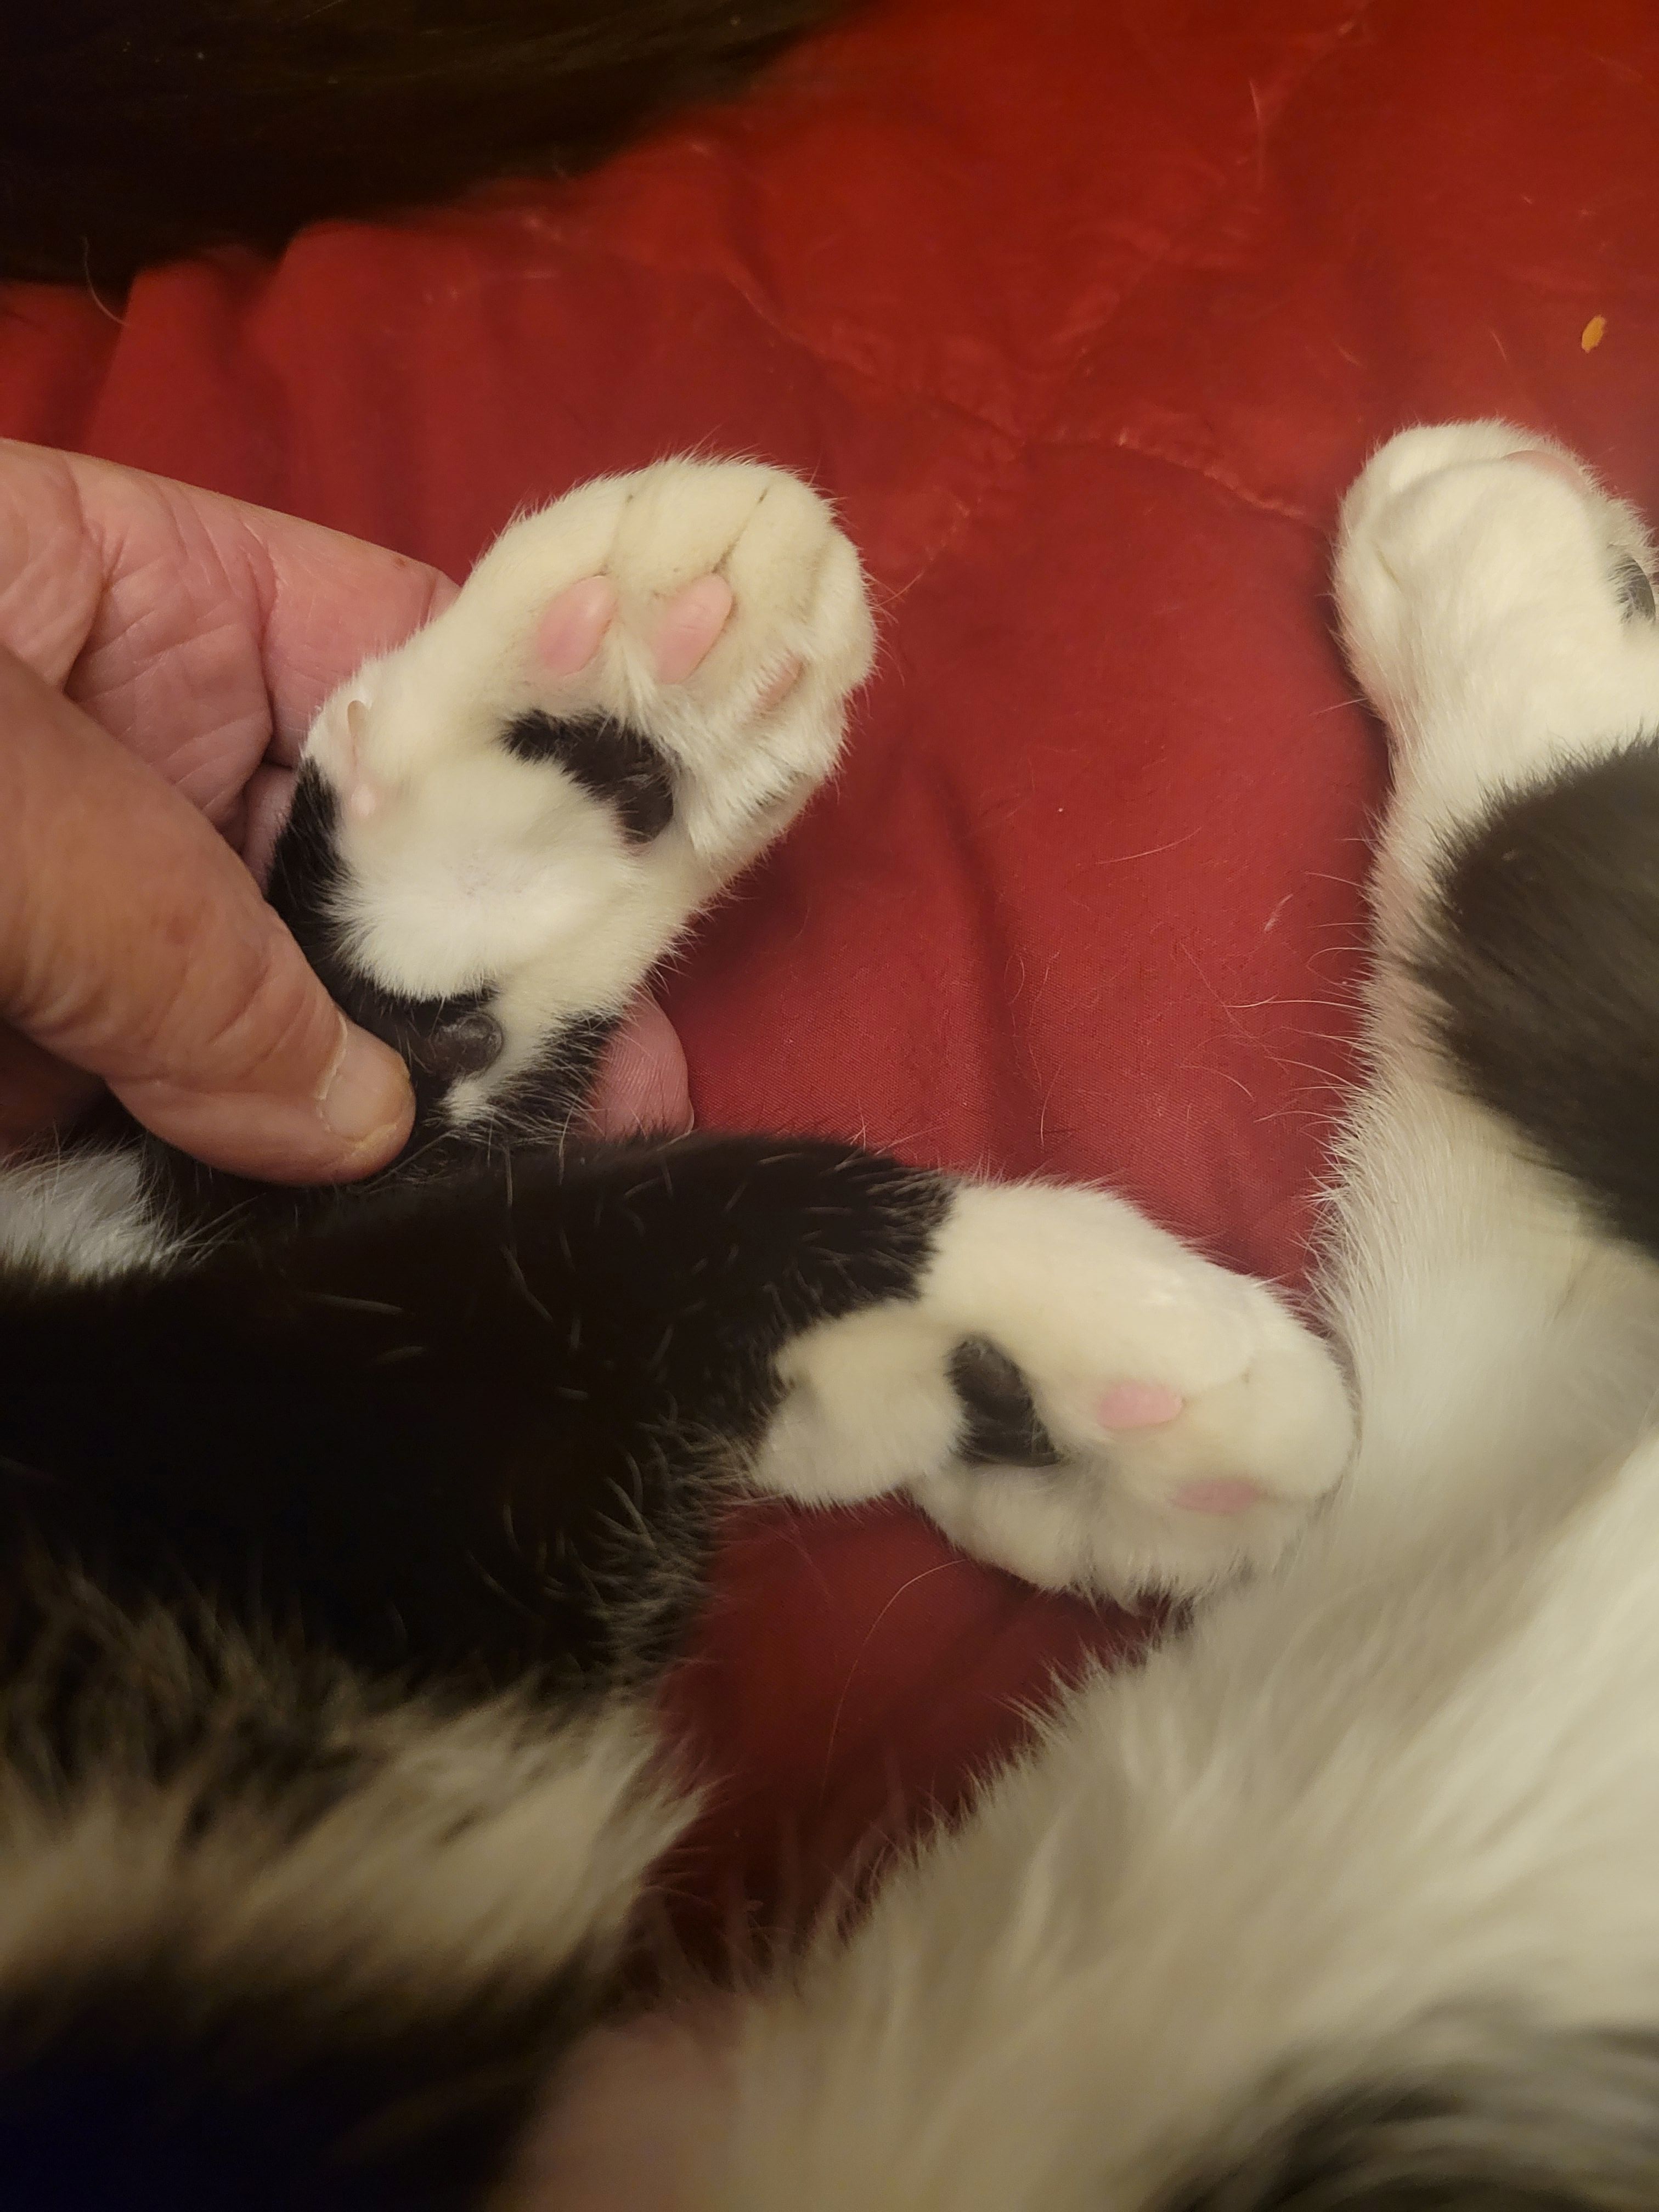
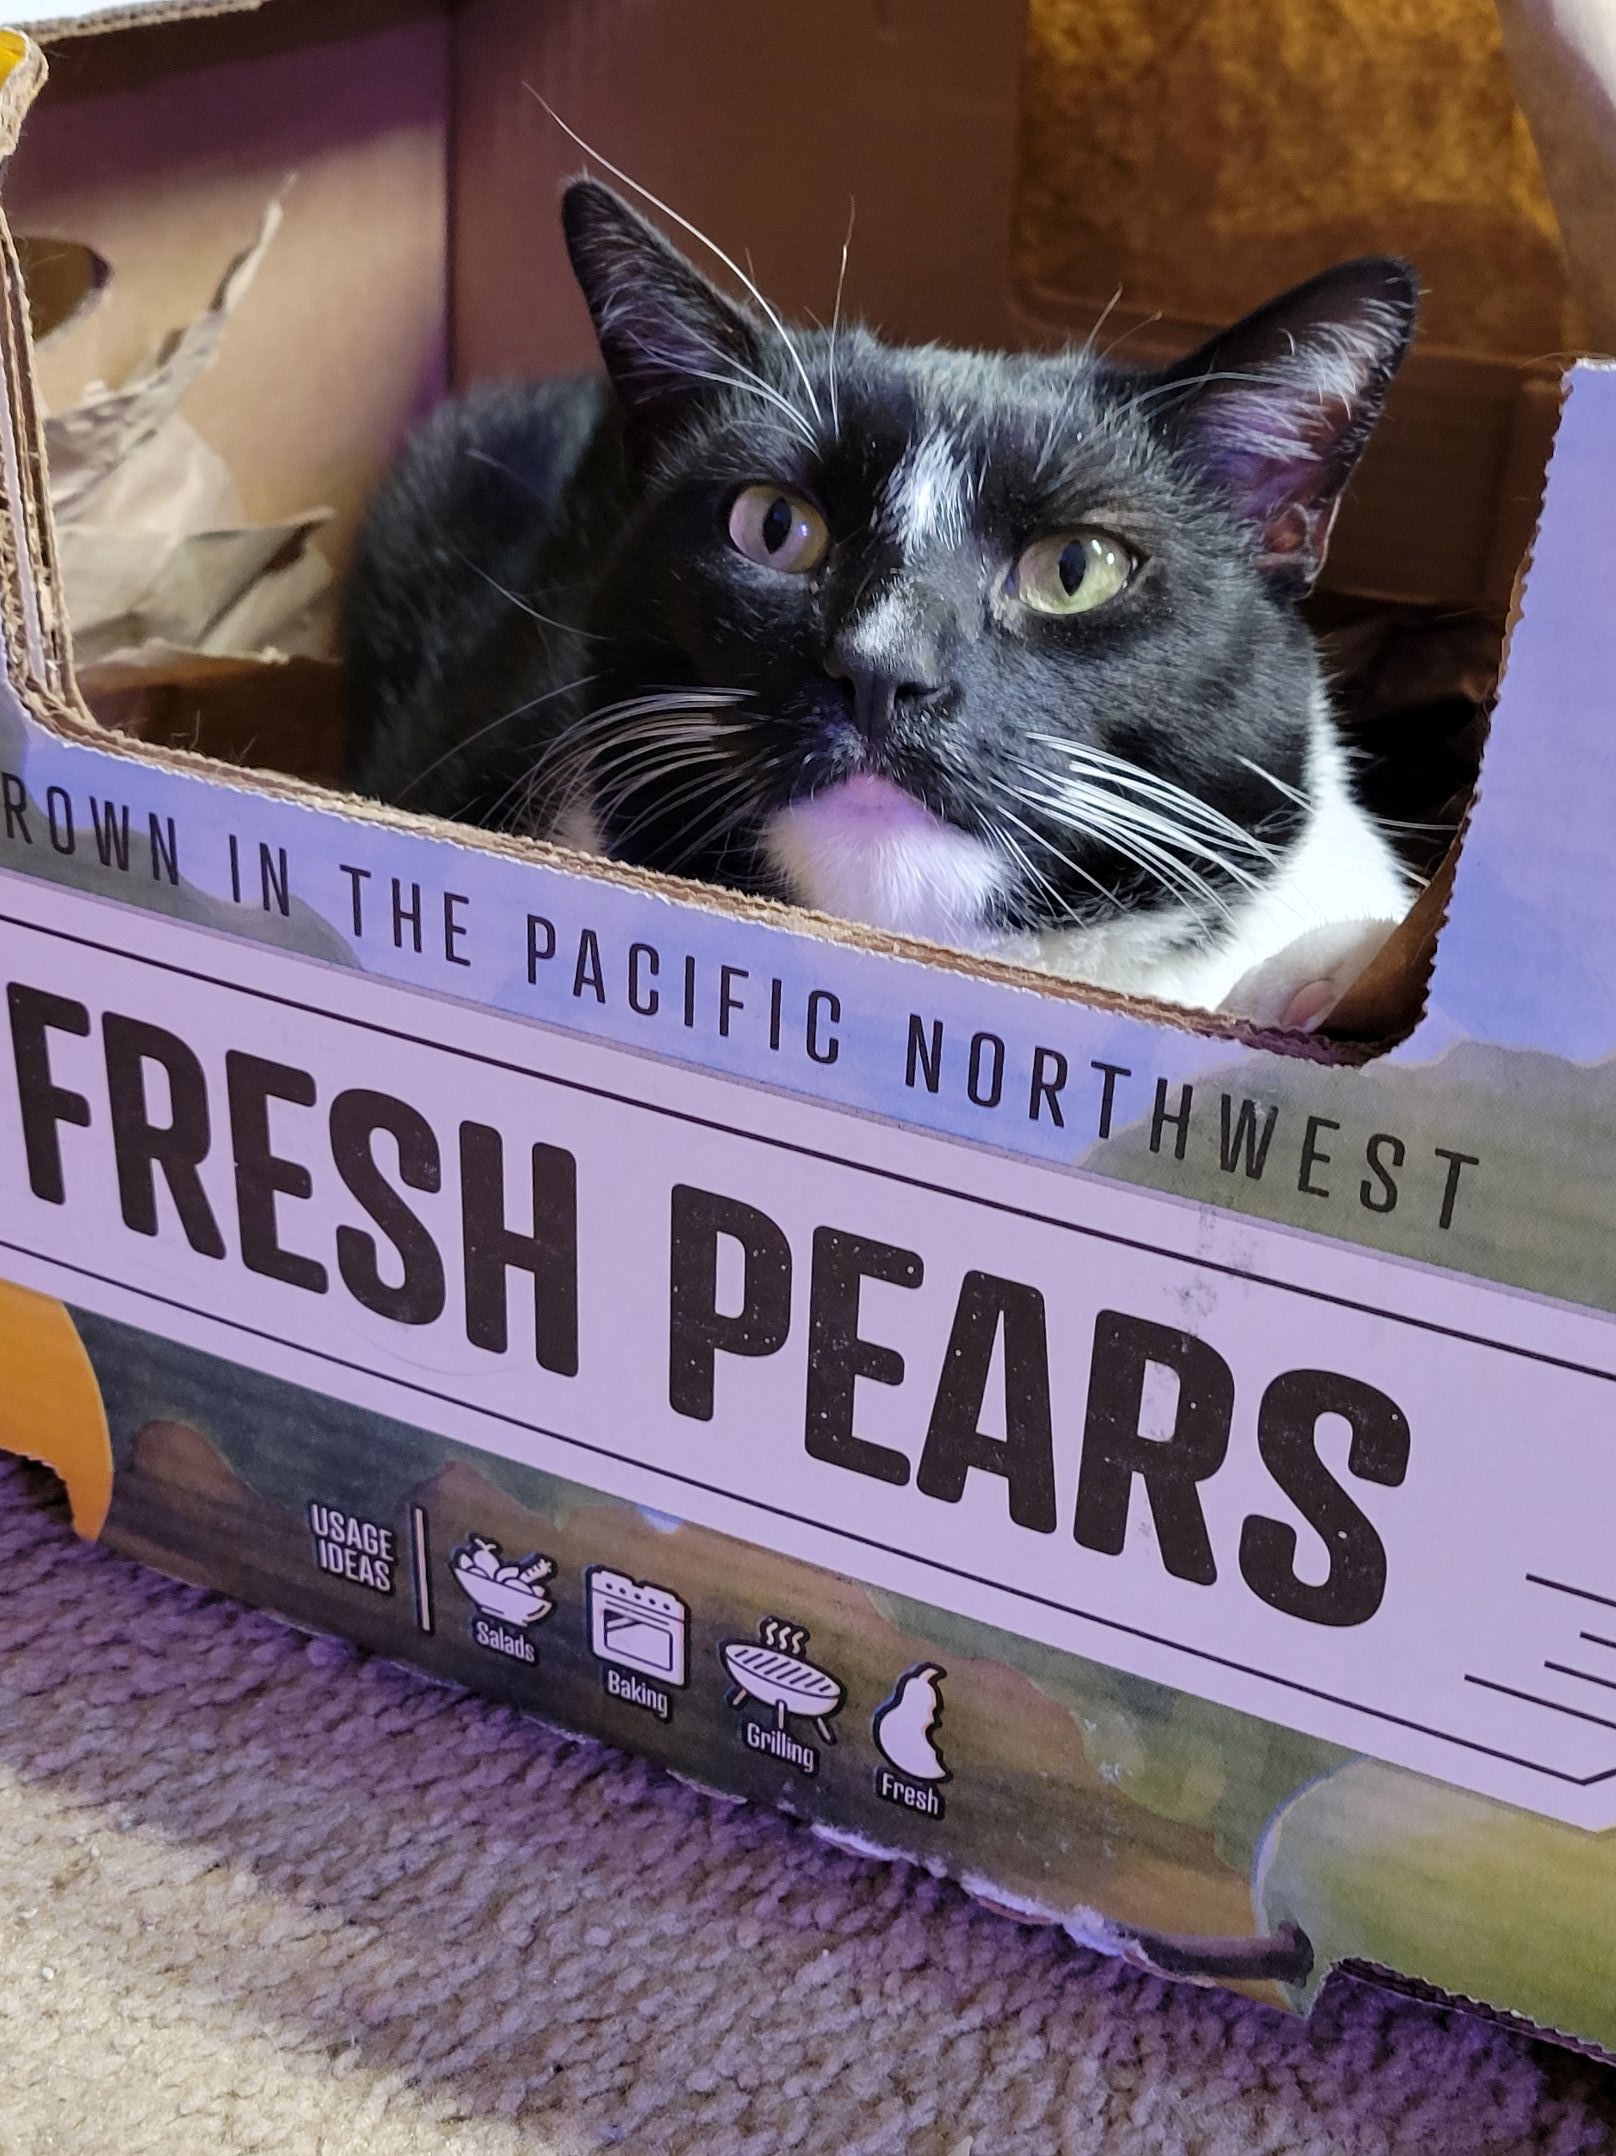
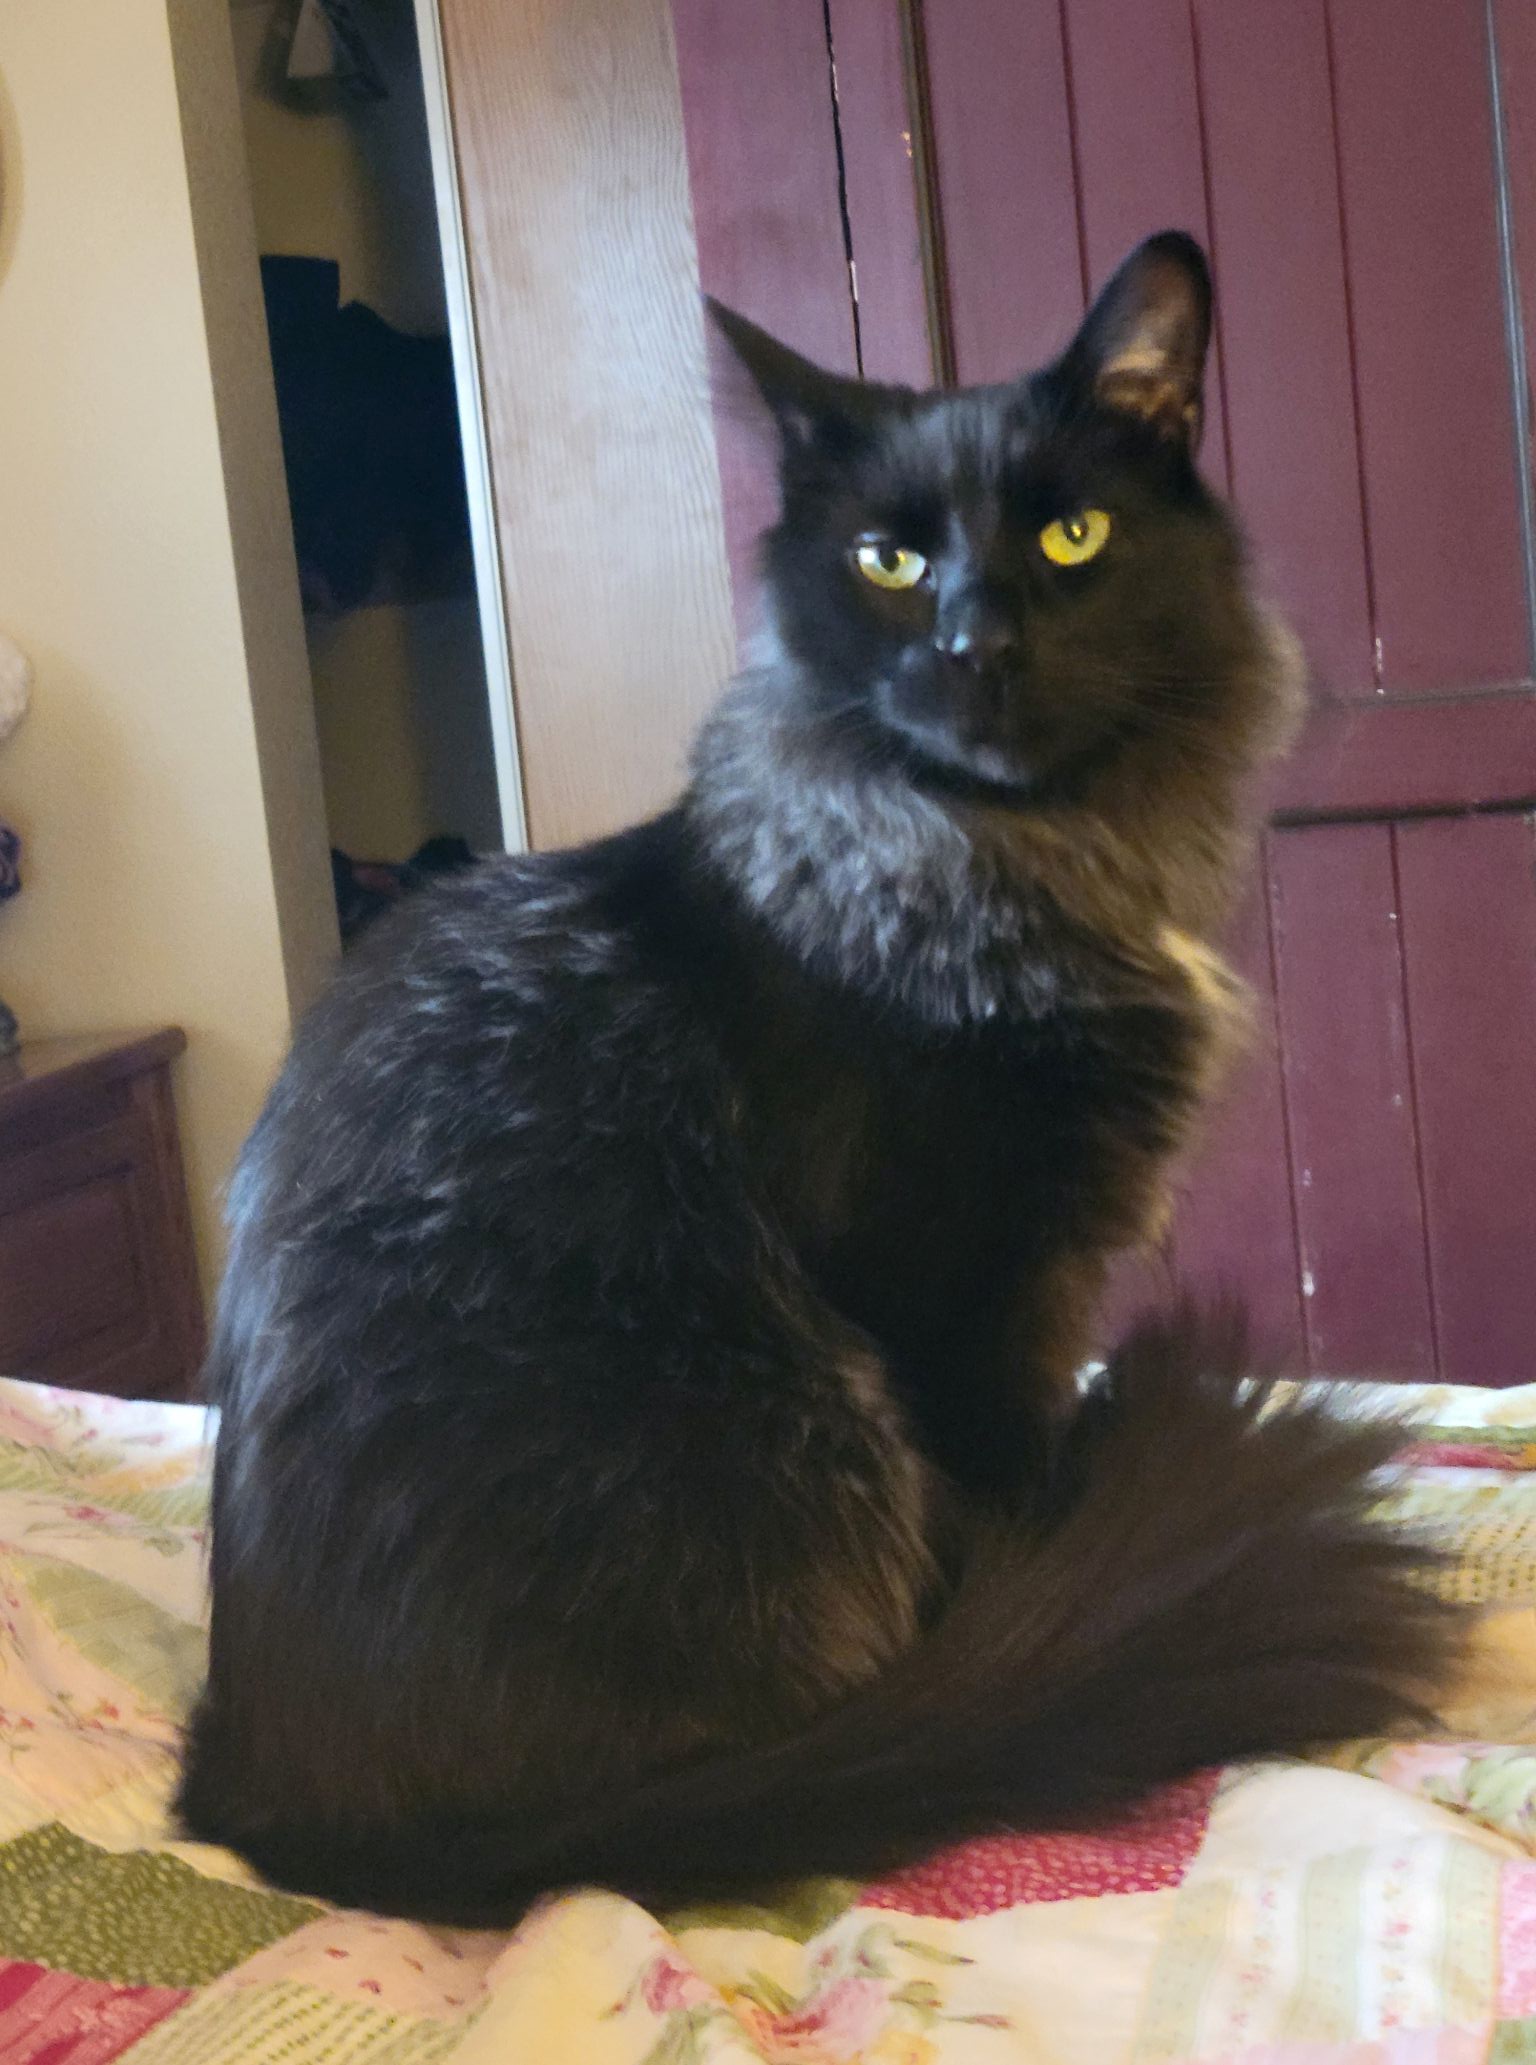
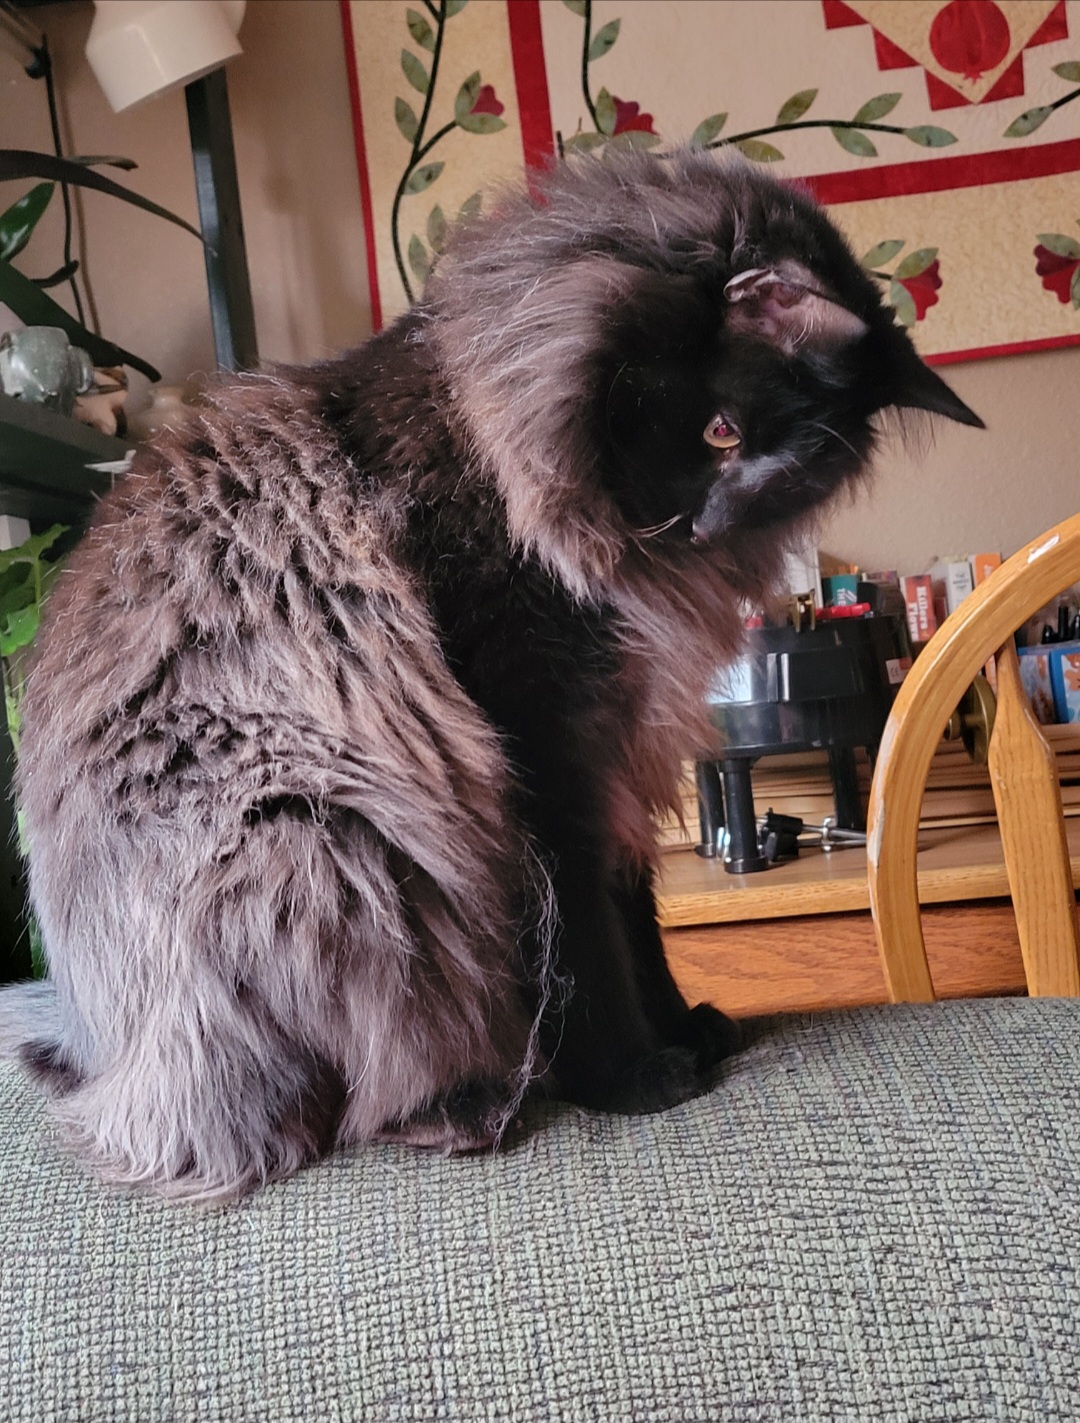
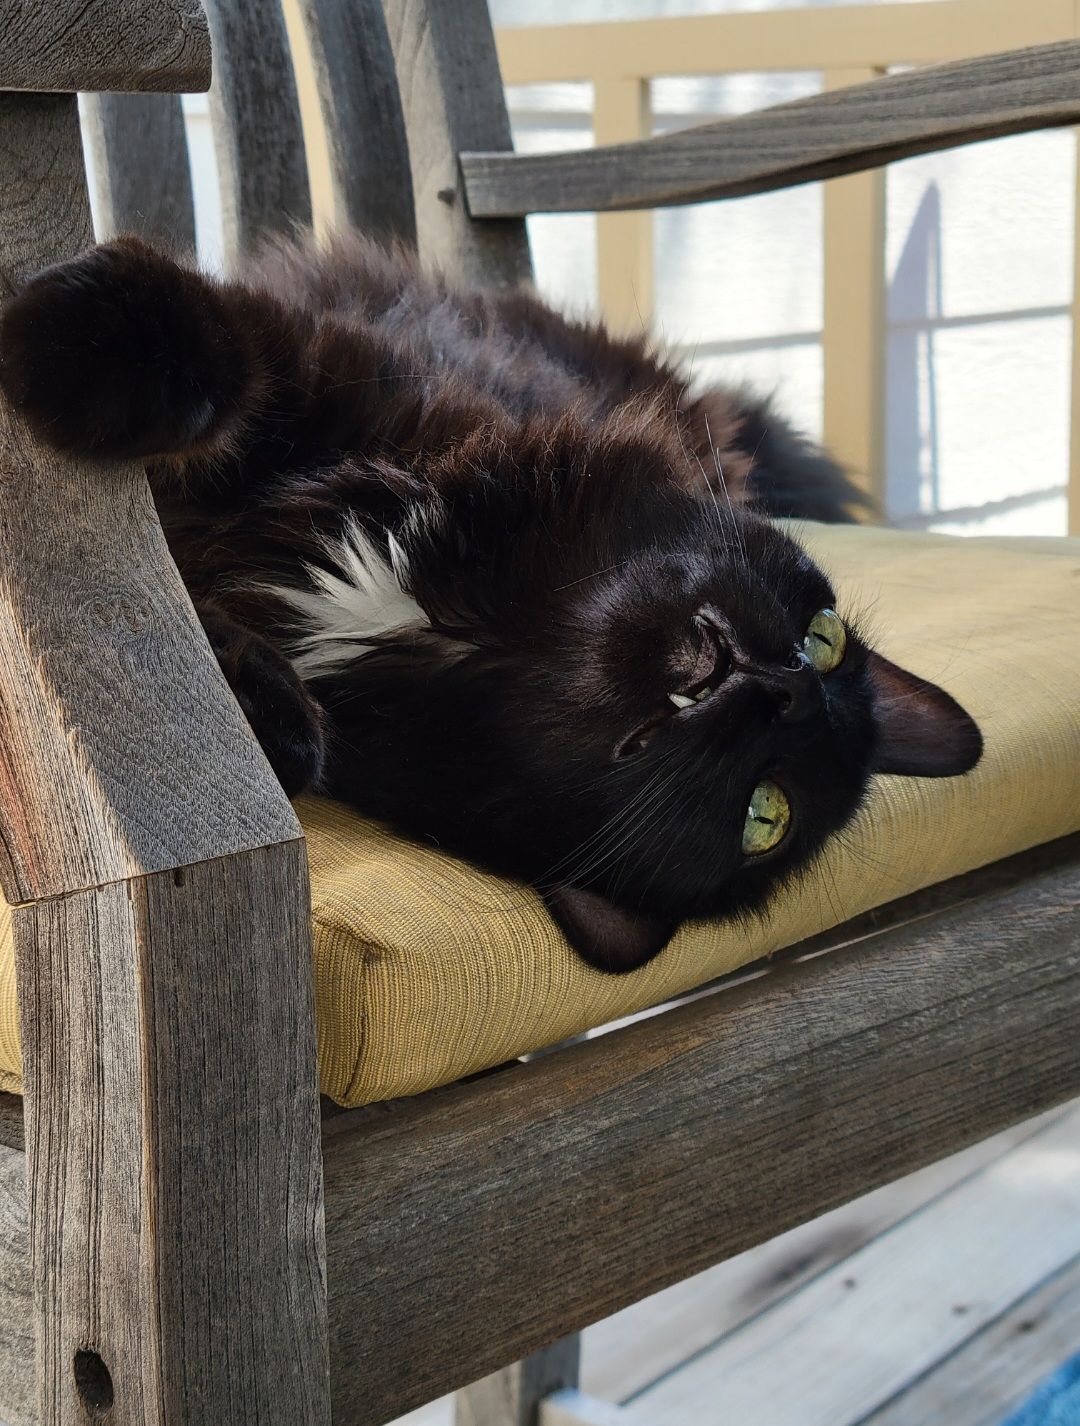
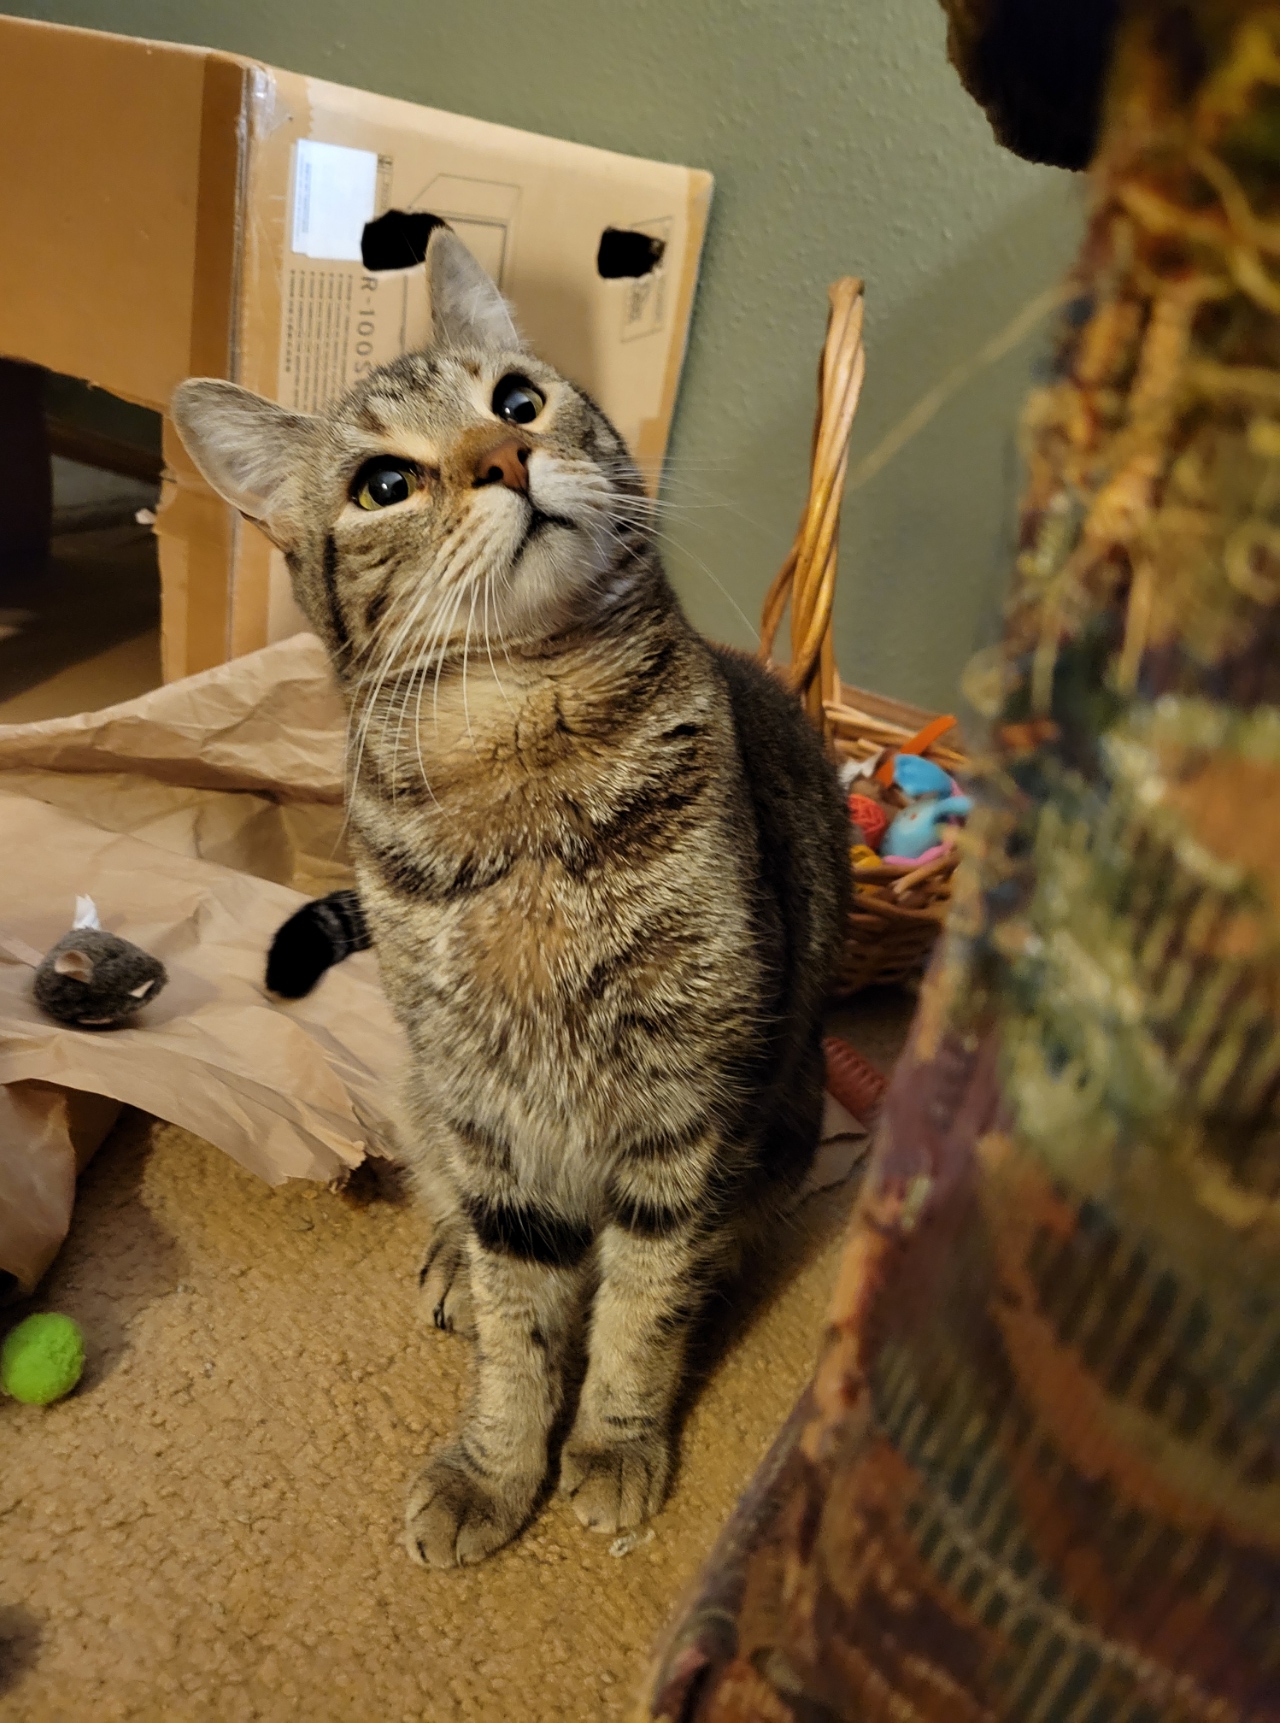
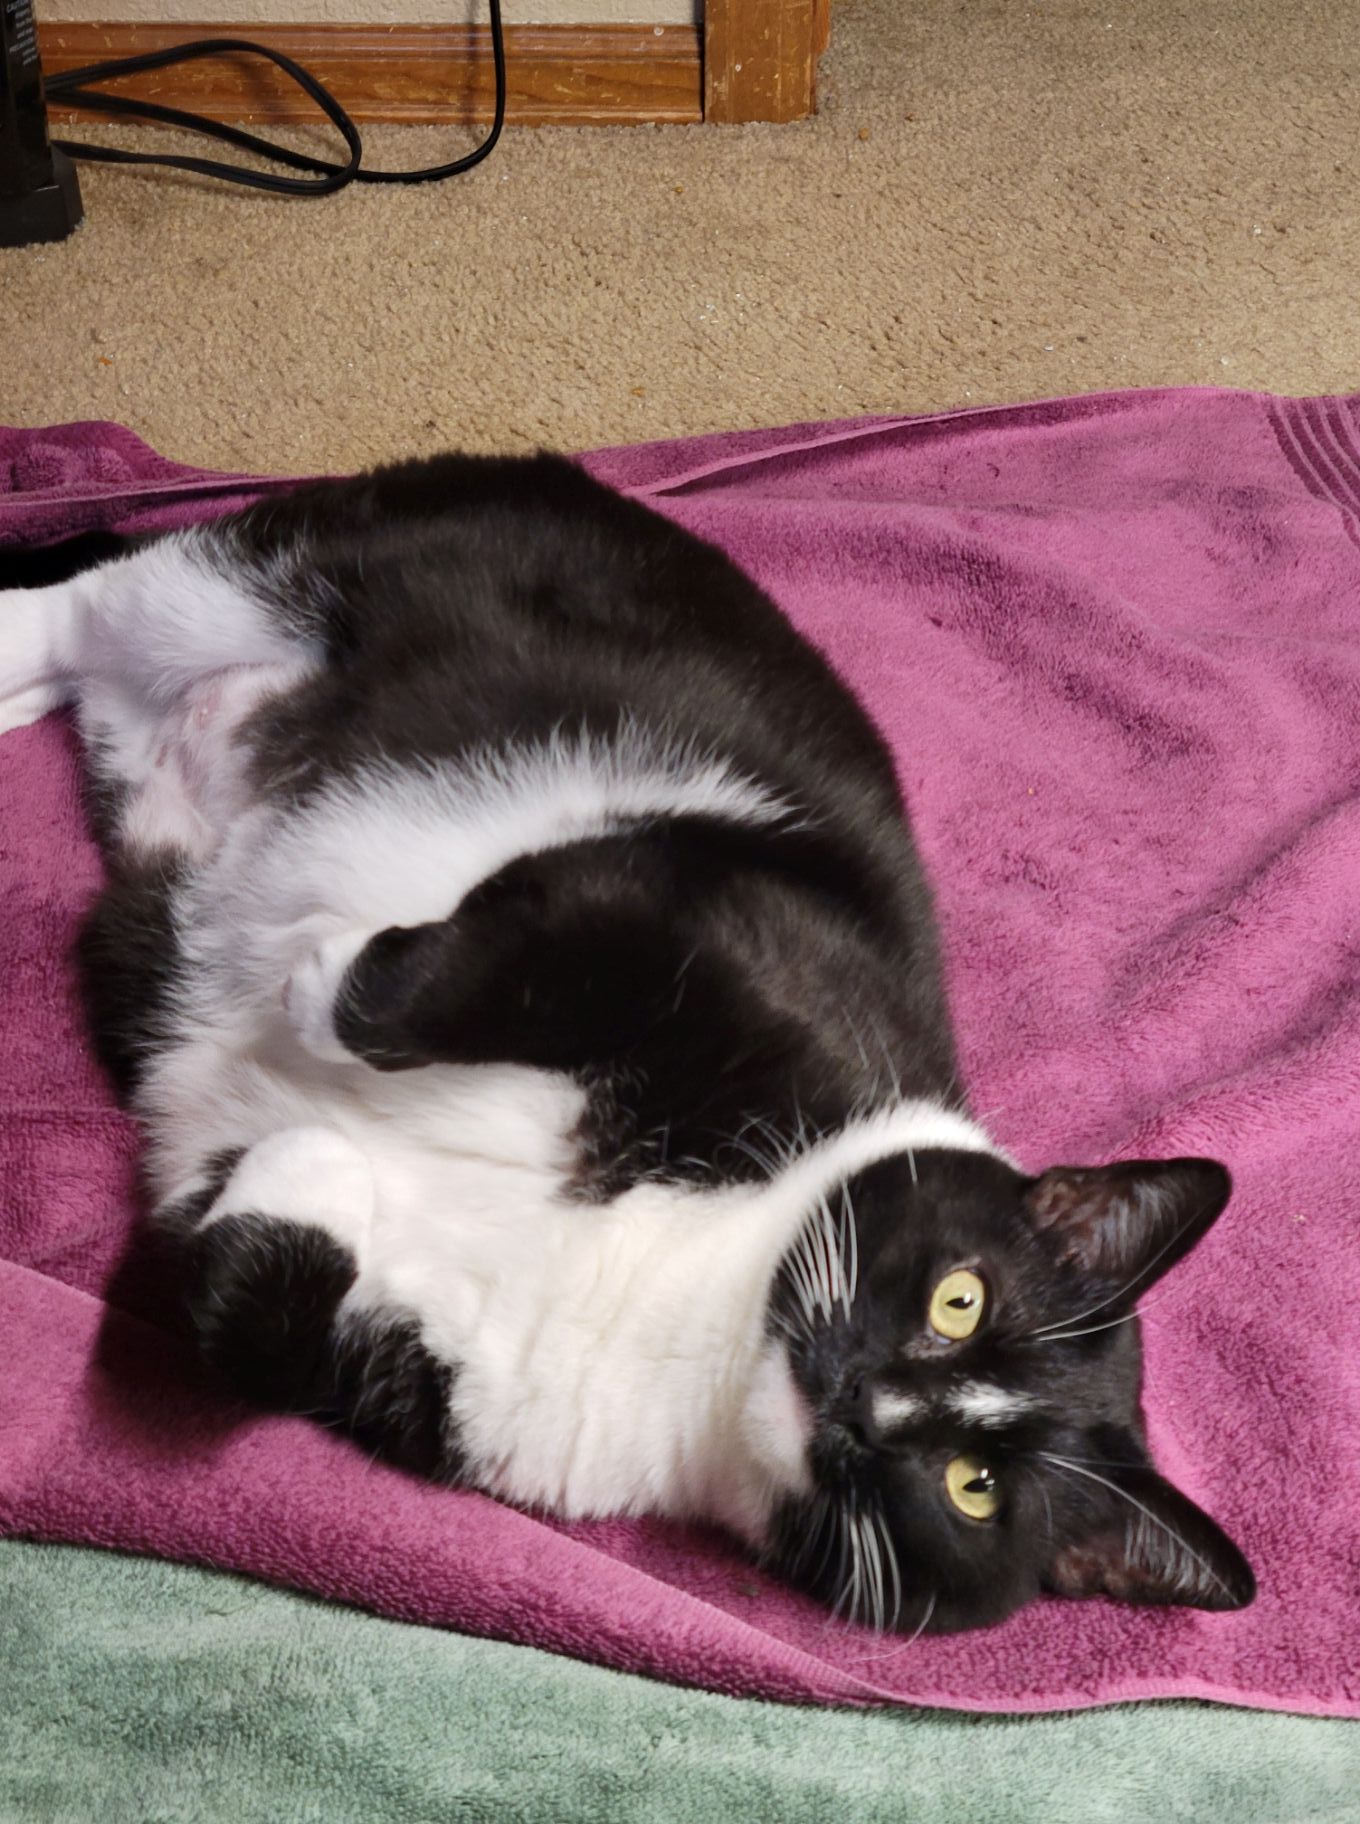
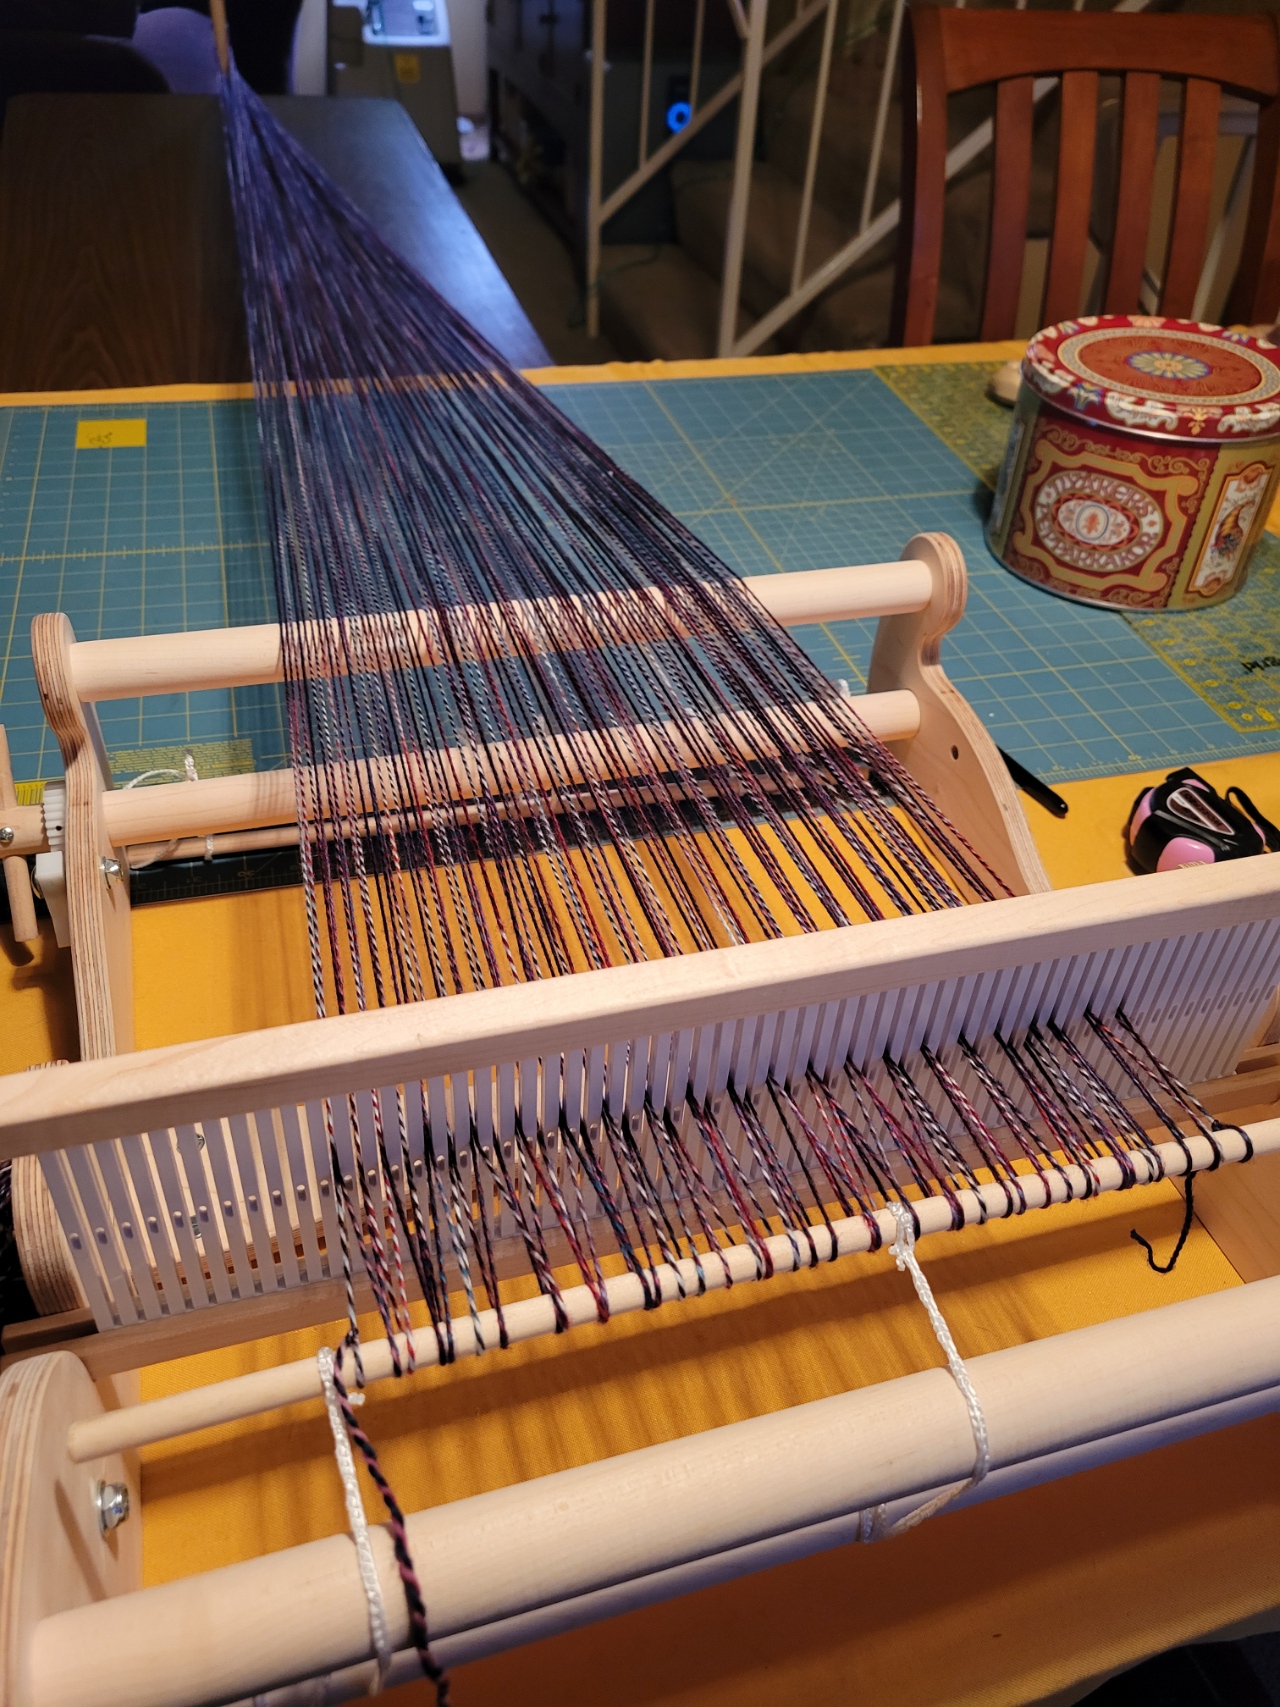
I’ve been sick for almost three weeks! This was a respiratory virus, and I’ve been on oxygen for two weeks straight and taking all my drugs while following the directions for home care from my pulmonologist, too dizzy to go to urgent care, but not sick enough to dial 911. Worried friends have been checking up on me, and I’ve been faithfully reporting out my symptoms and oxygen levels every day to them. I started using my respirometer again to get my lung volume back up, I was able to start going off oxygen for a few hours each day towards the end of the 2nd week, and my heart slowly stopped having palpitations. Am I still having tachycardia events? Why yes, yes I am. Stupid crazy heart! In spite of that, I have finally started to feel like myself again this week, and my appetite has come back. The cats, who have been very patient, are overjoyed to have me up and about again, and I’m finally able to make chemo hats and knit again. I even got my little rigid heddle loom warped yesterday!
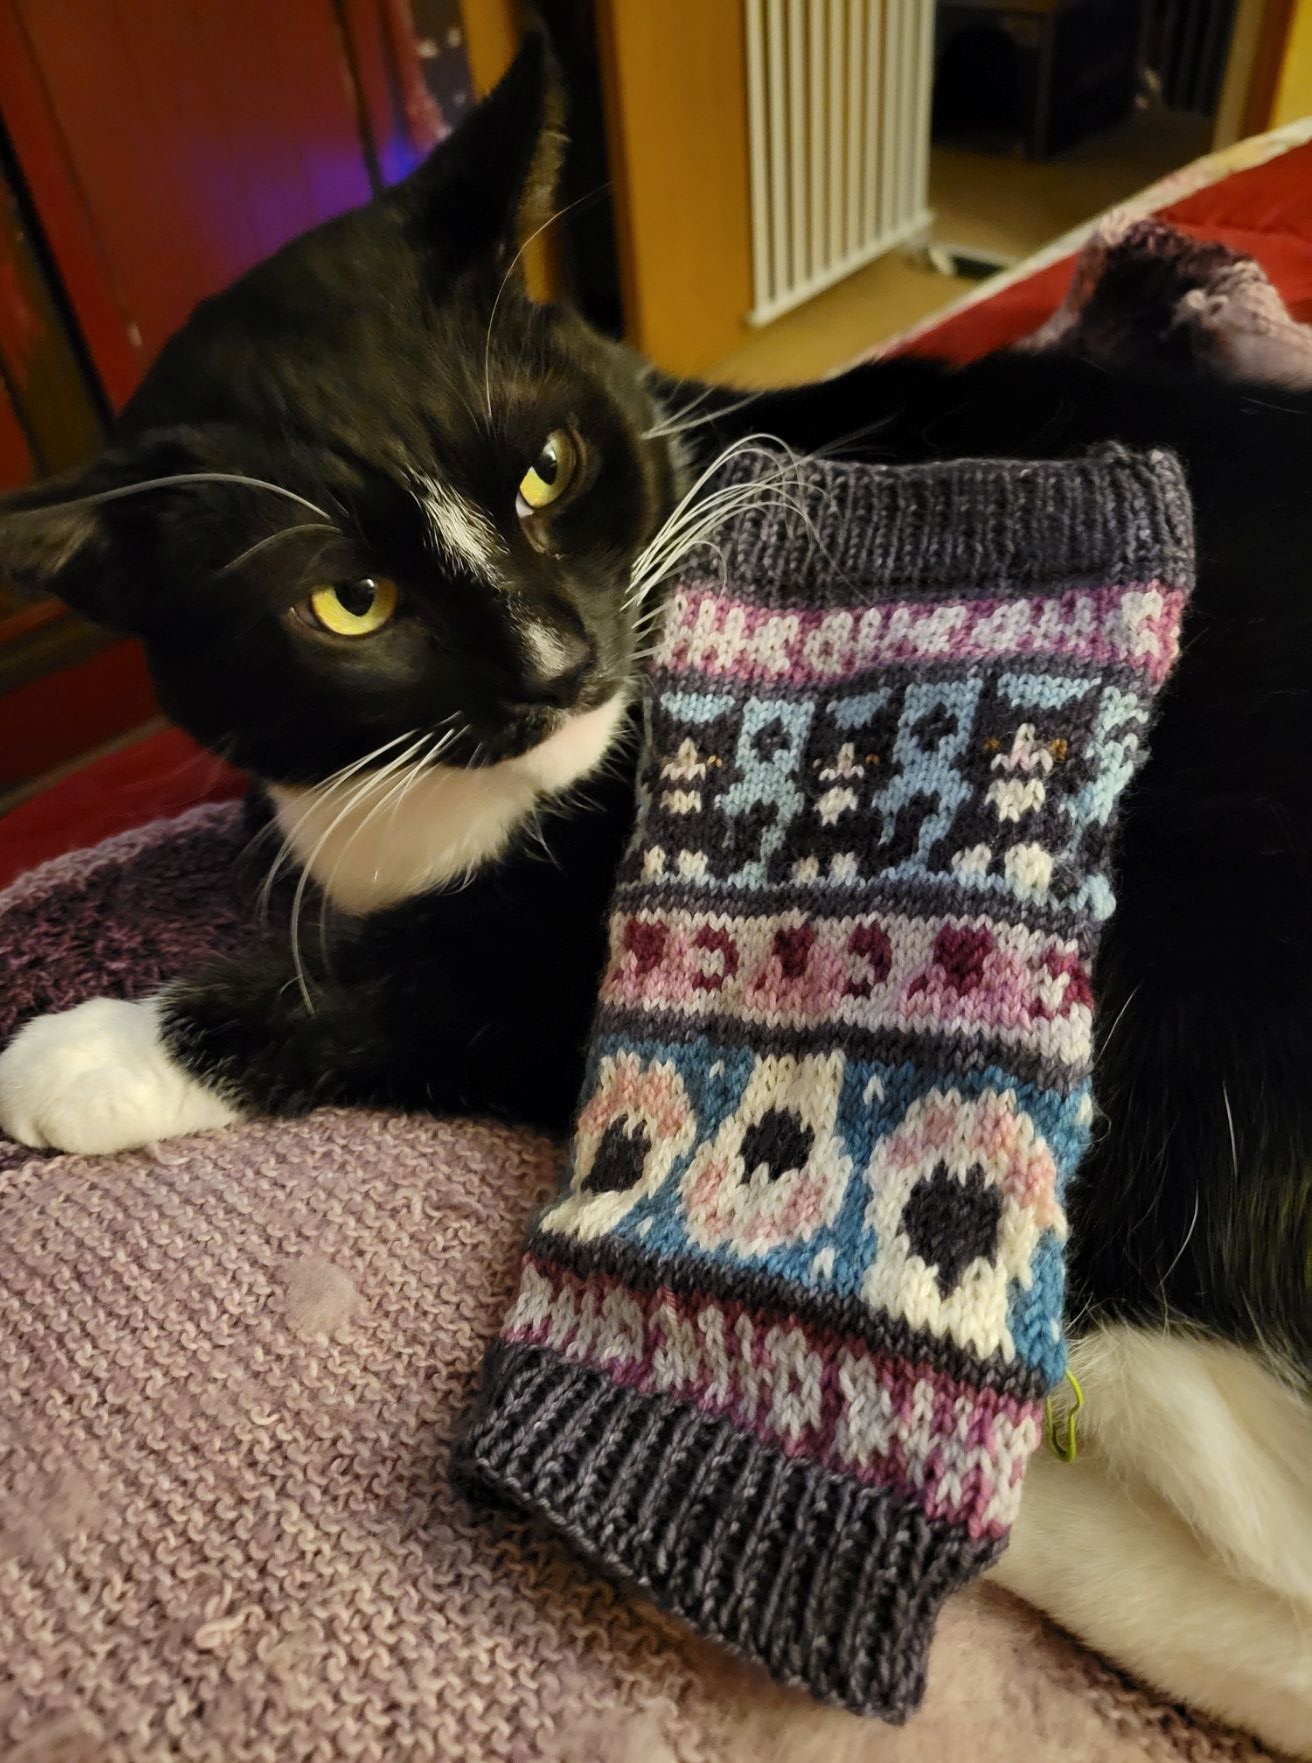
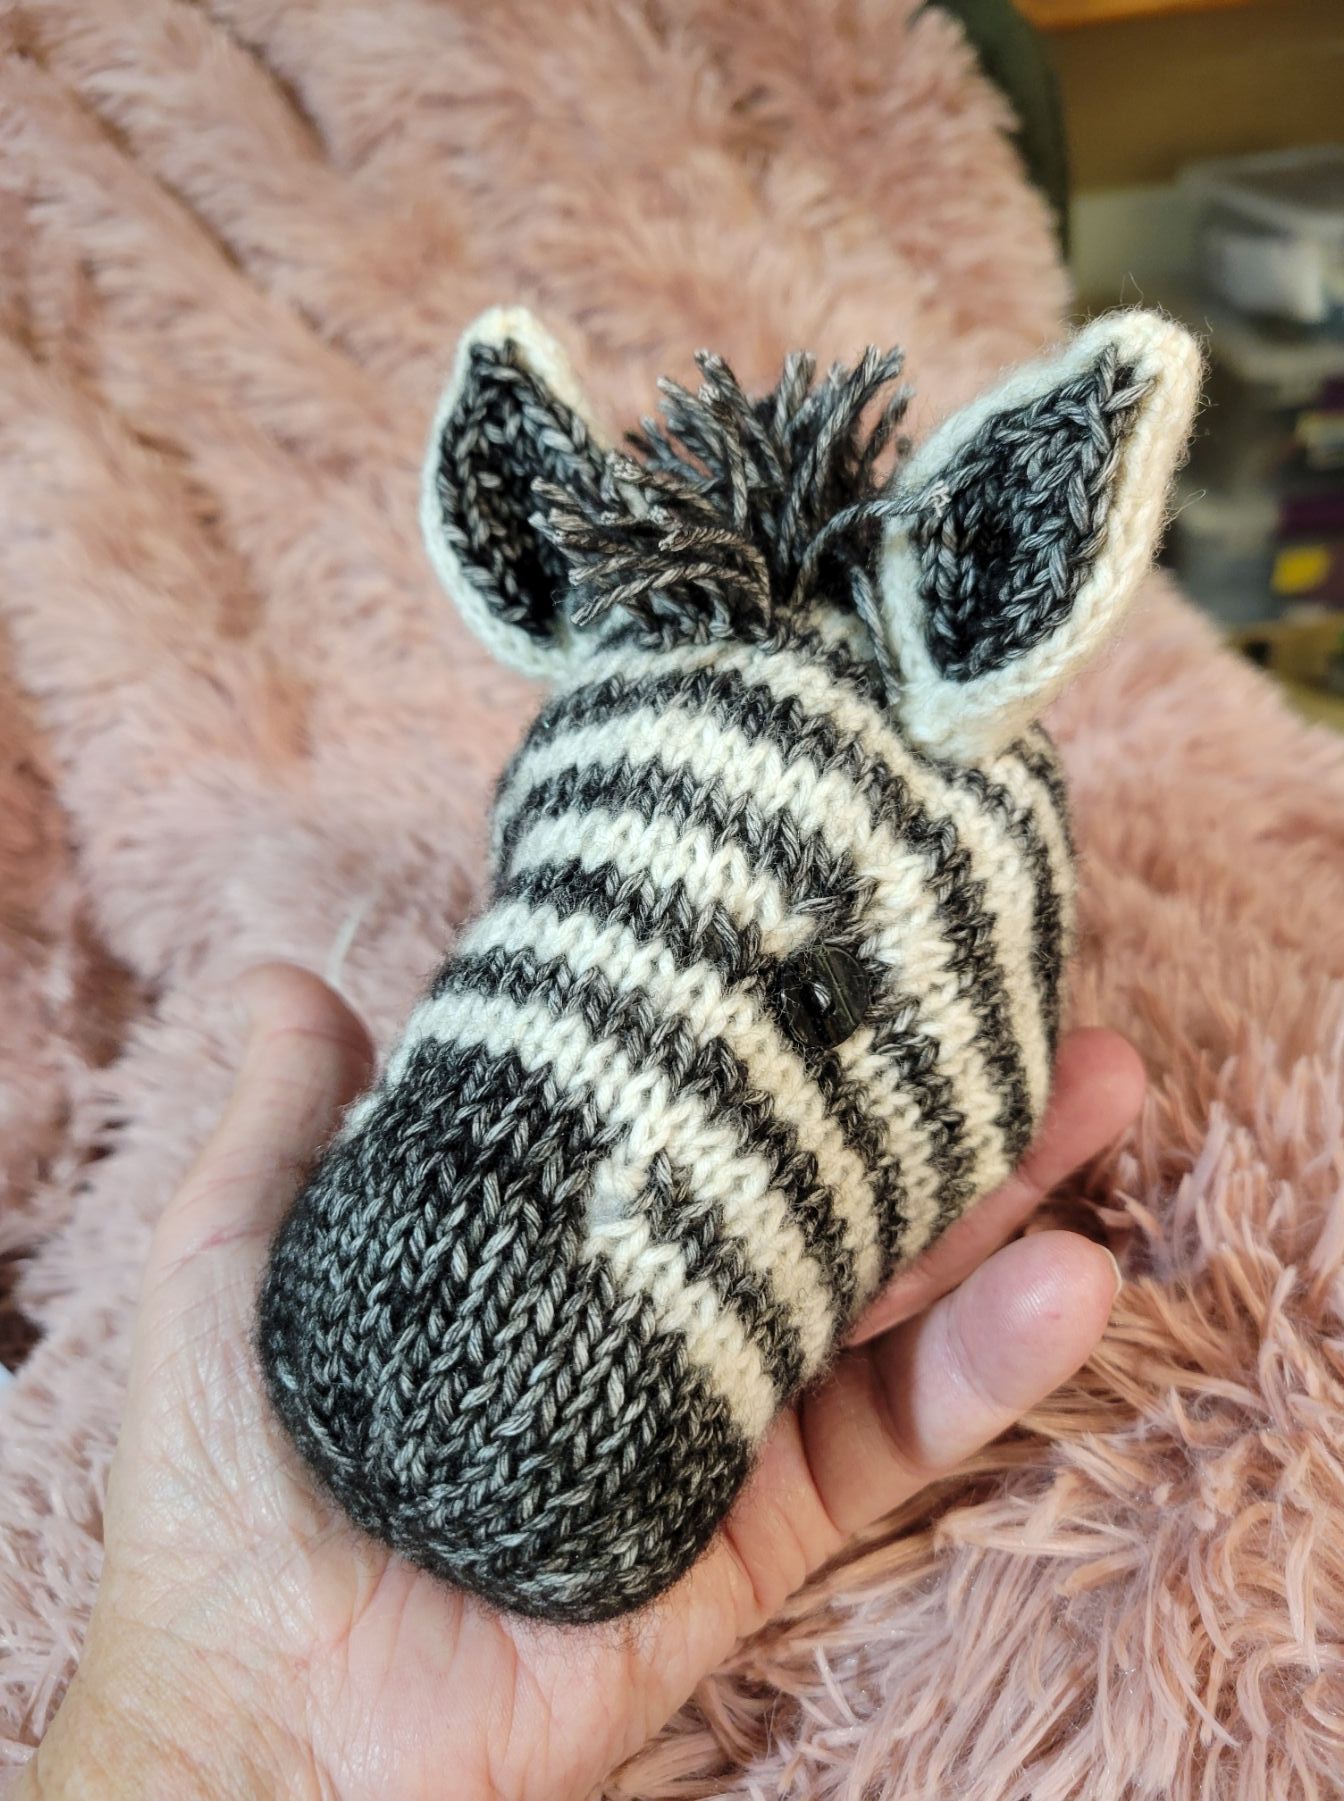
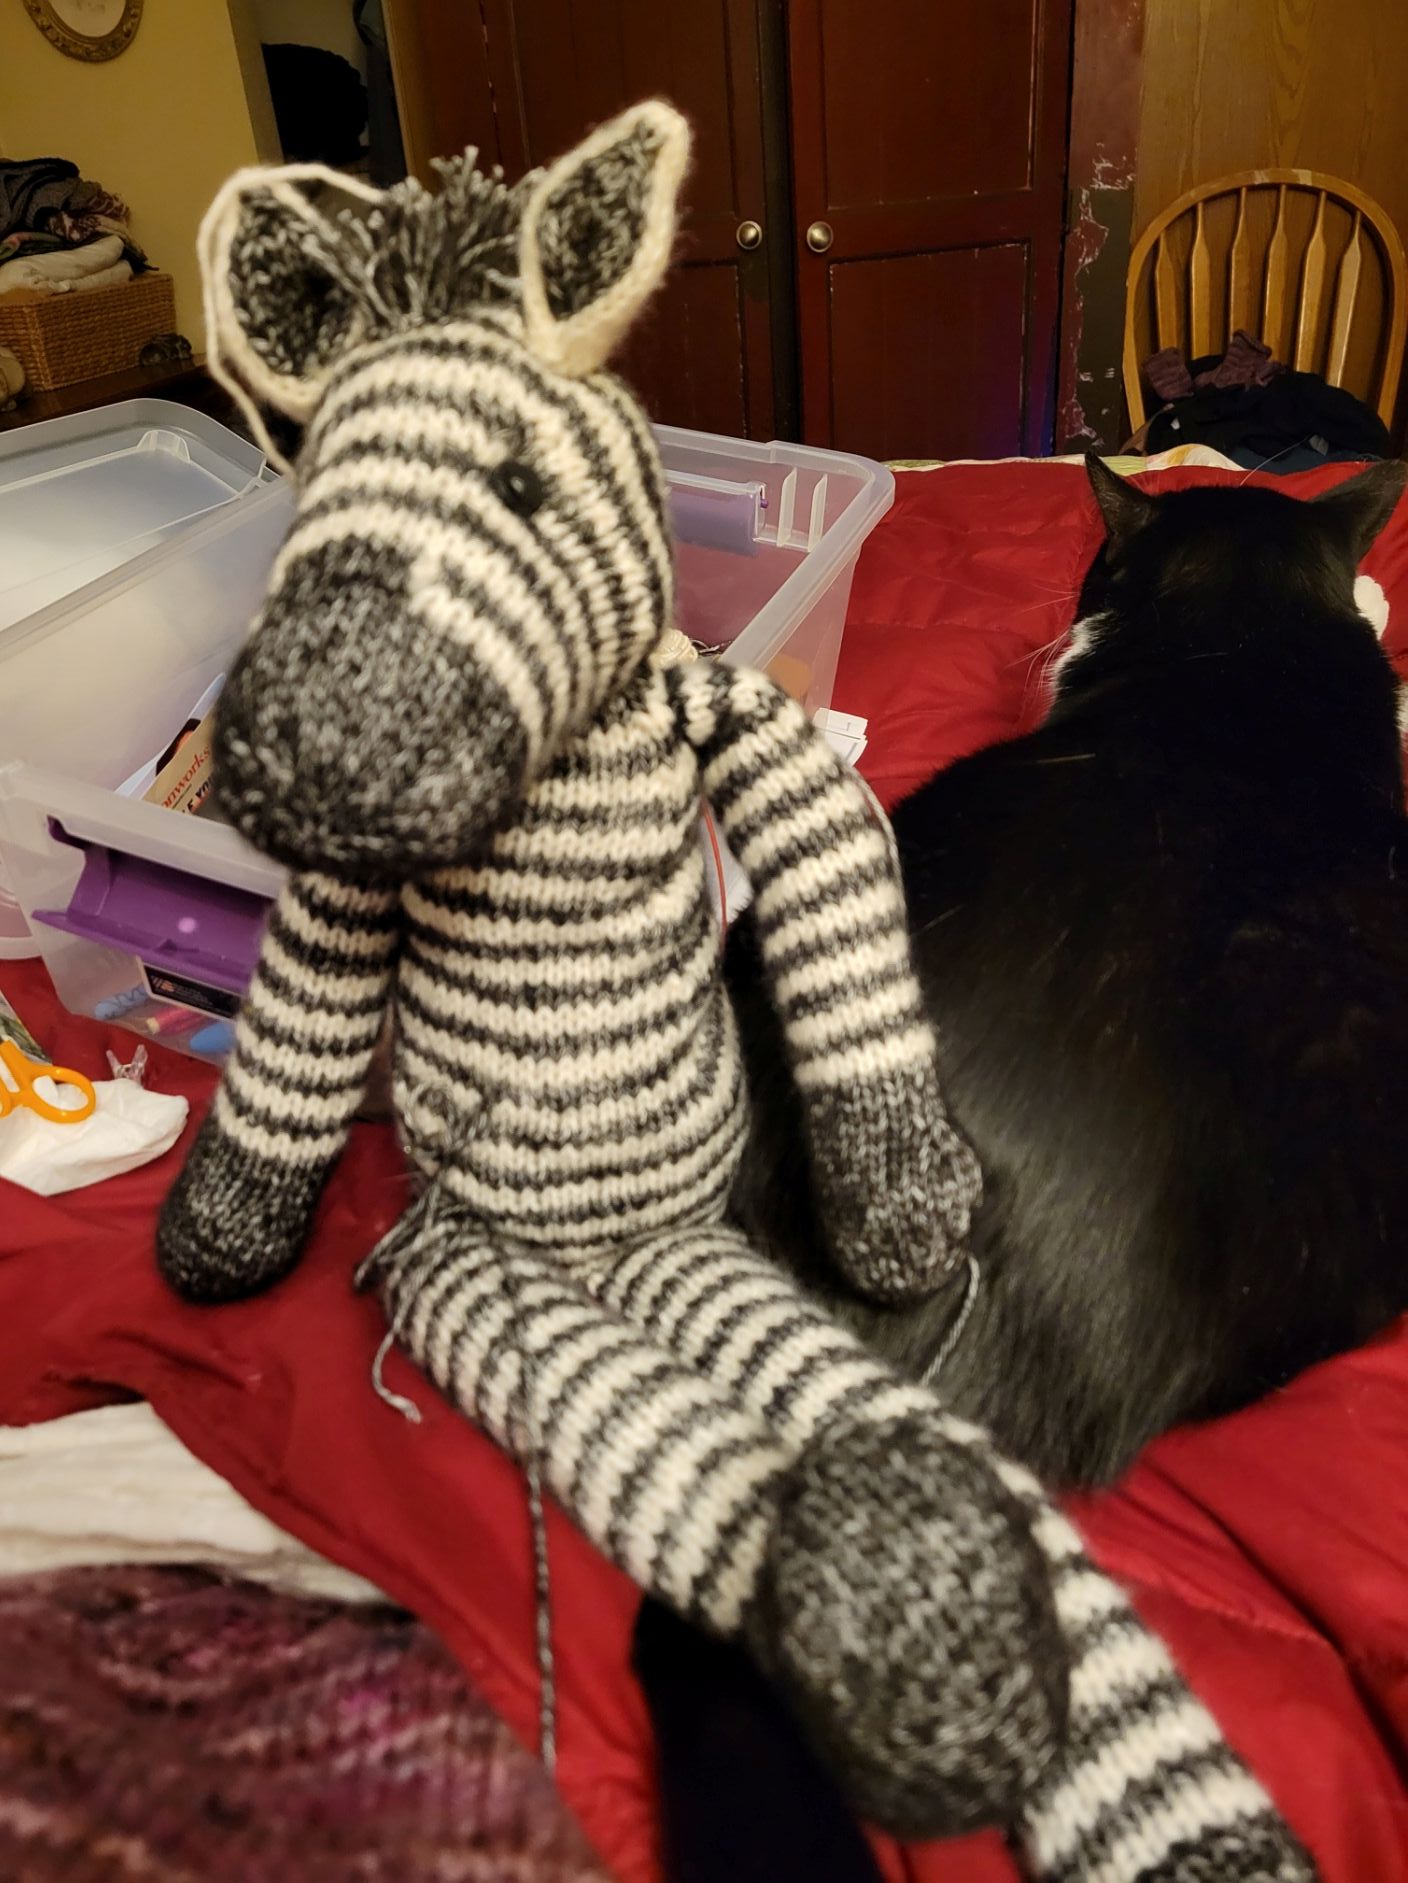
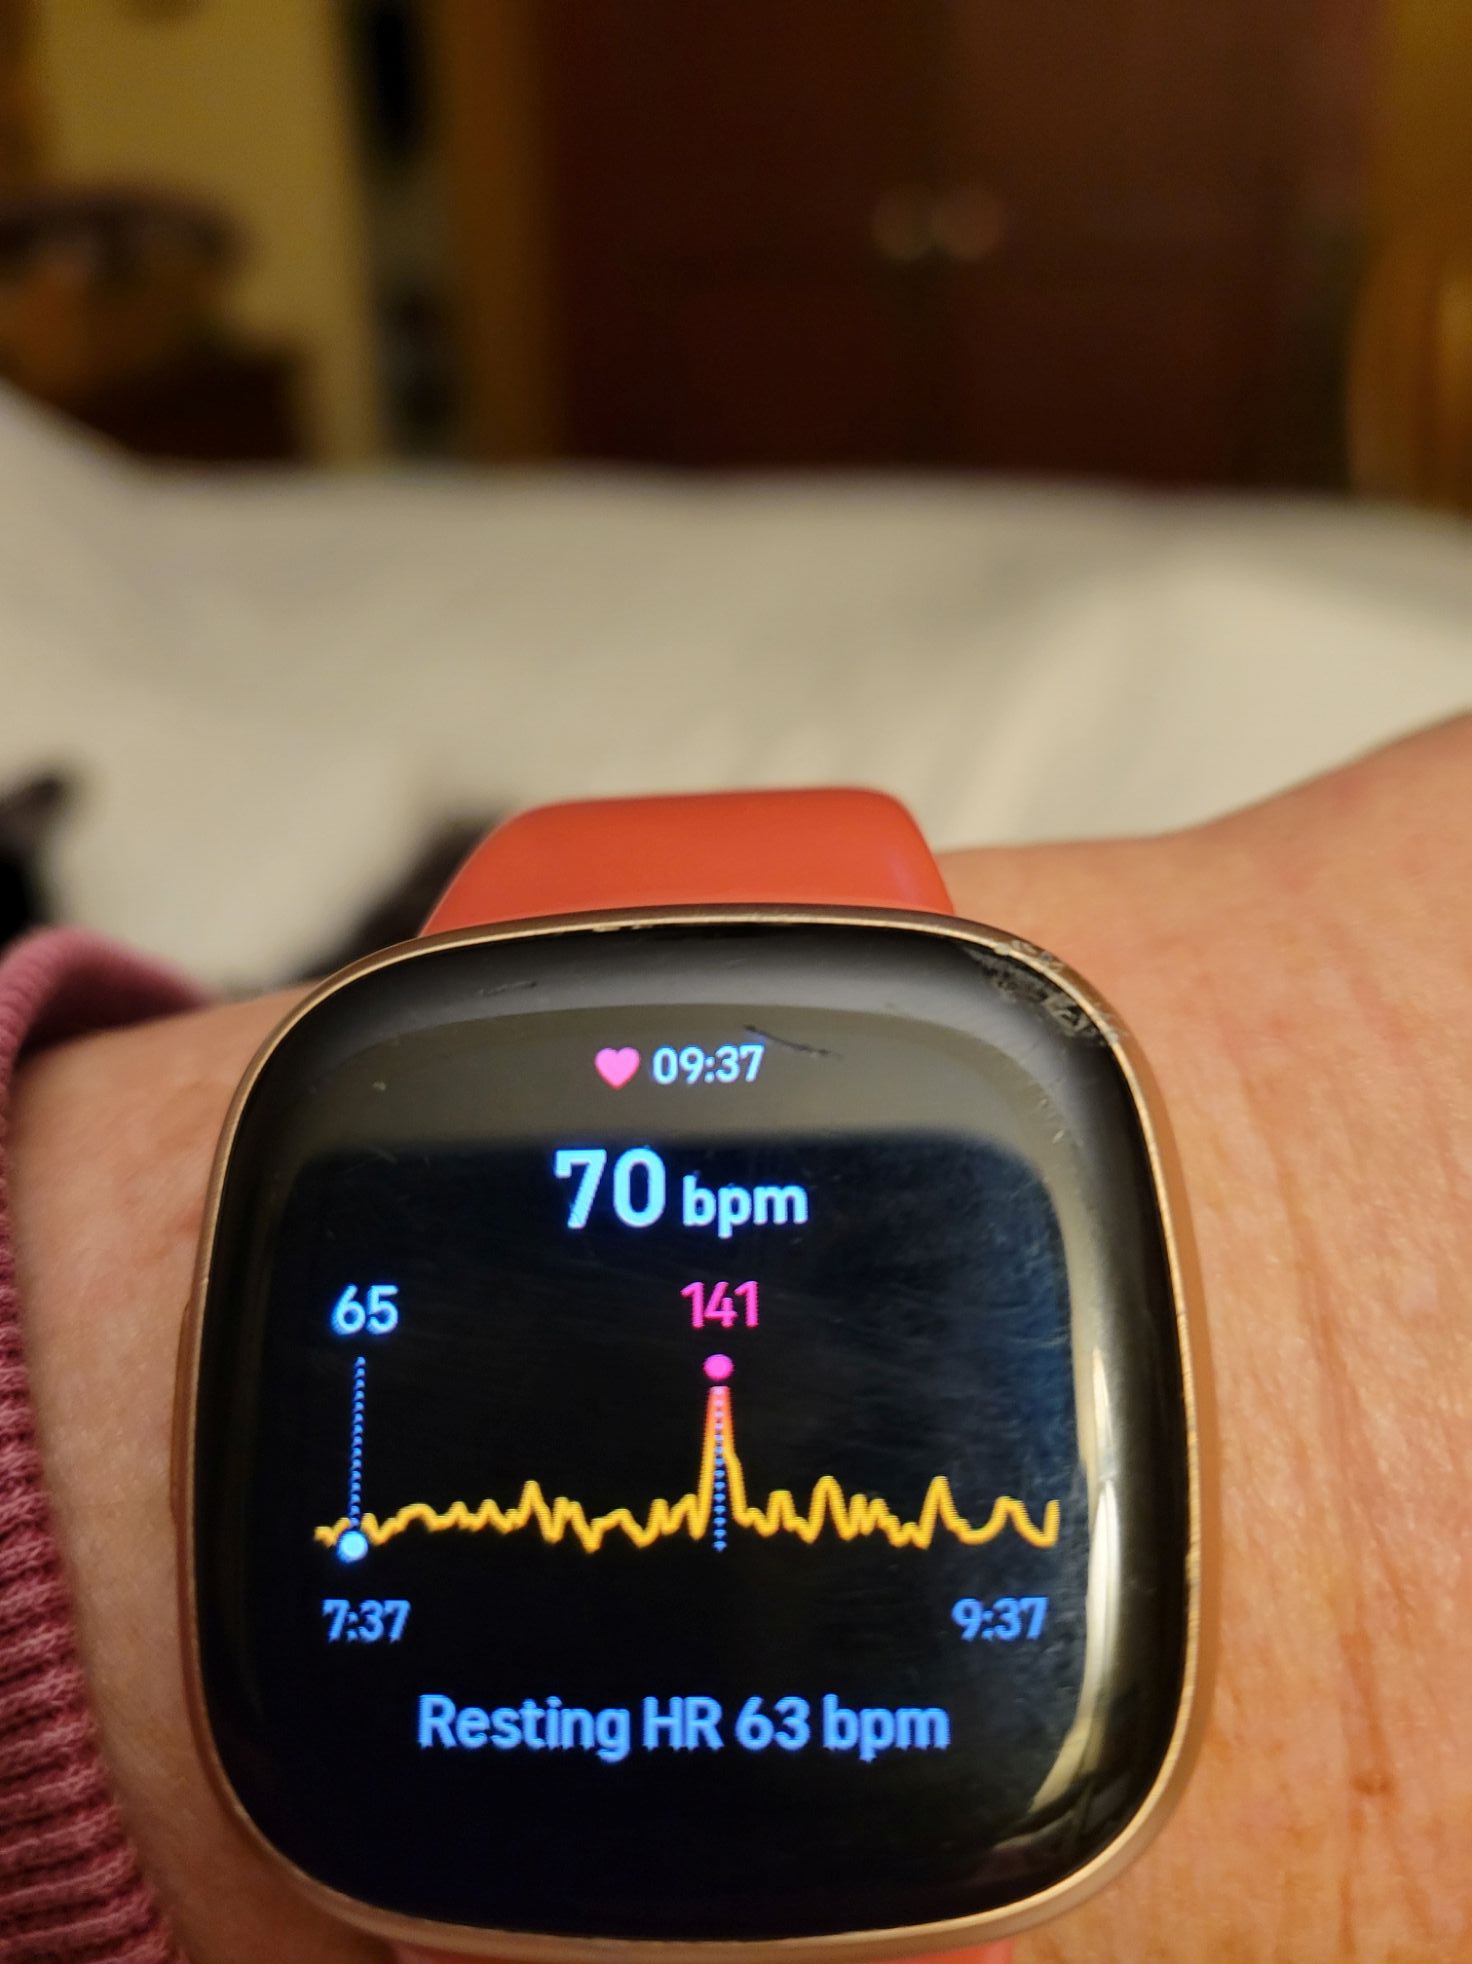
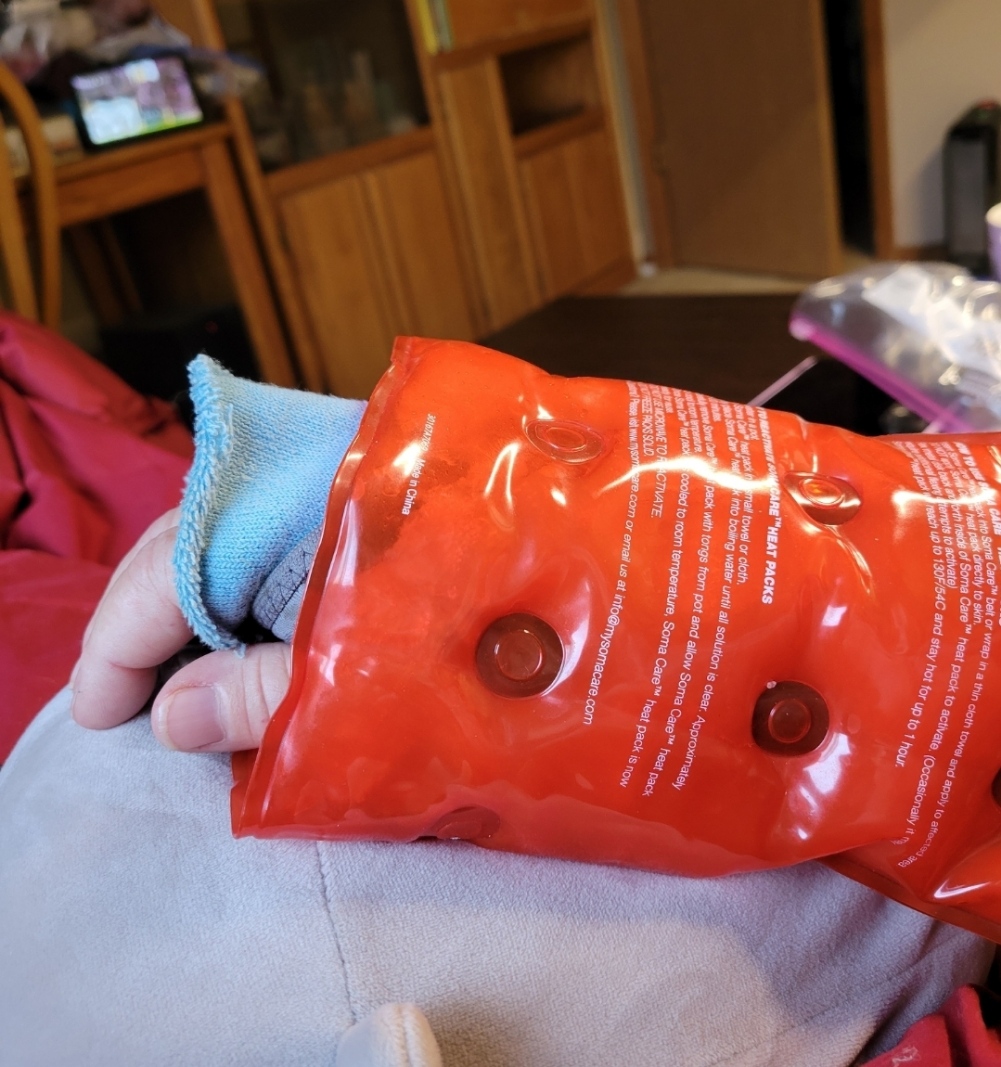
Doesn’t this all sound ridiculous? Like, why wasn’t I in urgent care sooner? Well… I’m complicated. Going to urgent care is risky as I might be exposed to ANOTHER virus. If I have to call 911 the ambulance will take me to the dreadful hospital that is closest and not in my health care network. The doctors in the urgent care and ERs don’t quite know what to do with a patient like me, and going in usually isn’t productive. Ugh. I instead called in and got advice from my specialist nurses, and they clarified where the red lines were: if I couldn’t keep my O2 numbers up in the 90s, or if I developed significant symptoms of cardiac tamponade, I had to get emergency intervention. In the middle of the second week another scleroderma patient sent me this…

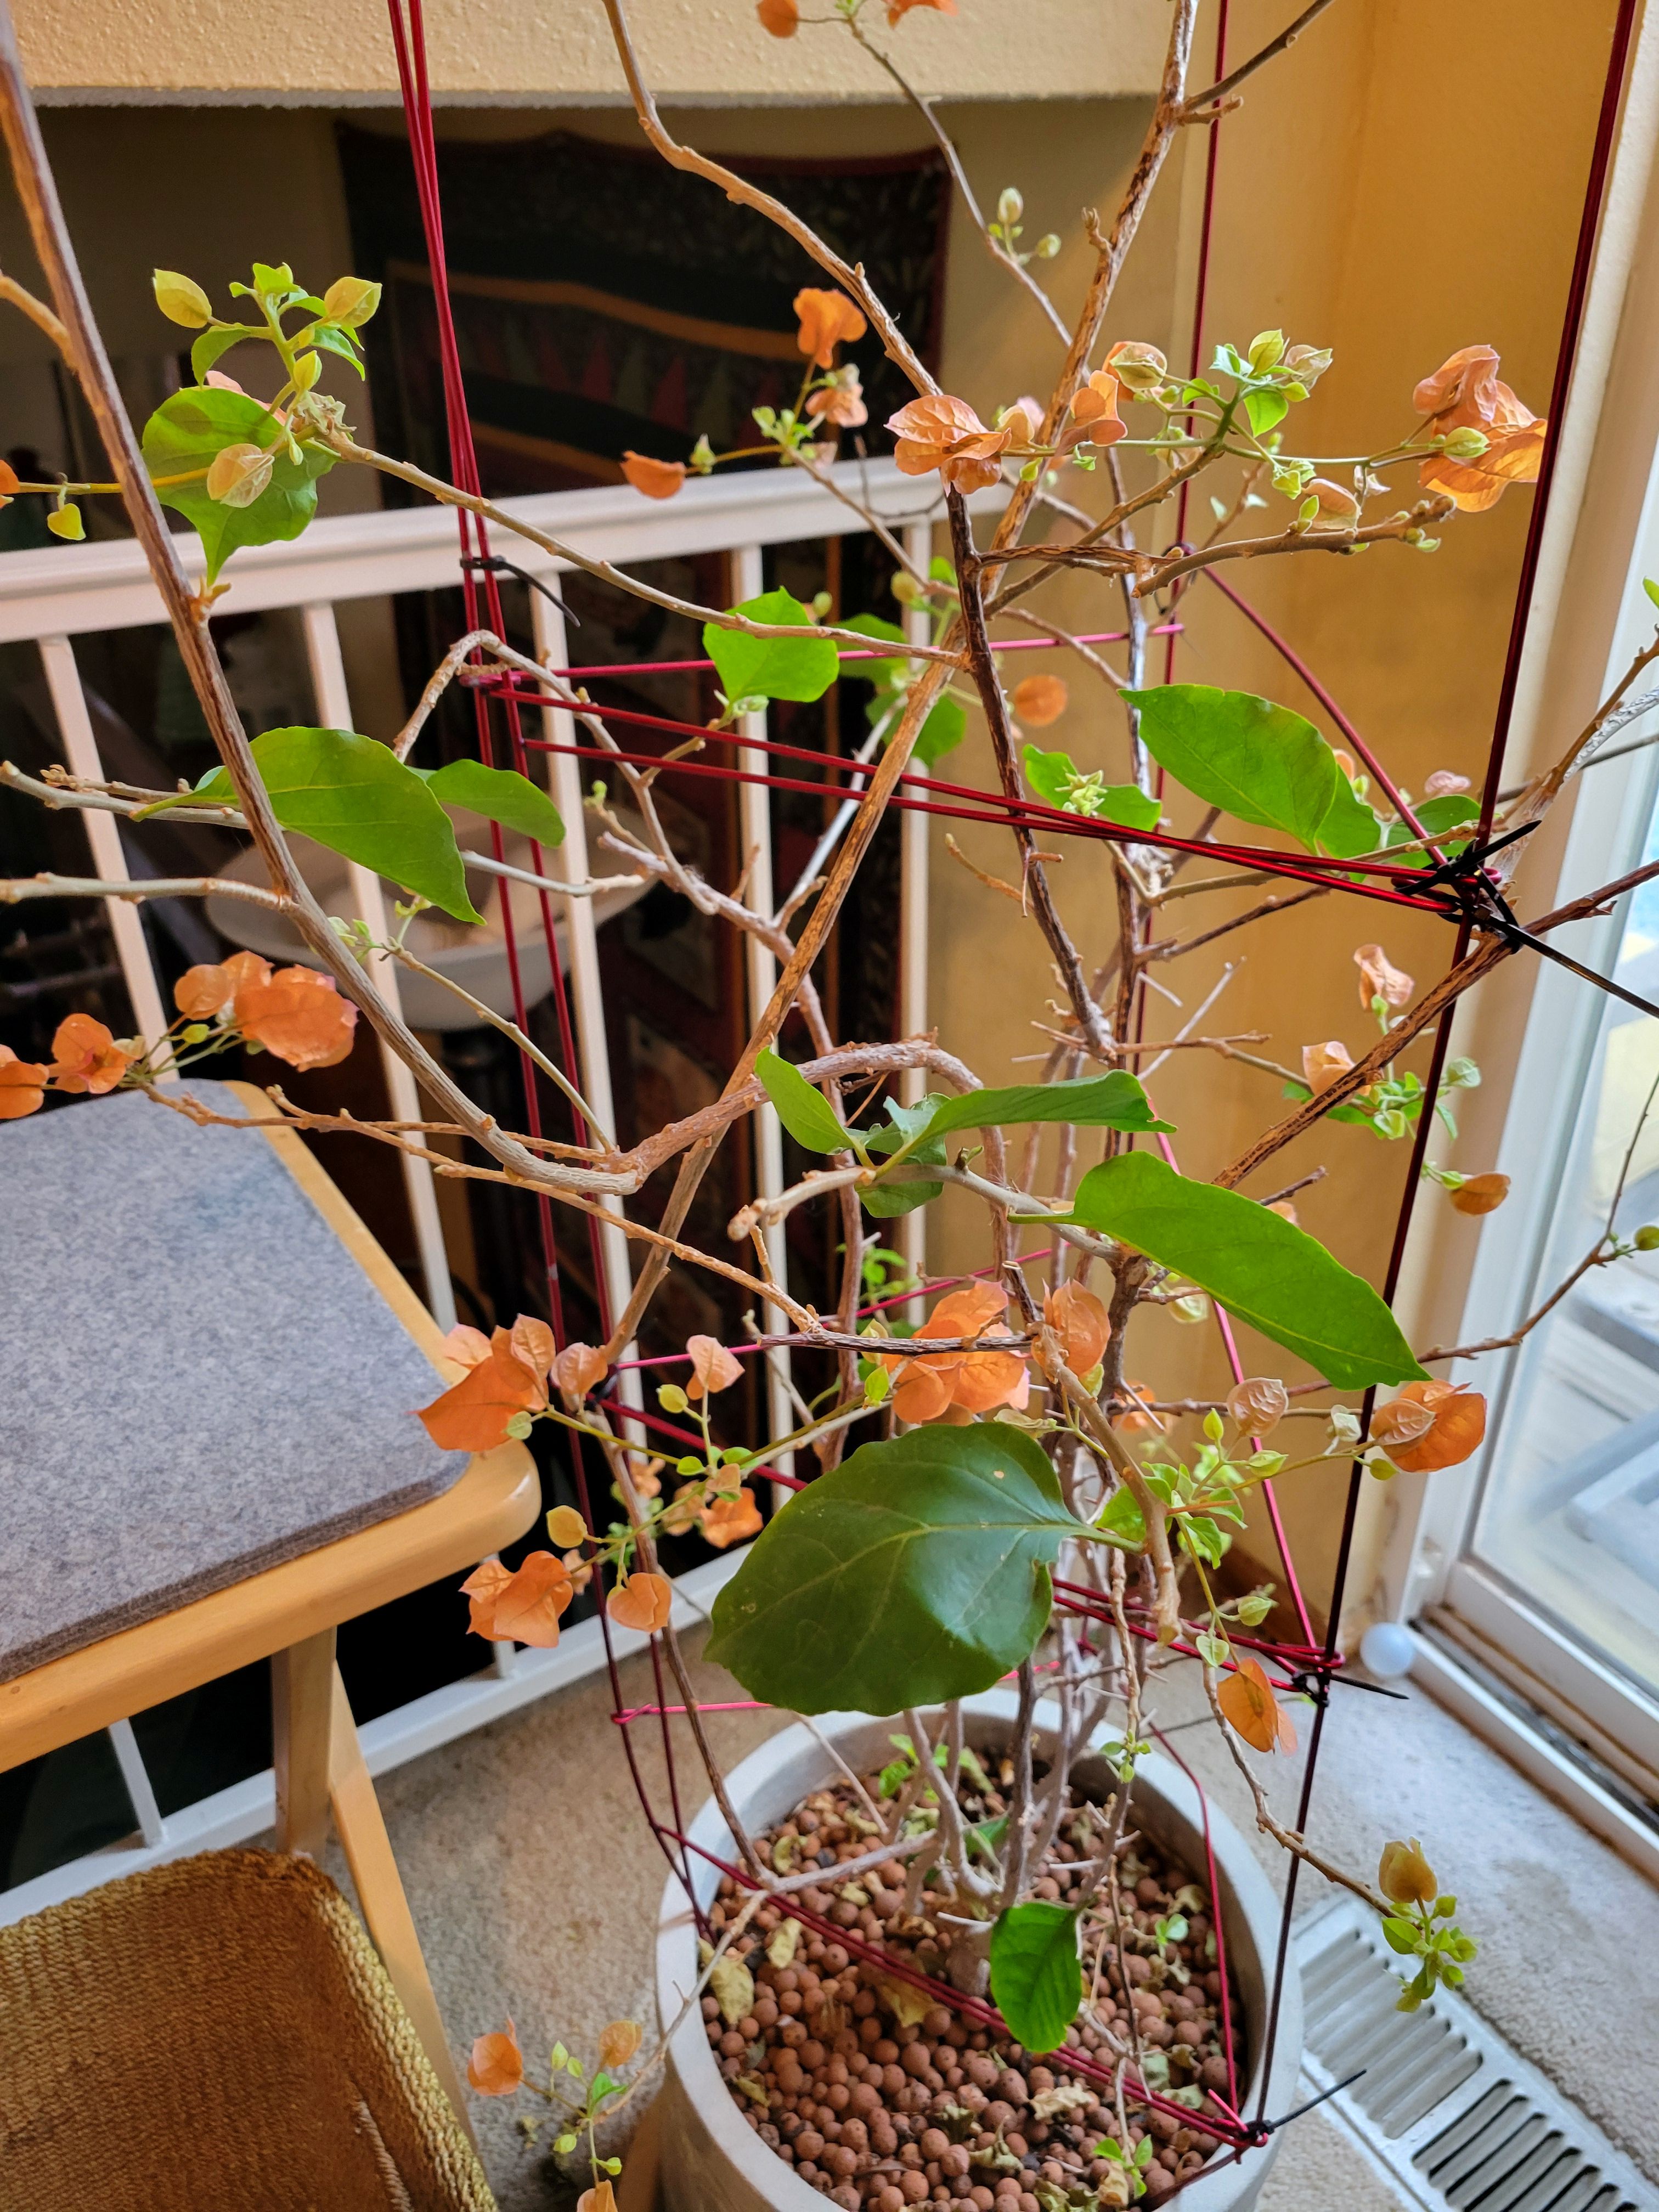
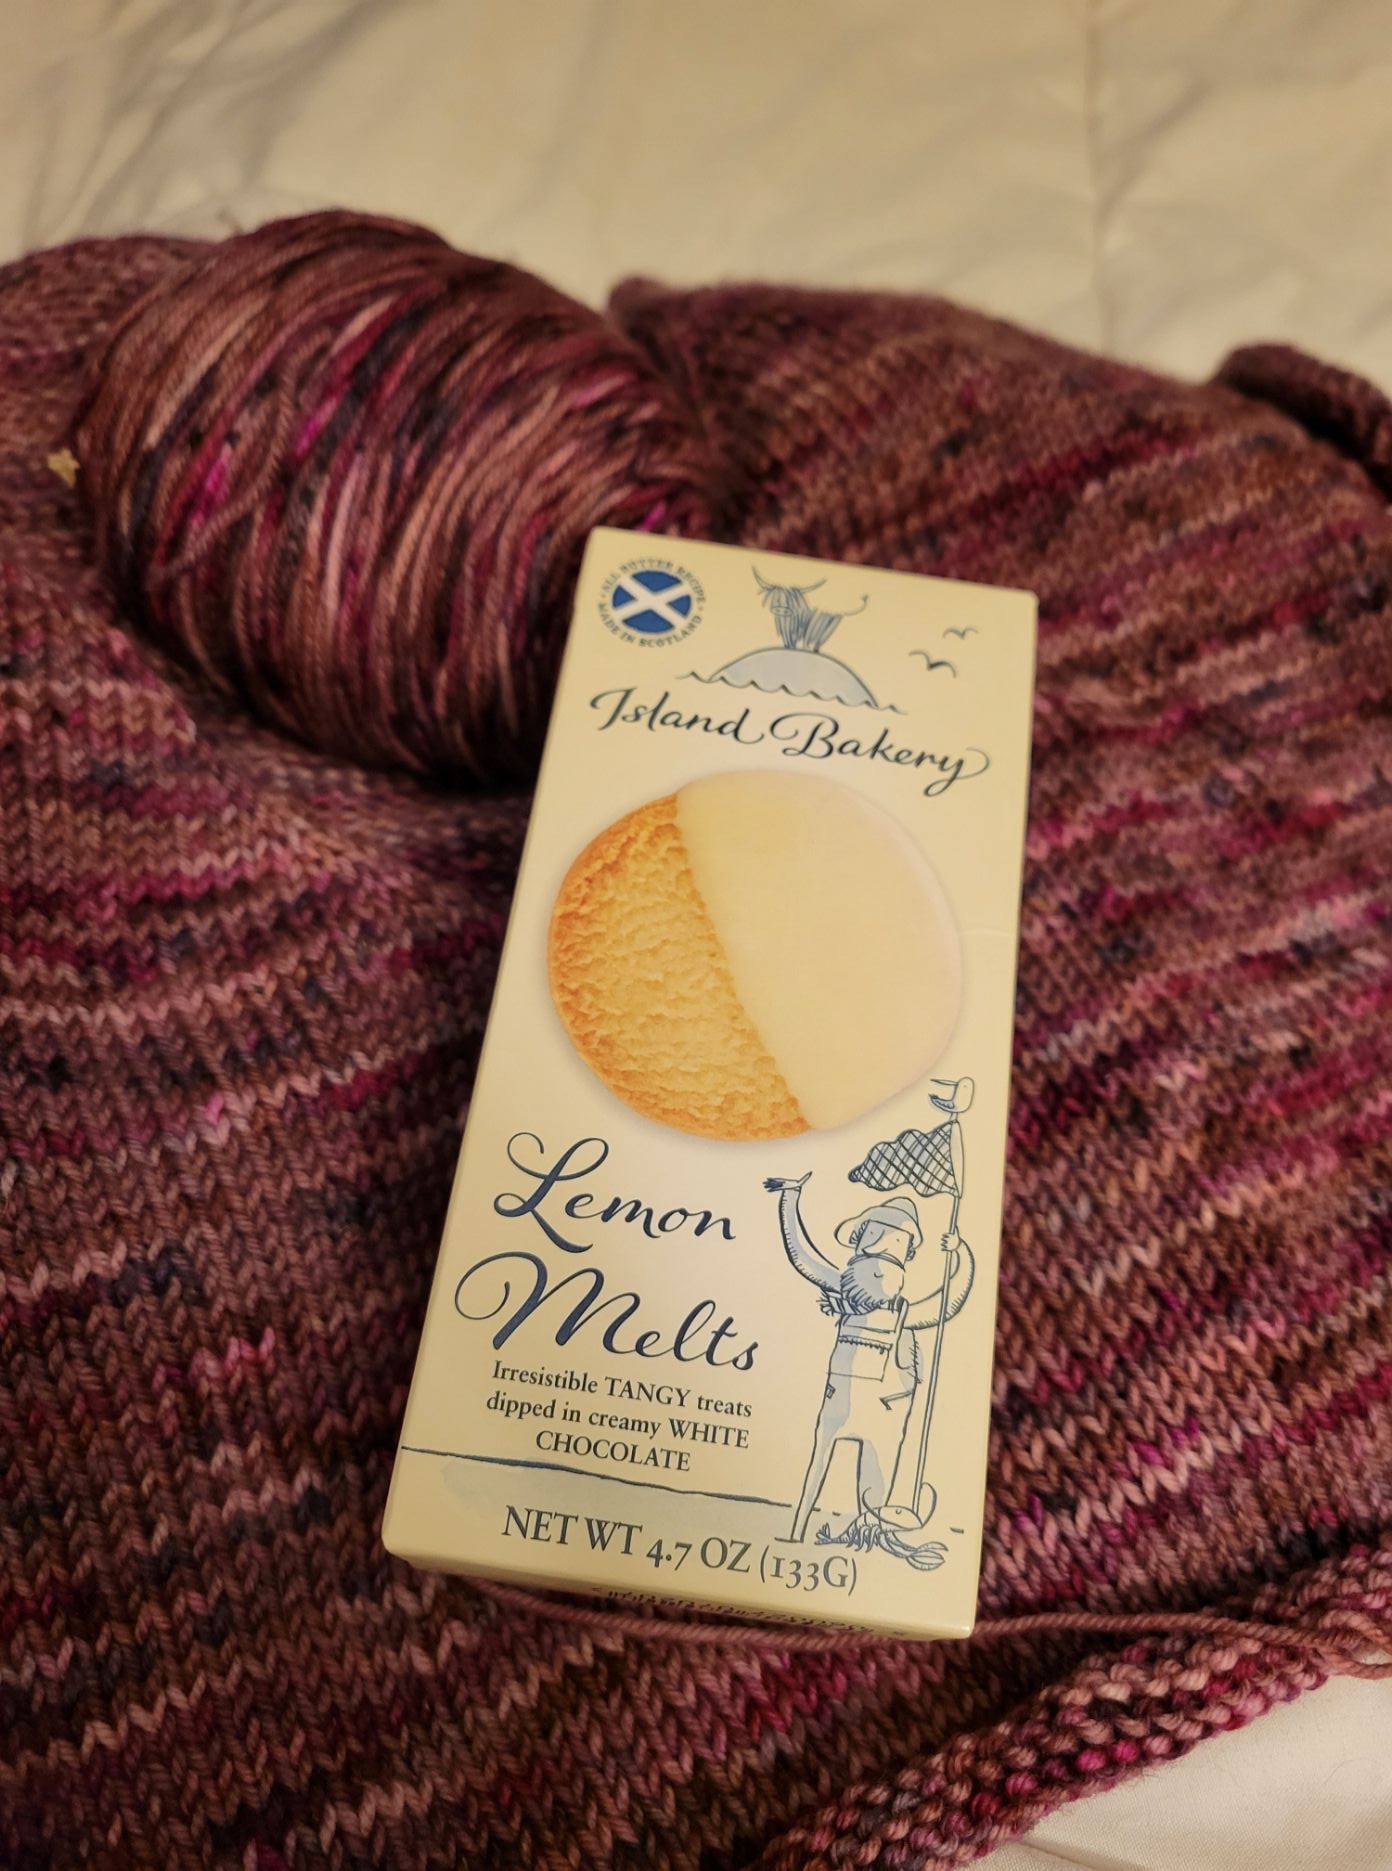
Anyway, that is me. Miss Complicated AF. Everything is just fraught when I get sick. Do I stop my immunosuppressive drugs so I can fight the virus? Nope… those drugs are holding my autoimmune lung disease in check, and as soon as I cut back, I got a lot sicker. Should I use the steroid inhaler? Yep, that helped. Saline nasal rinses? Good lord, what is all this nasal bleeding… Decongestants? Only in the morning. Mucinex? Yes, max dose!!! Finally, over the virus, finally off oxygen, still struggling with some cardiac symptoms, I am dealing with crushing fatigue but still starting to dream of knitted wonders with all of my fabulous yarn. My orchids are blooming again, and the bunnies are dancing in the yard. Last night I saw a great horned owl fly across the street in front of me when I brought in the trash cans from the street. The moon and planets gleamed above me, and the evening was warm with a nice breeze. Glimmers continue to appear around me, and I am feeling the joy again.
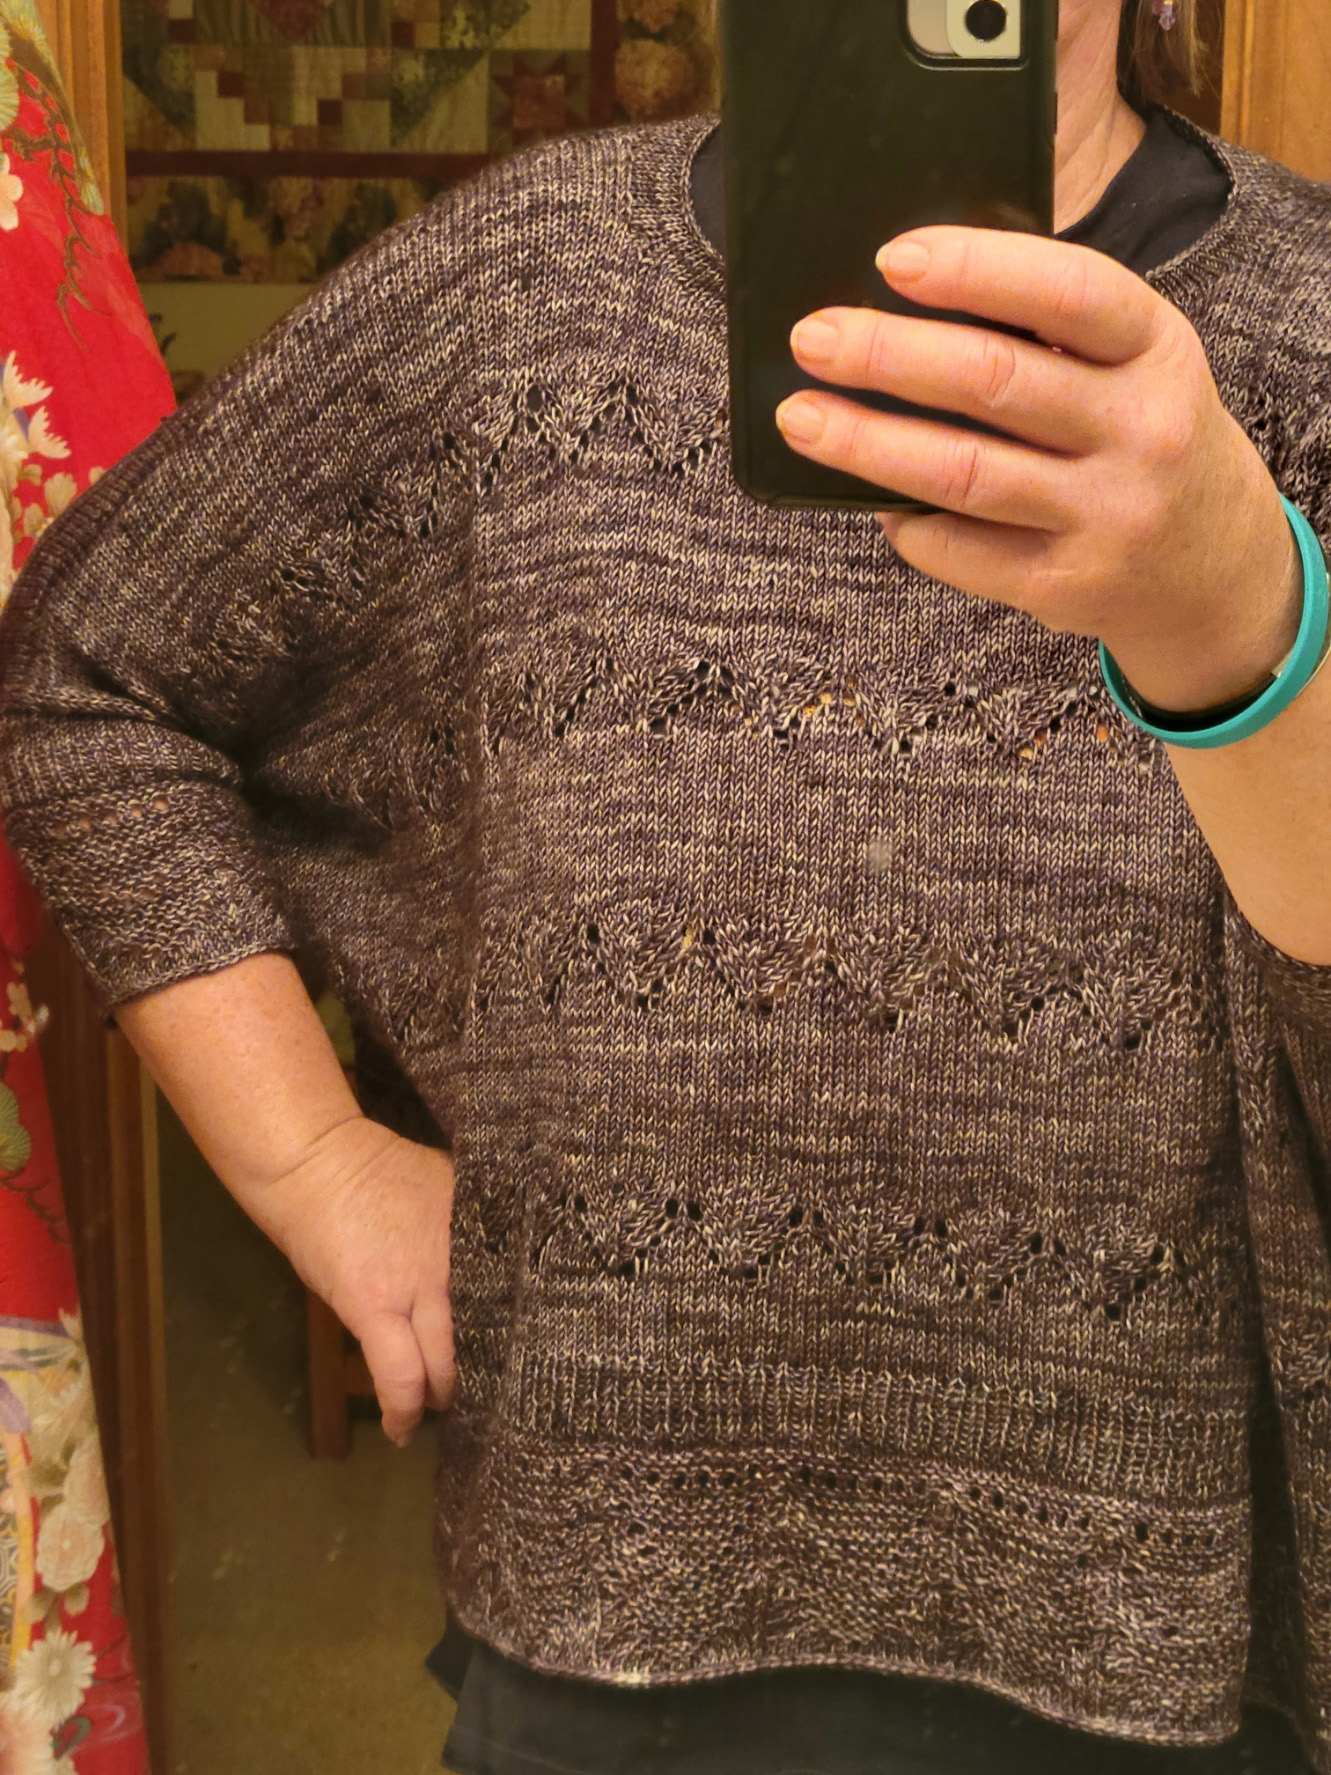
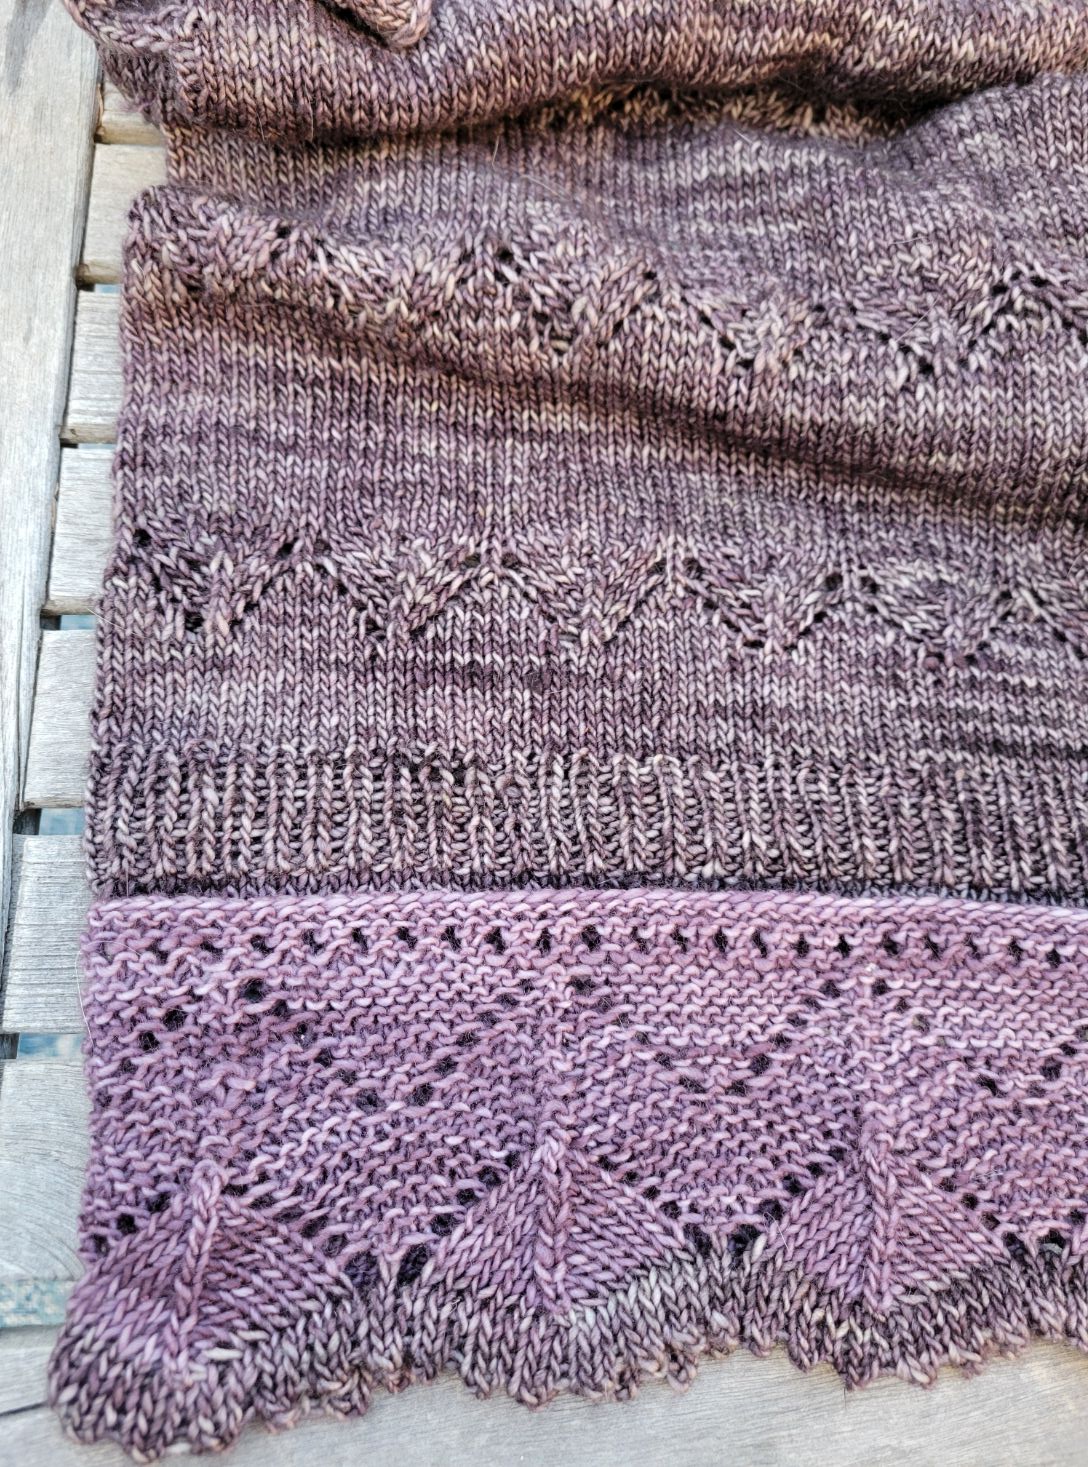
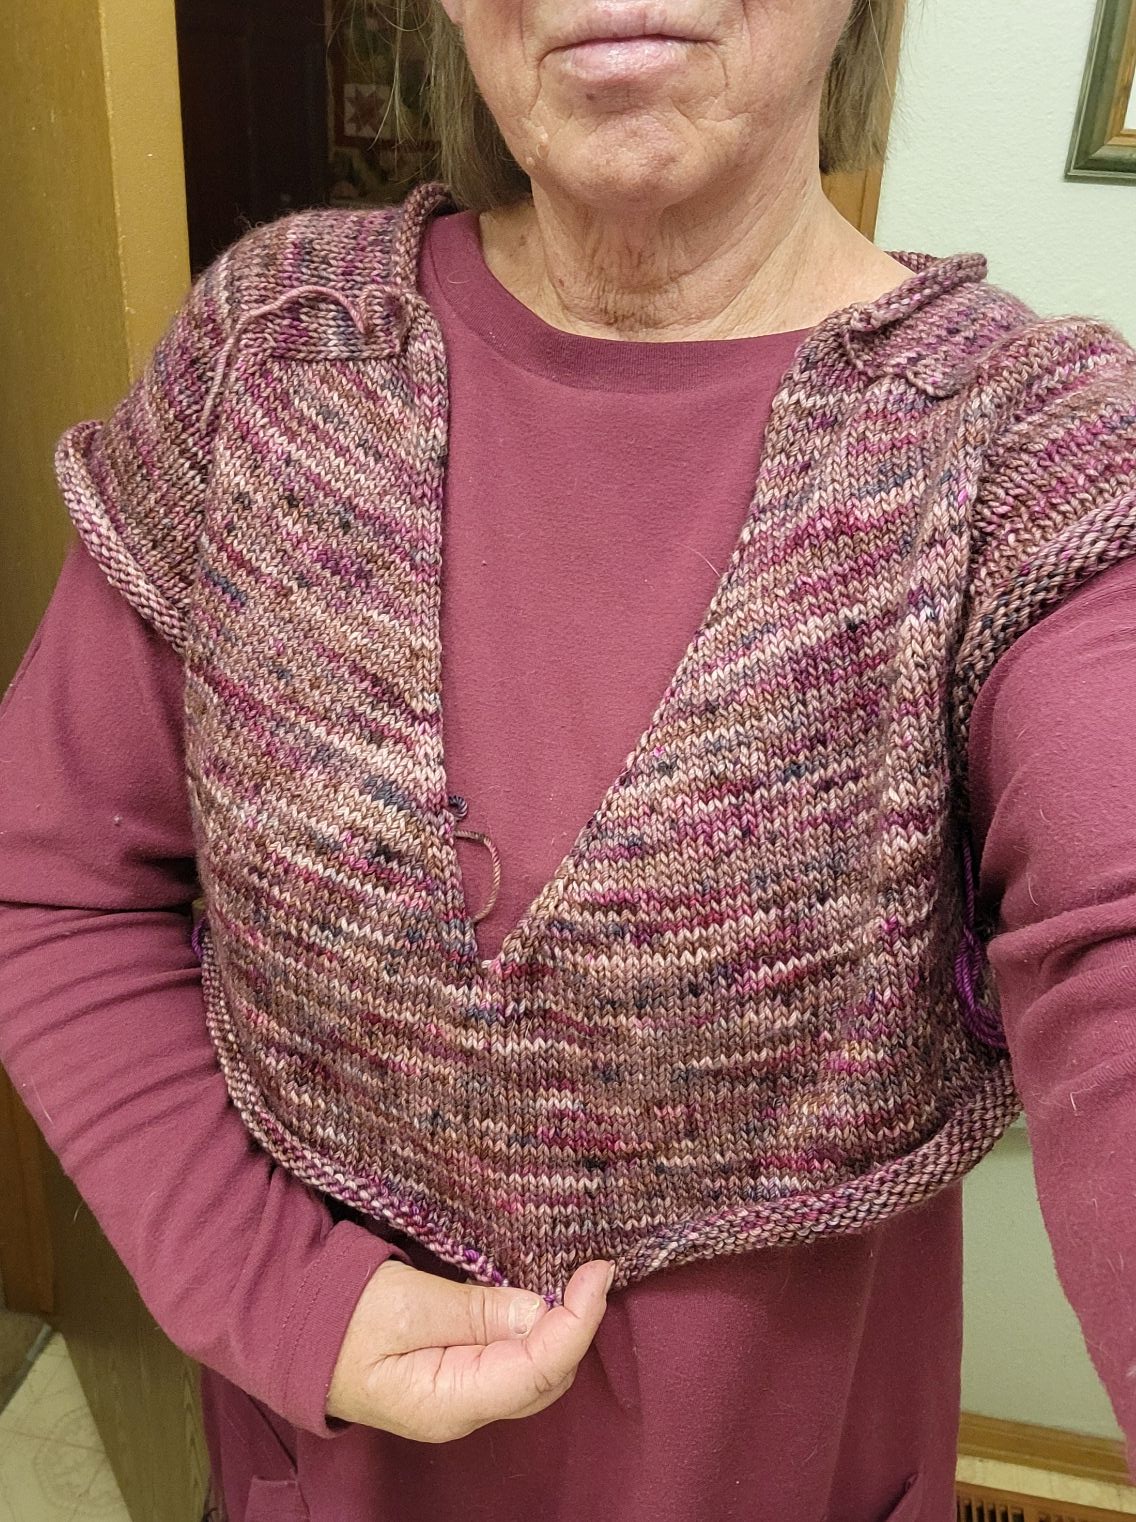
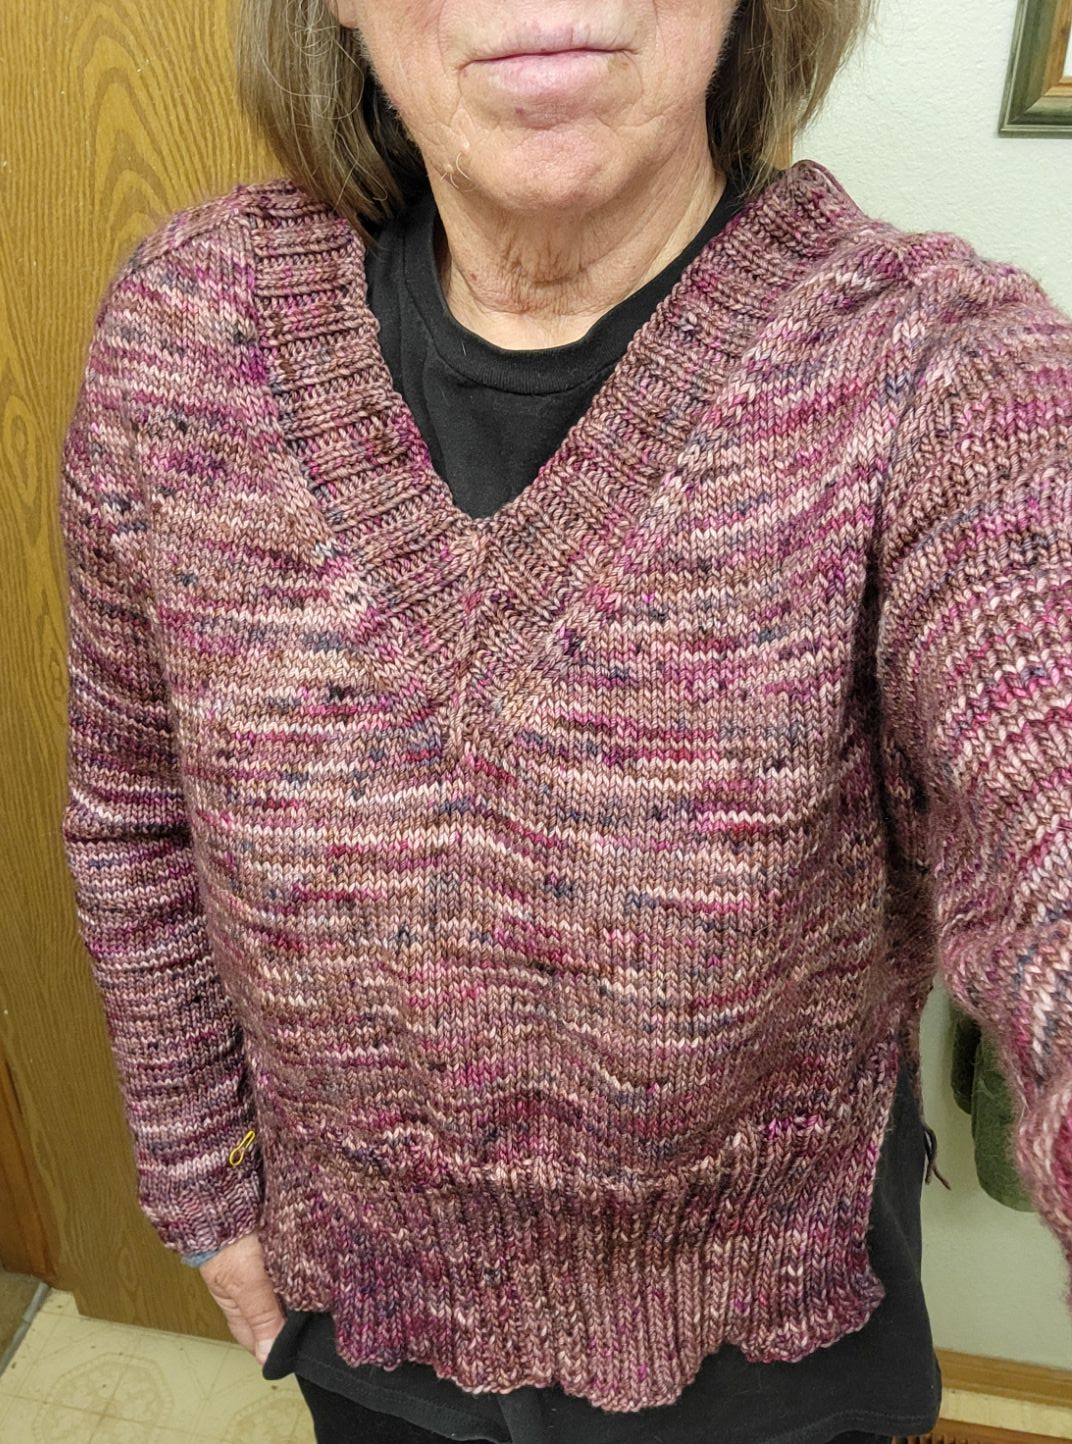
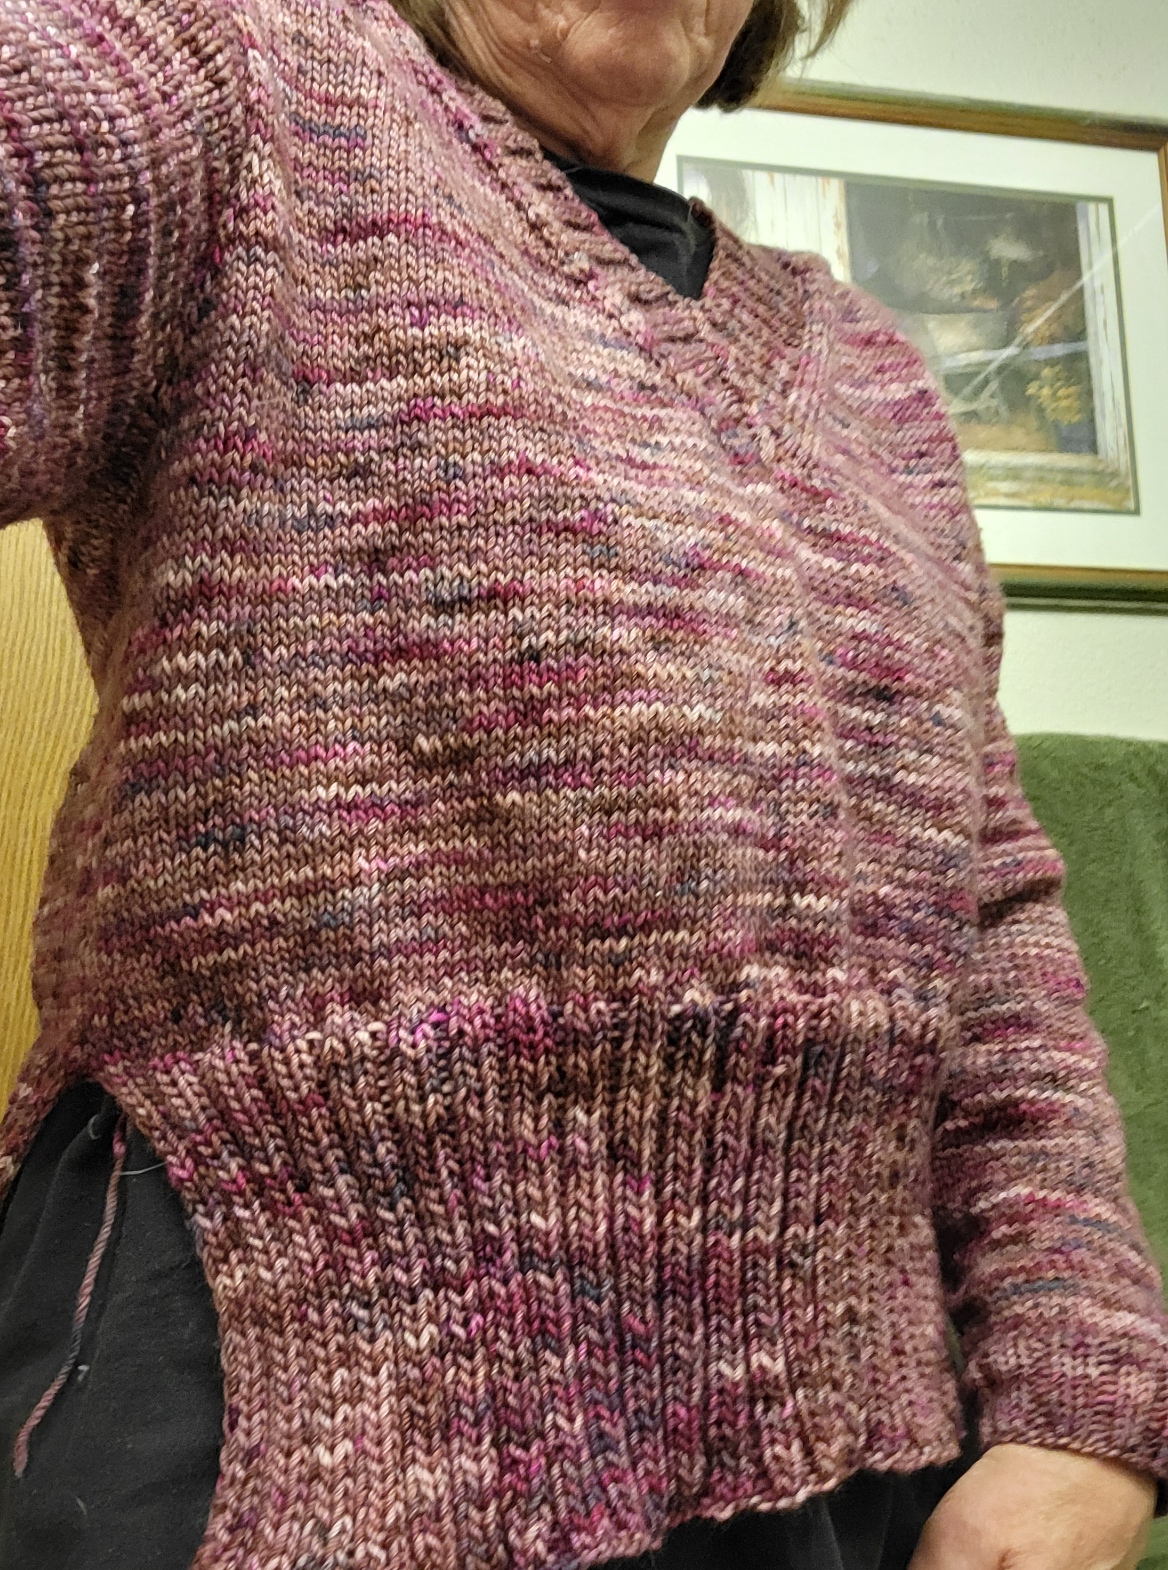
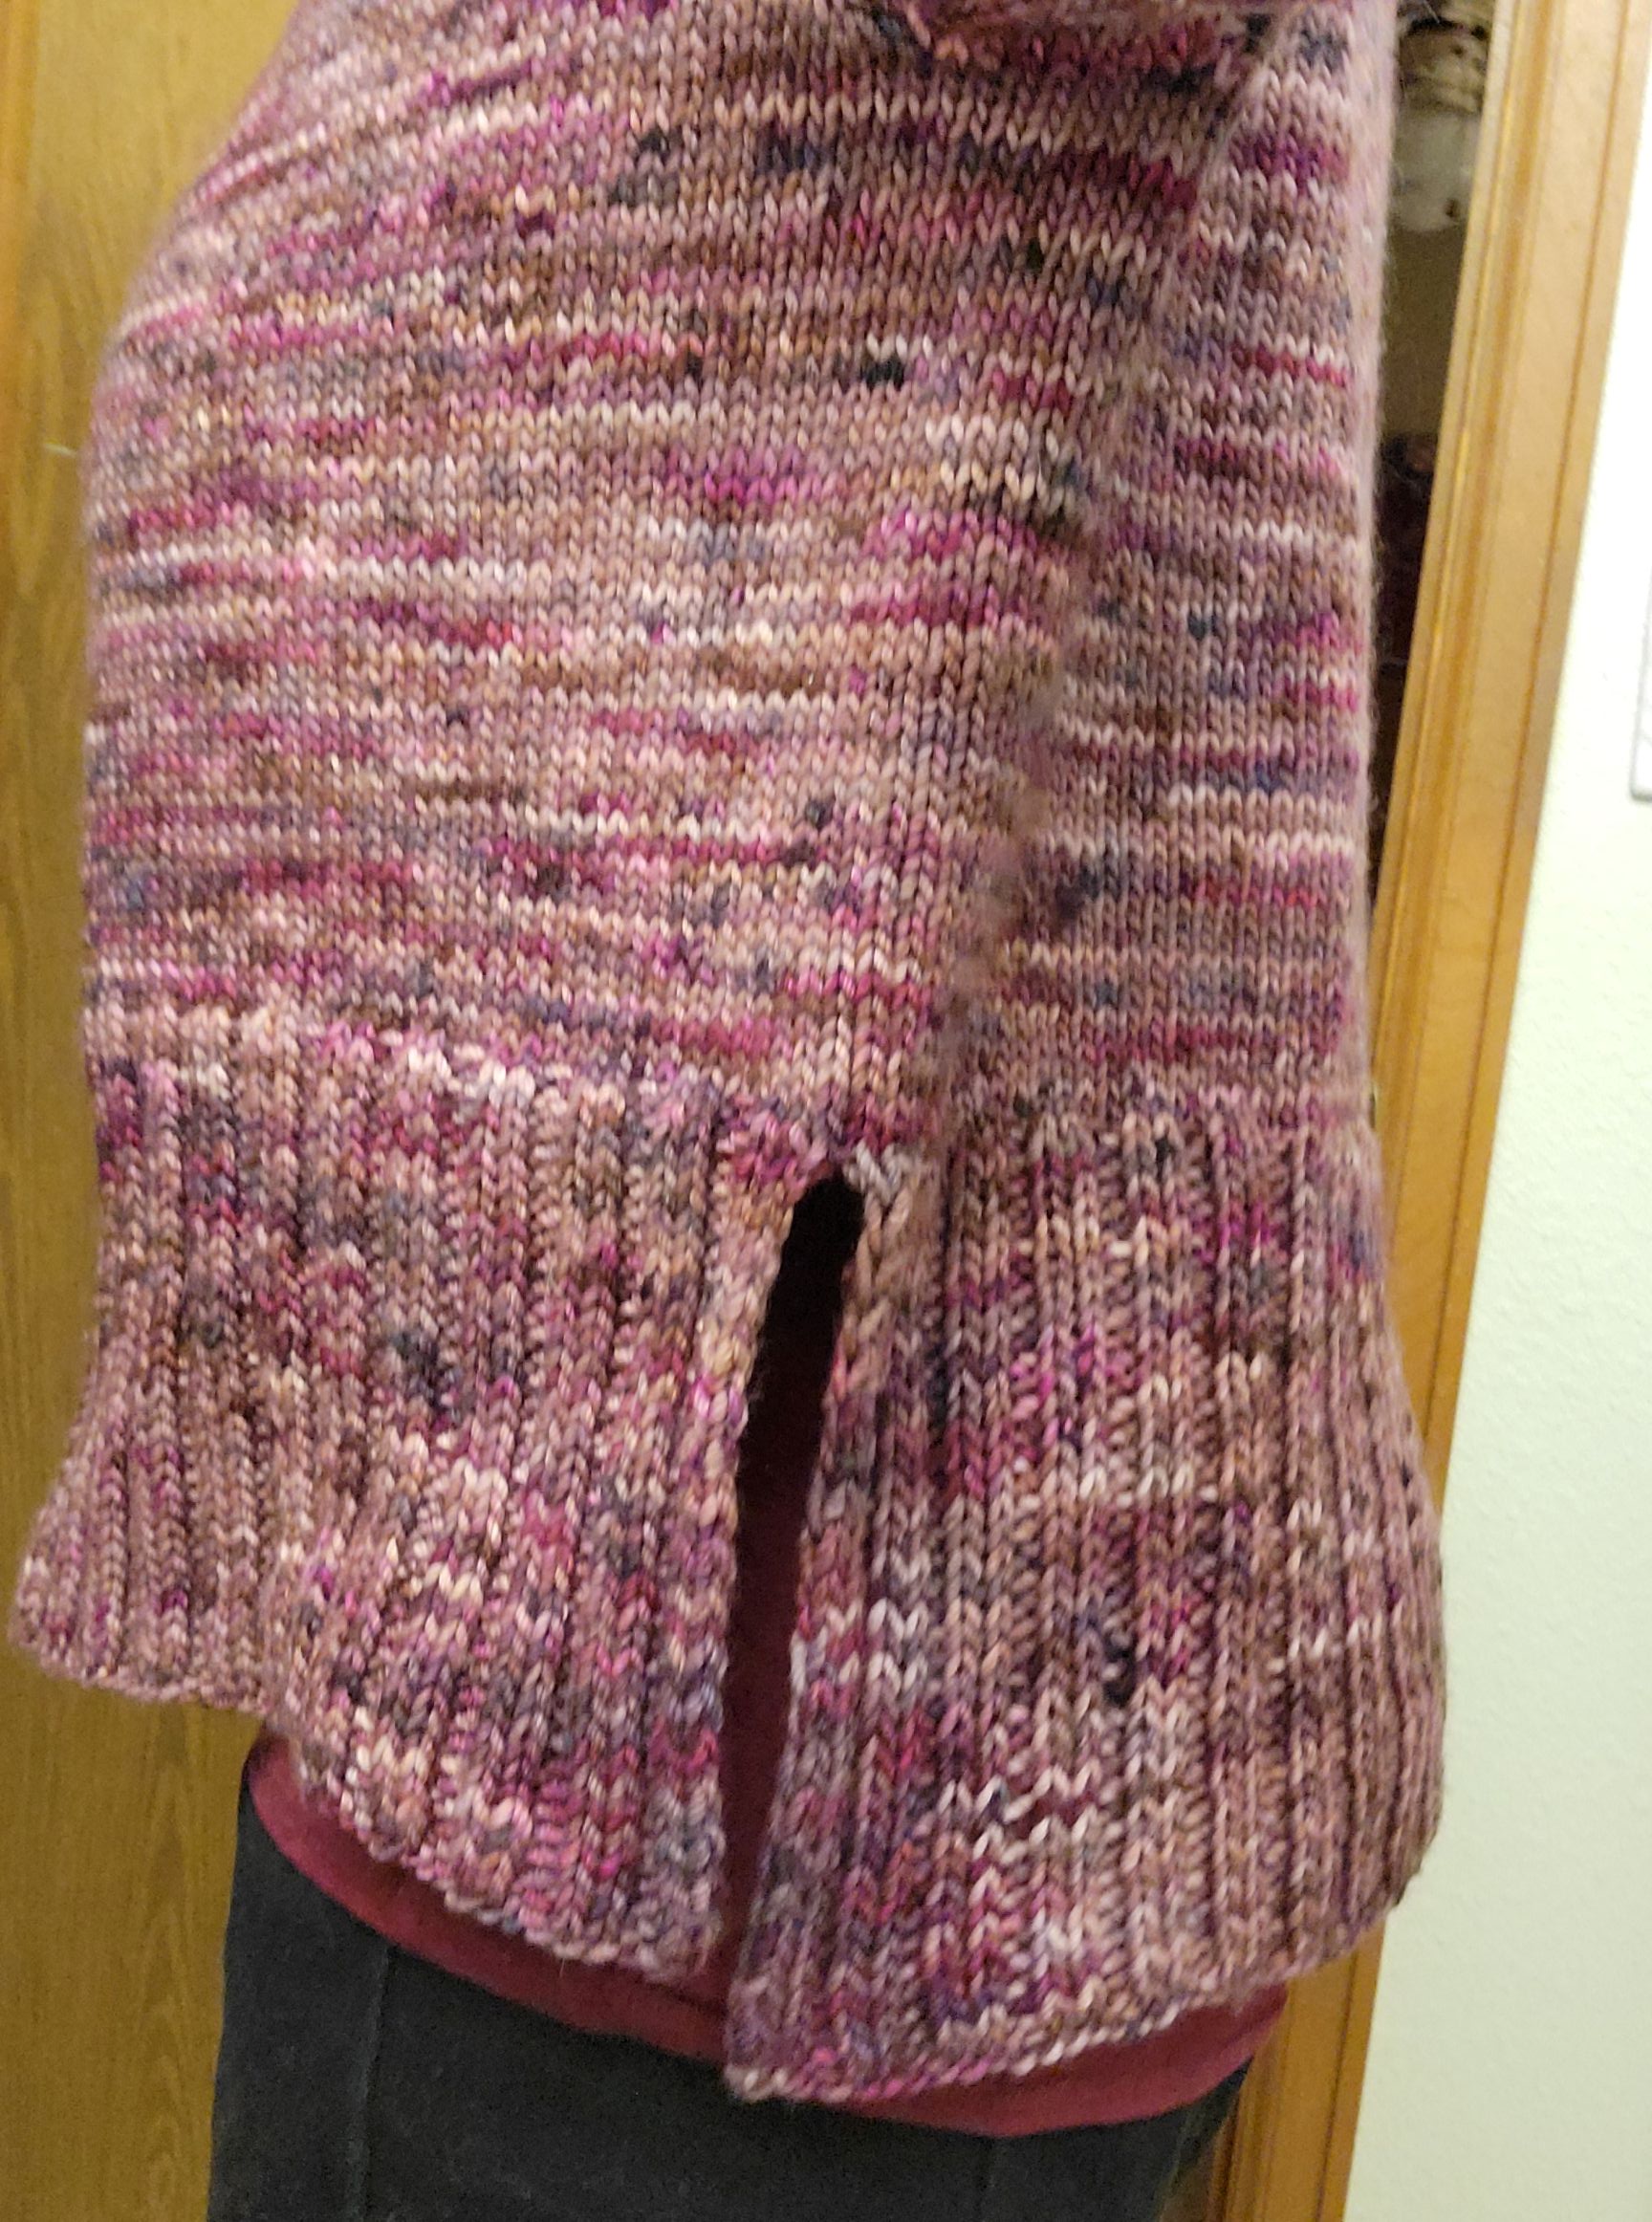
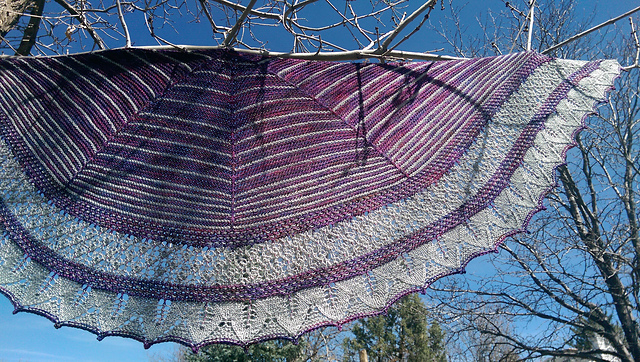
Today I cleaned out the yarn stash, and I’m ready to start knitting on some fabulous (pink) sweaters. Some really great patterns hit the Ravelry feed while I was sick, and it is time to cast on some joy.
You hear that crazy heart? Time for some joy. Behave yourself.
PS: Do you wonder what the sweater patterns are?
- Cloudbreak Tee by Wool & Pine
- Hearthside Pullover by Wool & Pine
- Dragonfly Sweater by Elenor Mortensen
- Hearthside Cardigan by Wool & Pine